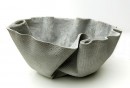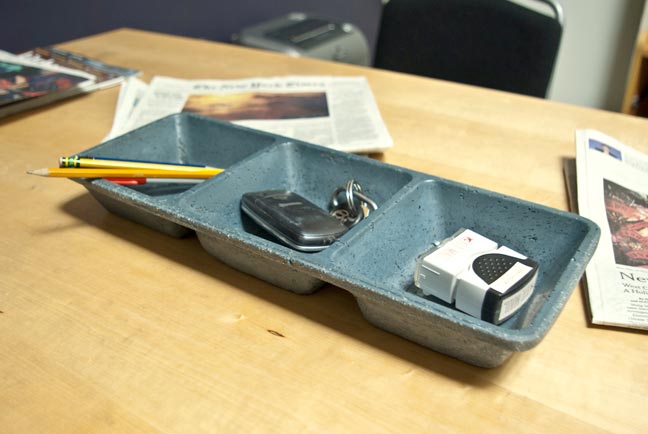
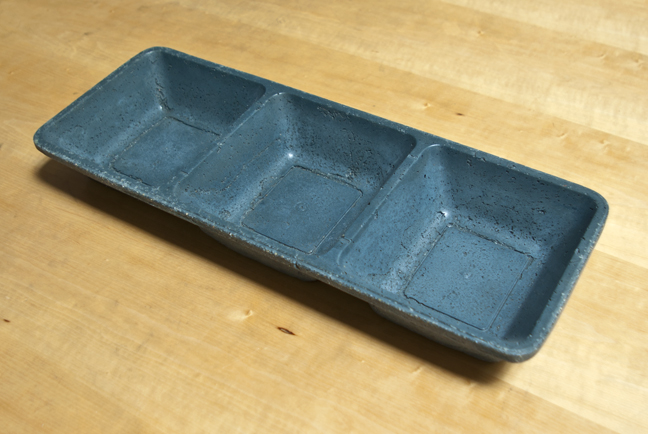
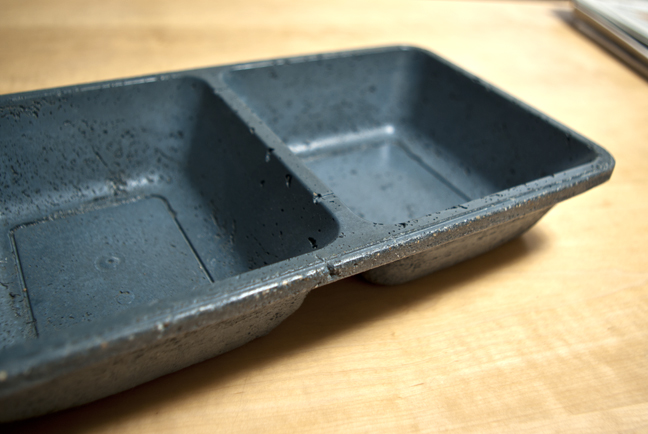

3-Up Tray
Materials + Supplies:
• Plastic Tray
• Weatherstripping (1/2" thick)
• Spray Adhesive
Tools:
• Scissors
• Putty Knife or Similar
Size: 16" x 6" x 2" high
Color: Blue
Technique: Hand-Packed
3-Up Tray
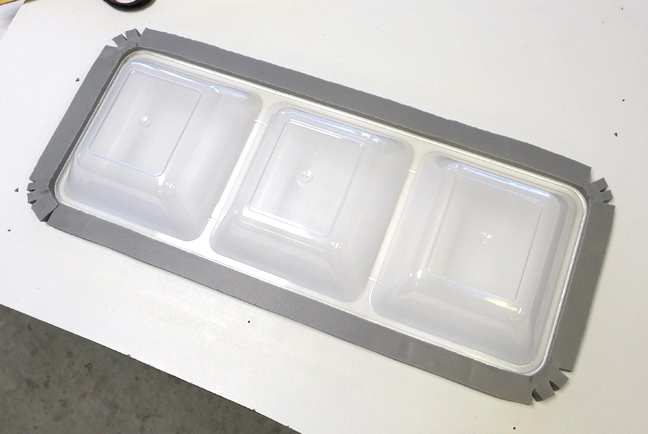
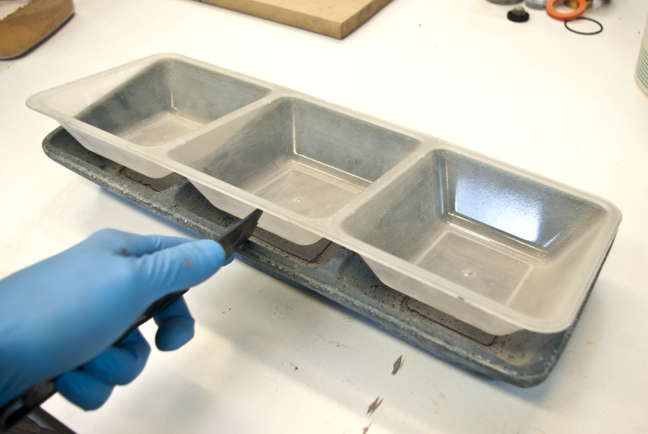
STEP 1: Find a Tray and Glue it Down
This plastic tray came from the dollar store. Any type of plastic tray will work, but one with a lot of draft angle on the edges will be easiest to pull out of the finished piece.
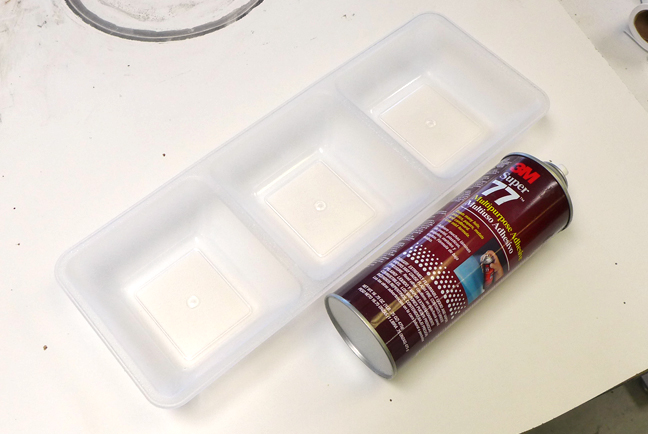
Spray the top perimeter of the tray with spray adhesive, then flip it over and stick it down to something rigid like a sheet of plywood.
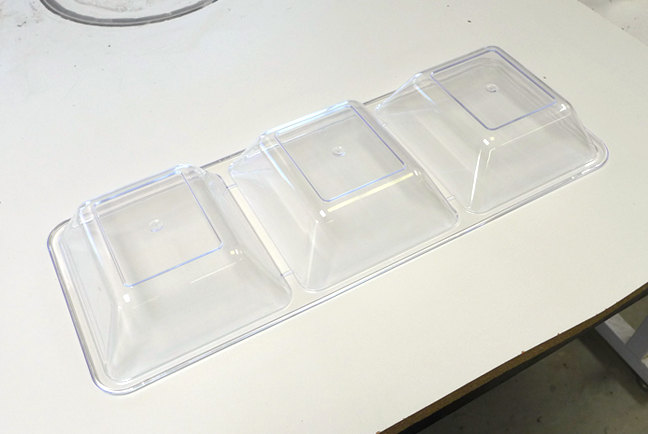
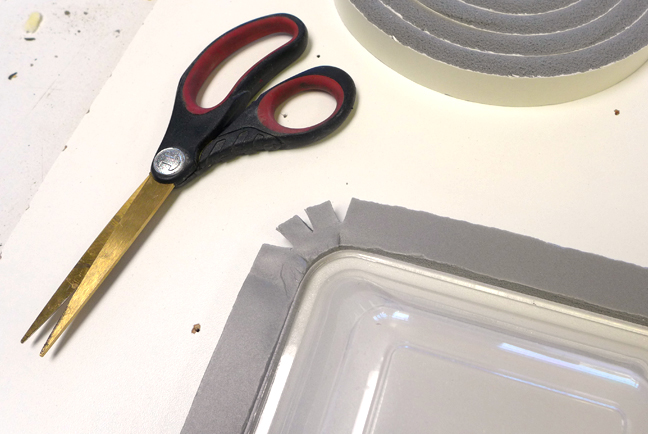
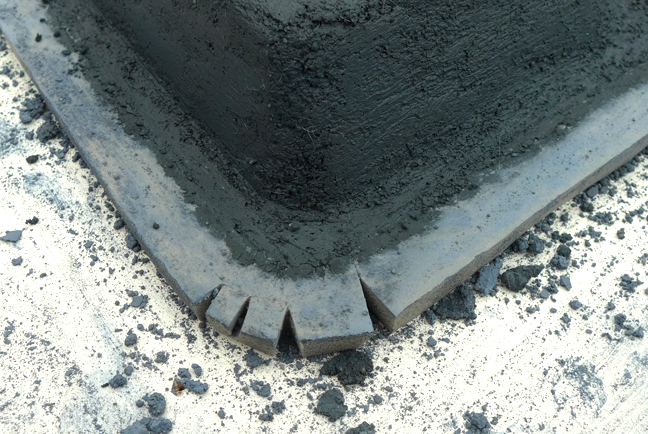
STEP 2: Weatherstrip the Perimeter
Peel off the adhesive backer and stick the weather stripping down around the perimeter. This will give you a border to pack up to, and it will help maintain a consistent thickness around the piece. To make the tight curves, cut notches into the weather stripping with scissors.
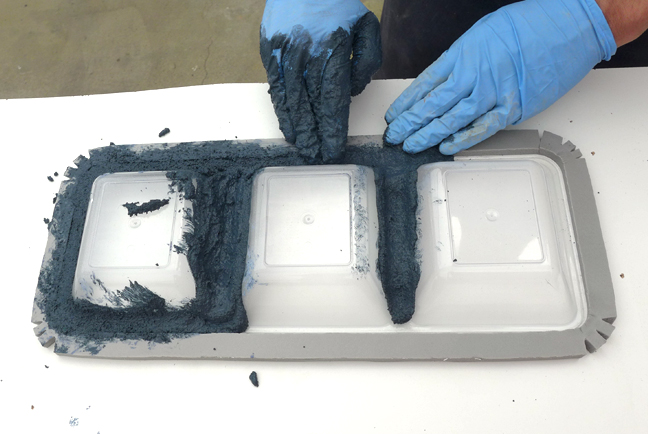
STEP 3: Mix and Pack
Mix ShapeCrete to a Clay-Like Consistency. Begin filling the grooves with the mix, pressing it down into the gaps to make sure there are no air bubbles. Gradually build up the walls, forming small pads and pressing them into place, then massaging the pads together so they become a uniform piece with no visible seam.
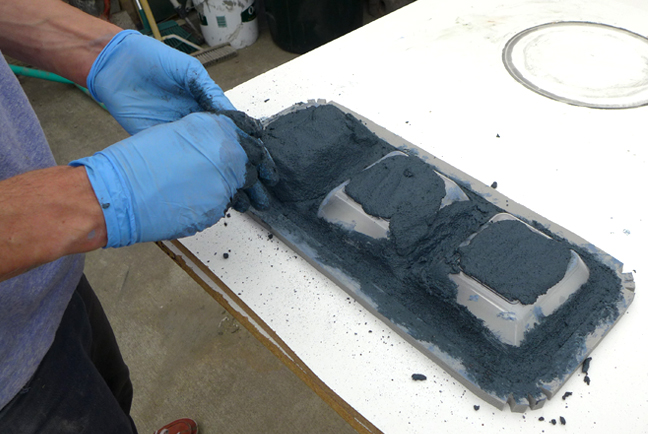
When the tray is completely covered, use a trowel or a putty knife to smooth the surfaces.
STEP 4: Cover and Cure
Cover the piece with plastic and let it cure for at least 24 hours.

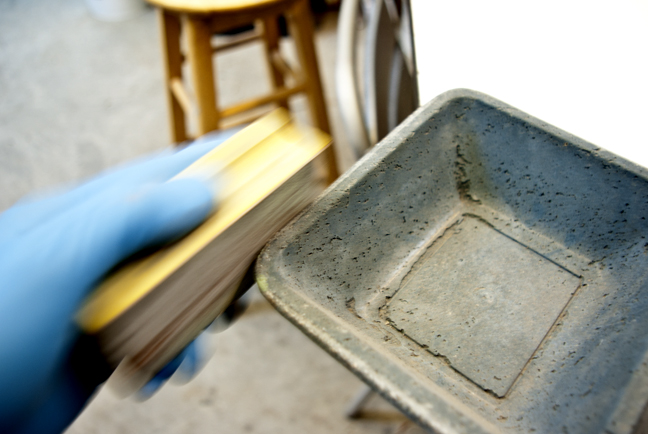
STEP 5: Remove Tray and Finish
Remove the weather stripping, then gently pry up on the piece. Pry equally around the edges and the piece should pop off, leaving the tray still stuck down to the table.

Sand the rough edges with diamond hand pads, sandpaper, or files.
Featured Projects