
House Numbers
Materials + Supplies:
• Rubber Numbers from Gasket Rubber
• 1" Insulating Foam
• Piece of Plastic
• Spray Adhesive
• Fabric Strips for Texture on the Sides
• Pieces of Tile for Mosaic
Tools:
• Utility Knife
• Hammer
• Tile Nippers
Size: 9" x 6" x 1" high
Color: Grey
Technique: Hand-Packed
House Numbers
To make your own Address Numbers, cut out the numbers from a piece of gasket material that you find in the hardware store. Glue the numbers to any waterproof surface, like a piece of plastic, melamine, or similar. Build the form walls out of 1" thick insulating foam, and glue them in place with spray adhesive. That's it!
You can take this project a step further by lining the form walls with a textured fabric, and also by gluing pieces of broken tile to the top of the numbers. The tile will stay captured in the concrete when the rubber is removed, leaving you with a tile mosaic in the shape of your address.
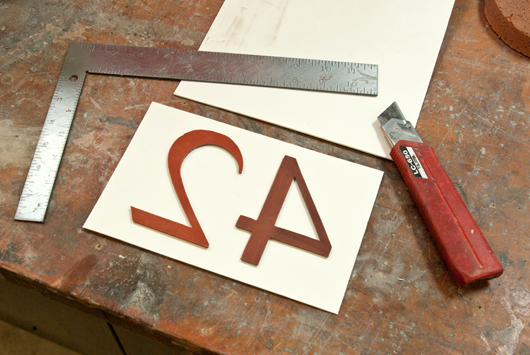
STEP 1: Cut Rubber Numbers
These numbers were laser cut from 1/8" thick Gasket Rubber. They can also be cut with a utility knife. Just trace the pattern onto the rubber and make a few passes to cut it out.
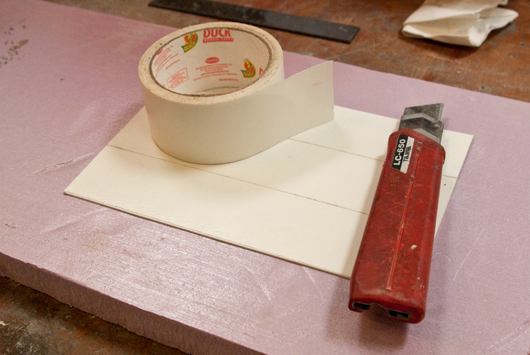
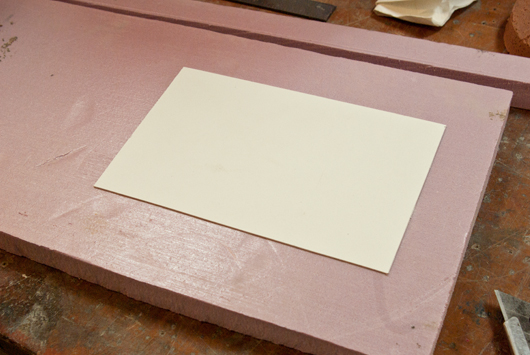
STEP 2: Base
The base is a piece of textured plastic. You can use nearly any flat sheet material for the base, as long as it doesn't absorb water. A sheet of vinyl, the cover of a 3 ring binder, or even a piece of glass for an ultra smooth surface. In this example the piece of plastic is stuck onto a piece of foam with double sided carpet tape.
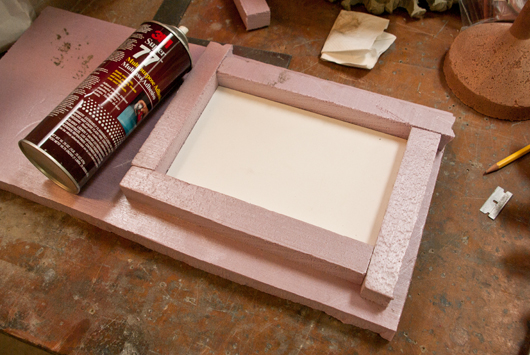
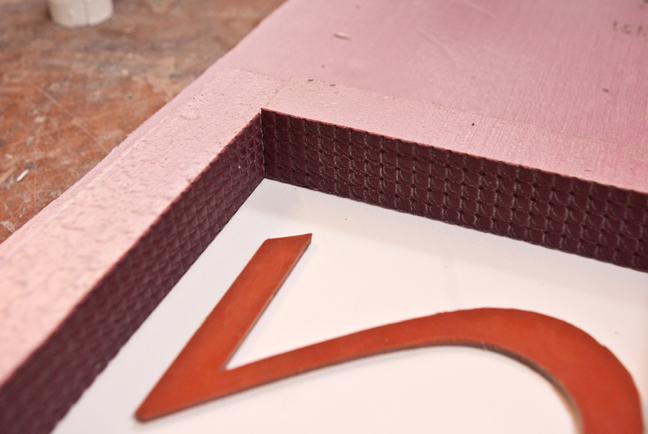
STEP 3: Form Walls
Cut strips of foam and glue them down around the piece of plastic using spray adhesive. When gluing foam together, don't hold the can too close to the foam because the aerosol can cause it to melt. The form walls can also be screwed down, or even just taped in place with double-sided carpet tape.
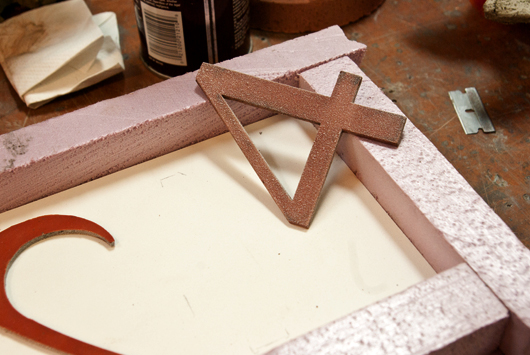
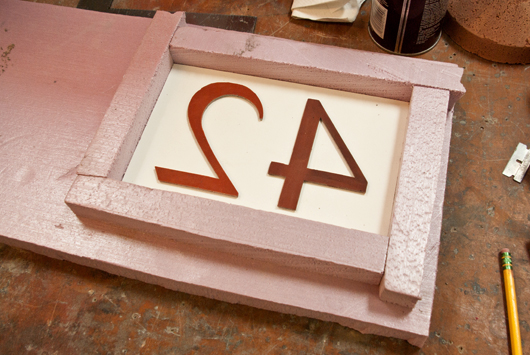
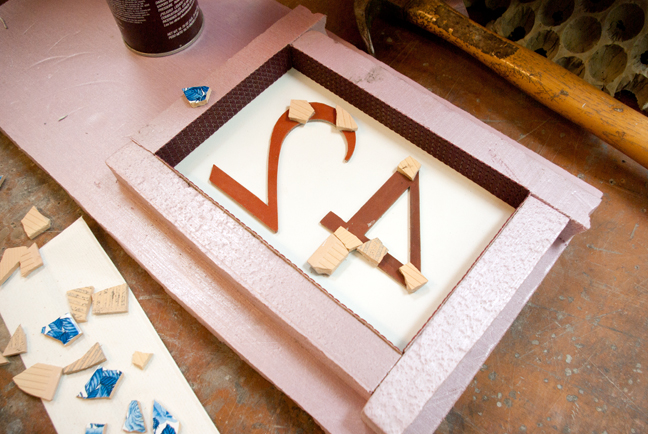
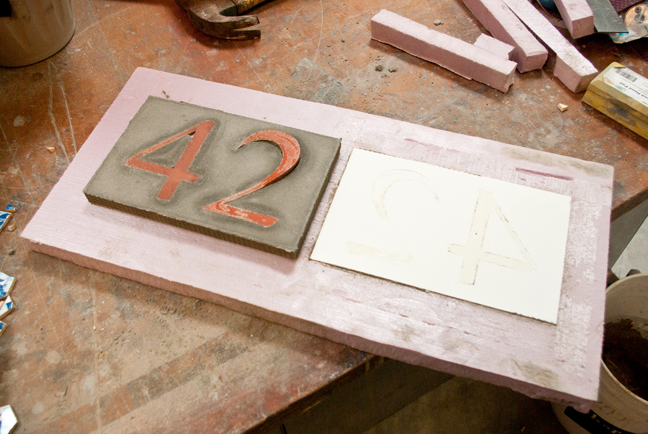
STEP 4: Glue Numbers to Base
Because the piece will be flipped over, everything needs to be done in reverse. The bottom of the form is actually the face of the piece. Place the numbers in the form and make some light marks with a pencil, then spray one side with glue and press them down firmly. Erase the pencil marks after the numbers are glued down.
Make sure the numbers are glued down backwards!
STEP 5: Line the Form Walls with Fabric
To create a textured edge, line the inside of the form walls with strips of fabric. Simply glue it in place with spray adhesive.
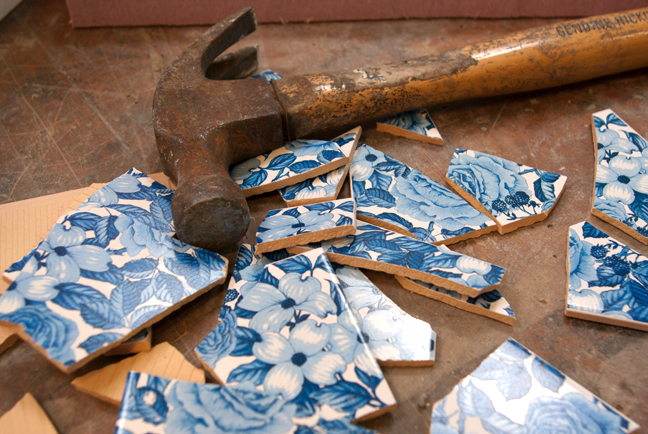
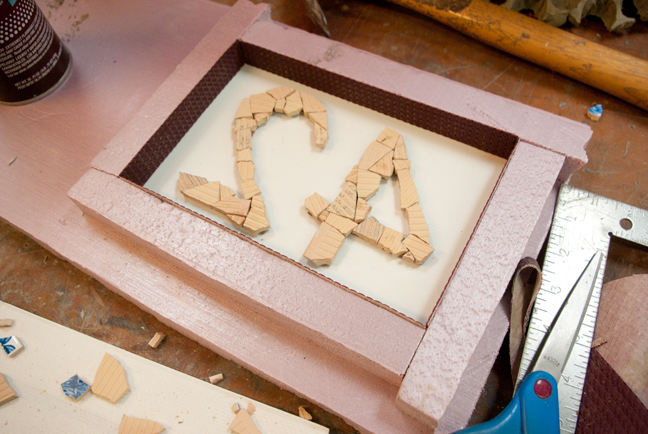
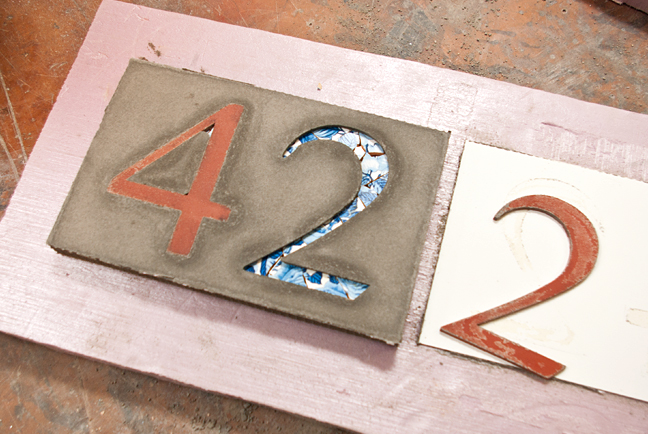
STEP 6: Tile Mosaic
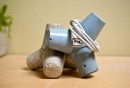
Break up a piece of patterned tile with a hammer. Cut it into smaller pieces with Tile Nippers. Then arrange the pieces so they fit on the rubber numbers.
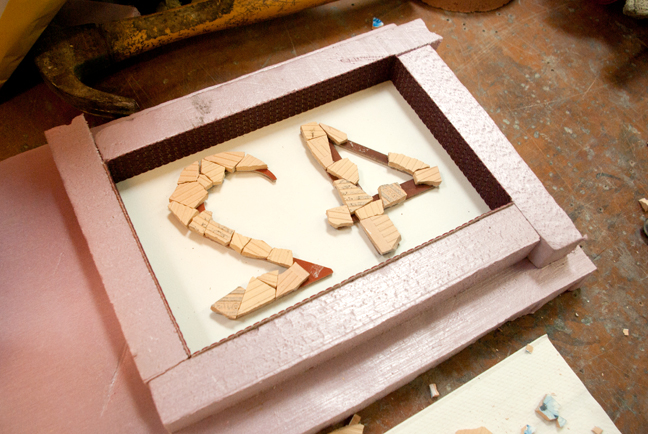
Glue the pieces of tile in place with spray adhesive. Make sure to glue the pattern down to the rubber so it's visible when the rubber number is removed.
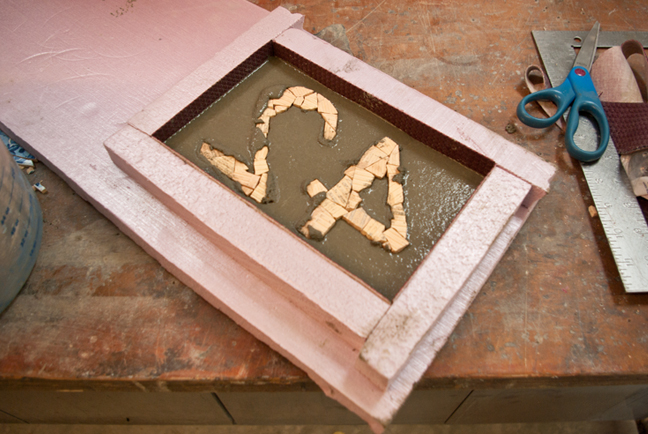
STEP 7: Mix and Pour
Before pouring the form, clean up any glue residue with denatured alcohol, and make sure all of the pieces are pressed down tight.
Mix ShapeCrete to a Castable Consistency. Fill the form up to the tile mosaic, and then use your fingers to work the mix underneath the pieces of overhanging tile. Take your time to do this as it will minimize air bubbles.
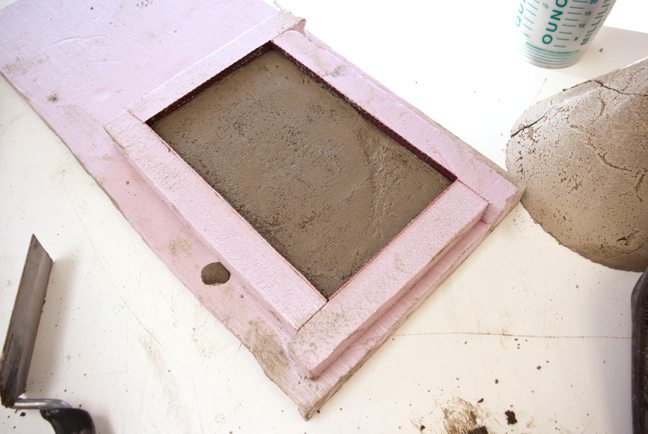
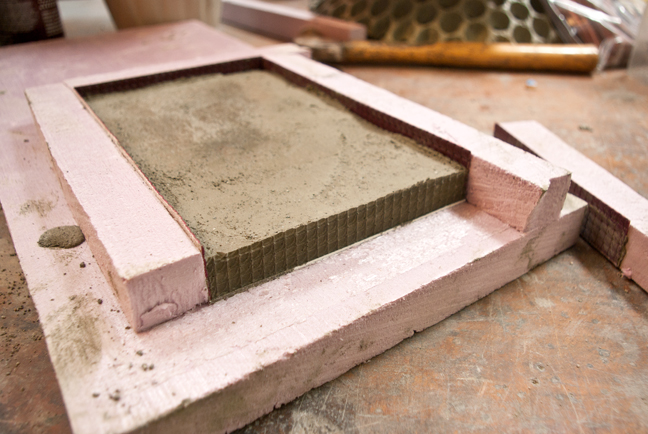
Continue filling the form until it reaches the desired thickness. Use a trowel to level the mix out. Cover with plastic and let the piece cure for at least 24 hours.
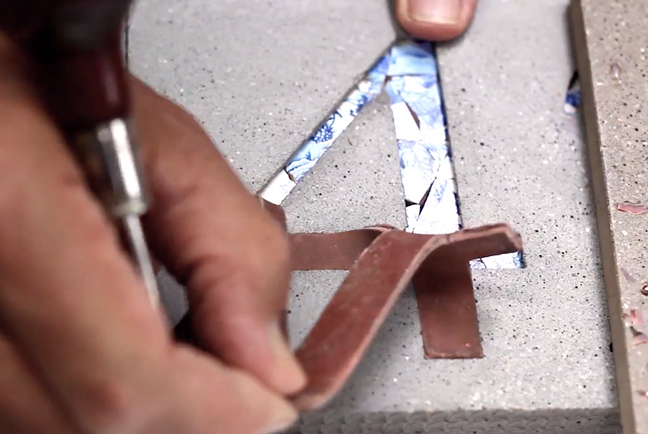
STEP 8: Remove the Form
Remove the form walls by prying them up with a putty knife or breaking them away by hand.

Remove the rubber numbers with a small flat screwdriver. Be careful not to damage the surface or edges of the piece!
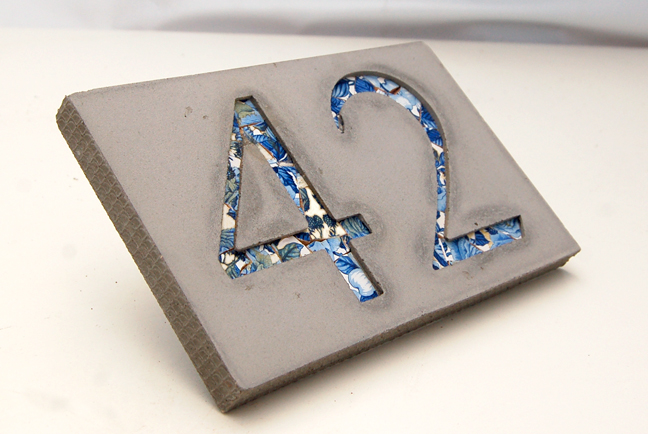
Sand any rough edges with a diamond hand pad, and clean up the spray adhesive residue on the tile with denatured alcohol.
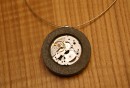
The finished Address Number can be hung with a picture frame wire, or glued in place permanently with construction adhesive.
More Ideas:
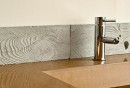
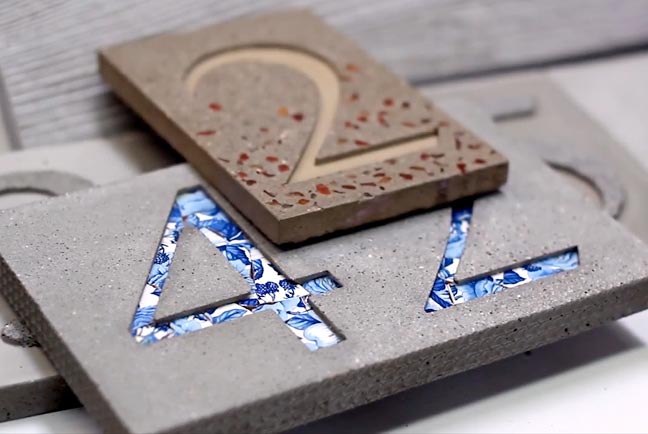
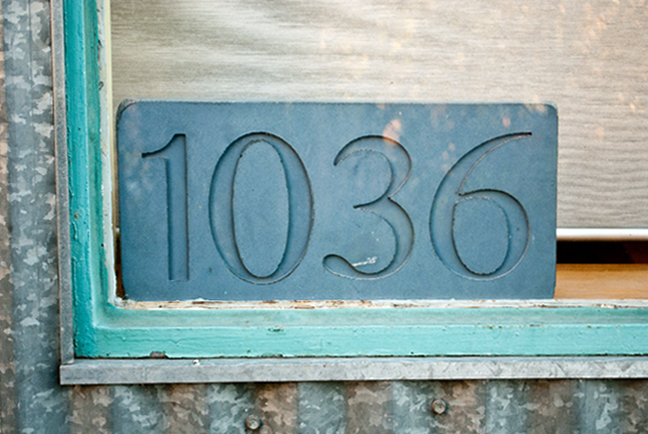
One long form was used to make the 1036 address sign below. The piece is colored with integral pigment and is about 1/2" thick.
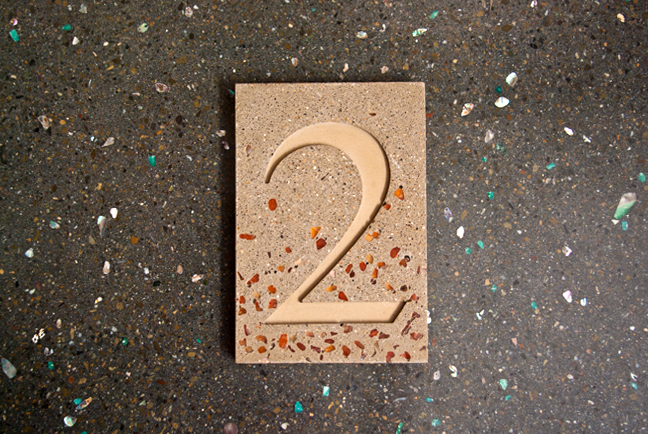
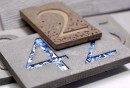
The middle piece above was made by sprinkling decorative carnelian aggregate into the form and then filling it with ShapeCrete that has been pigmented Tan. The face of the piece is then polished to expose the aggregate. Because the "2" retains the cast-finish, there is now a good contrast, making it easy to read the number from a distance.
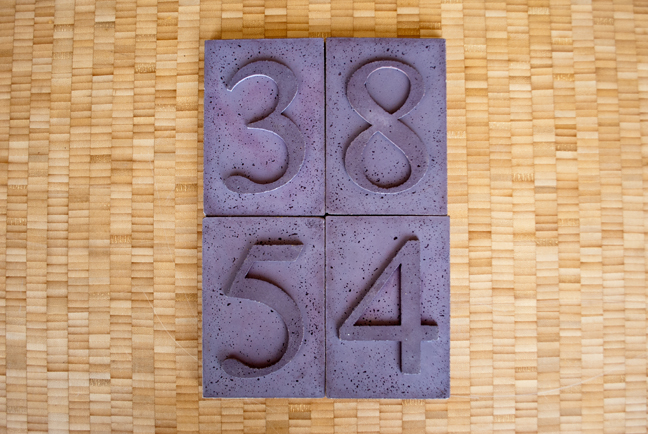
On the picture to the right, the numbers protrude from the surface instead of being recessed like the other examples. This is done by gluing the other part of the rubber at the bottom of the form. The mix is colored purple with integral pigment.
Featured Projects