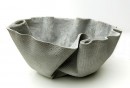
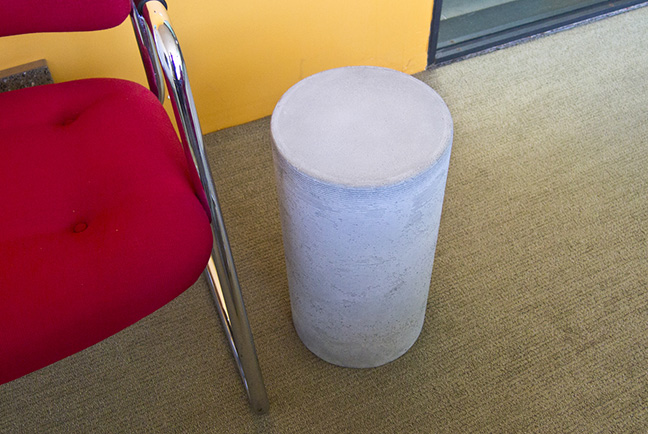
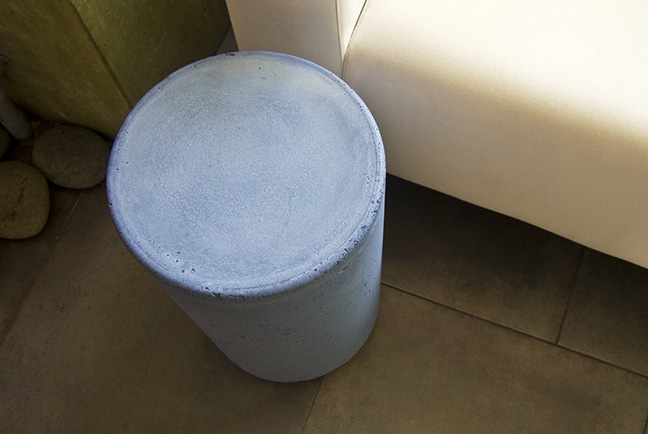
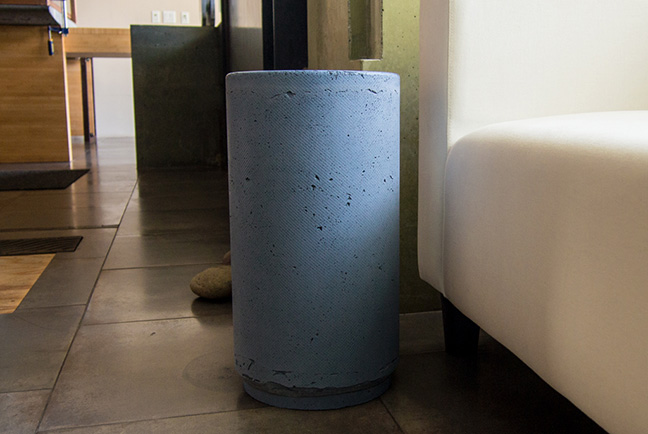
Side Table / Stool
Materials + Supplies:
• Rubber Gloves, Safety Glasses, Dust Mask
• 10" Concrete Form Tube
• Shelf Liner
• Spray Adhesive
• 11"x11" Plastic Sheet
• Base Surface
• Duct Tape
• Mixing Containers
• 25 lbs. ShapeCrete
Tools:
• Hand Saw
• Utility Knife
• Ruler / Square
• Hot Glue Gun
• 100% Silicone Caulk and Caulking Gun
• CHENG Corner and Seam Shaping Tool
• Razor Blade
• Trowel
• Diamond Hand Sanding Pad
Size: 18" x 10"
Color: Grey and Blue
Technique: Hand Packed
Side Table / Stool
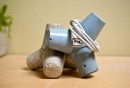
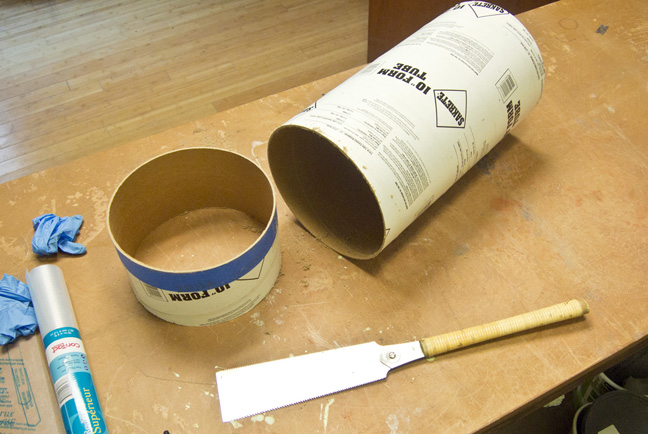
A concrete form tube is almost all you need to make this side stool. The finished piece is hollow and weighs about 20-25 lbs. depending on the thickness.
Step 1: Cut Down Concrete Form Tube
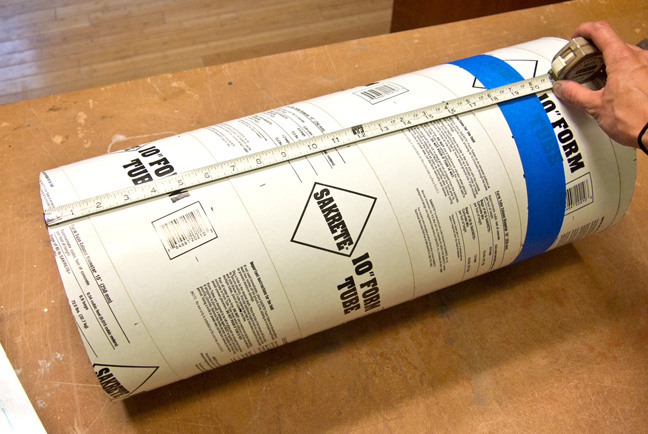
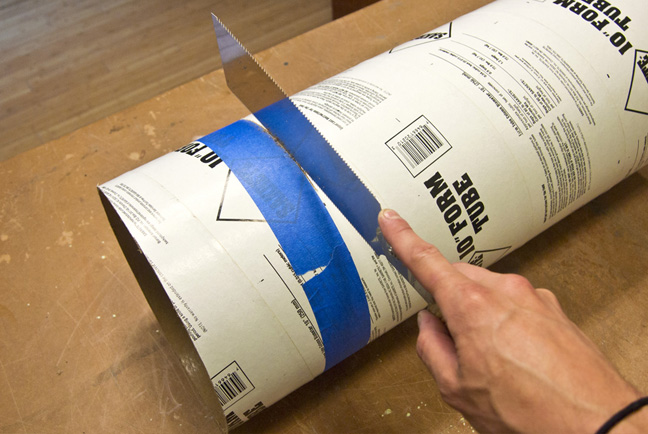
- Measure down the form tube and make marks with a pen at 18".
- Tape around the tube to connect the marks. The tape will act as a guide, making it easier to cut the tube straight.
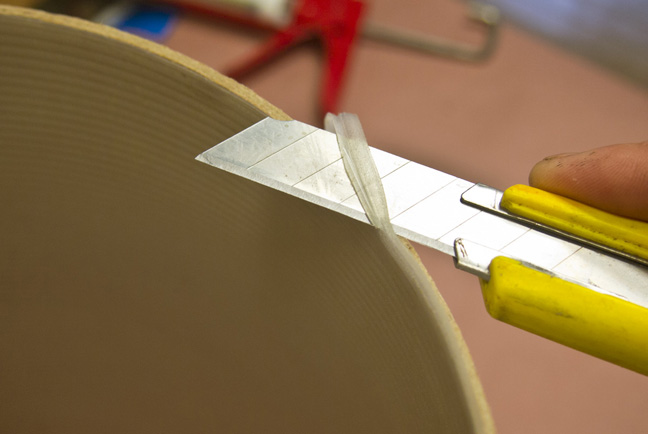
- Cut the tube to size with a hand saw, utility knife, or band saw.
Step 2: Glue Shelf Liner in Place

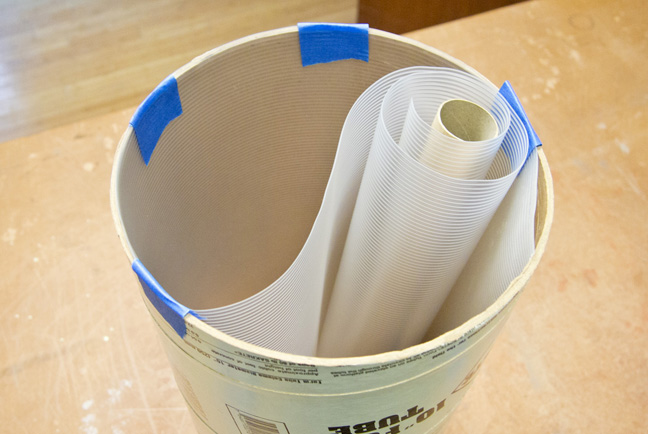
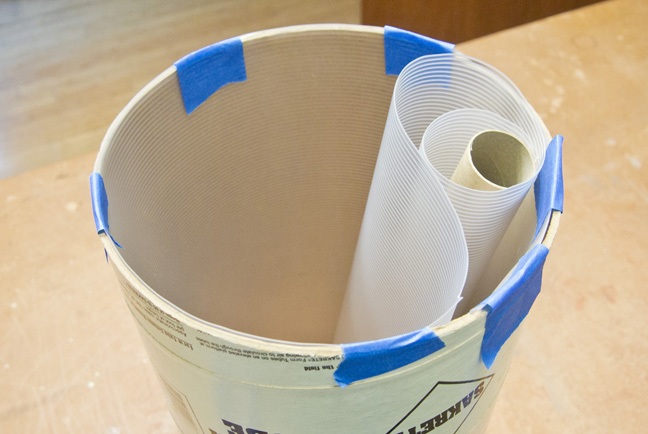


This is the trickiest part of the project, but it's optional. Gluing a plastic shelf liner inside the tube will give the finished piece a texture. The shelf liner here is just over 18" in width, so it fits perfectly inside the 18" tall form tube.
- Tape the shelf liner in place, working your way around the inside of the tube and making sure that the liner is tight against the inside.
- Make a mark on the liner where it meets the starting point.
- Cut the liner to length with a utility knife, using a ruler as a guide.
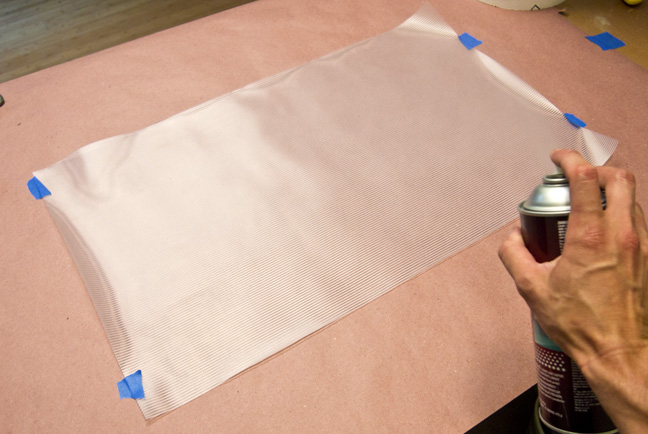
- Lay down some contact paper and spray the non-textured side of the shelf liner with spray adhesive. Follow the directions on the adhesive and spray the interior of the tube, then wait 5-10 minutes for the adhesive to get tacky.
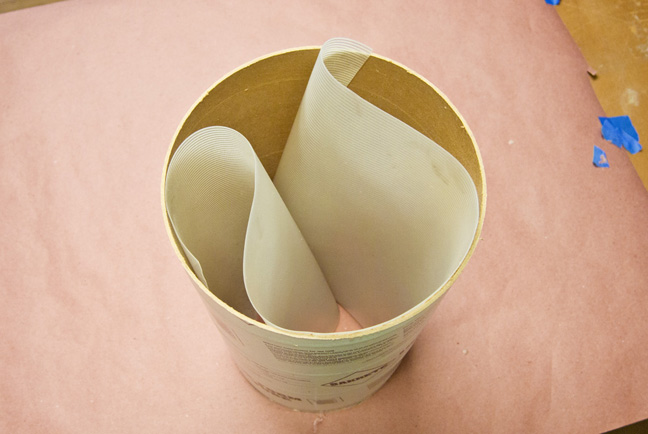
- Carefully place the liner inside the tube and press it into place.
- Trim away excess with a utility knife.
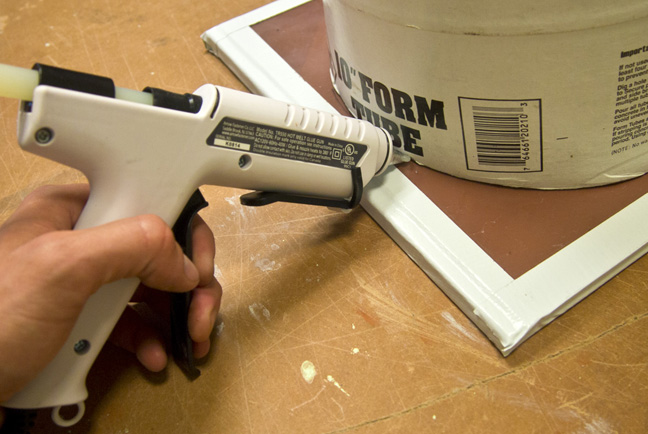
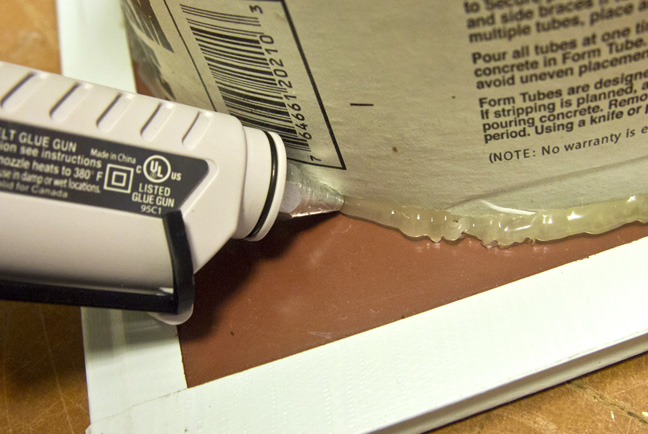
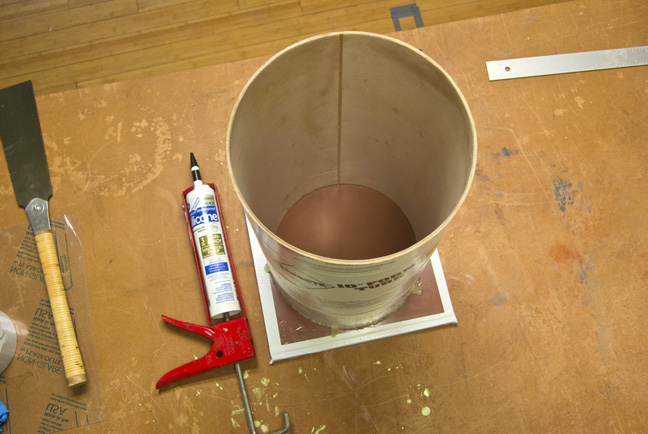
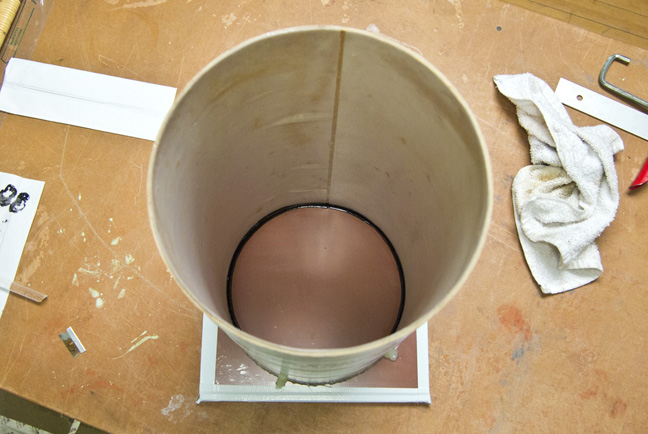
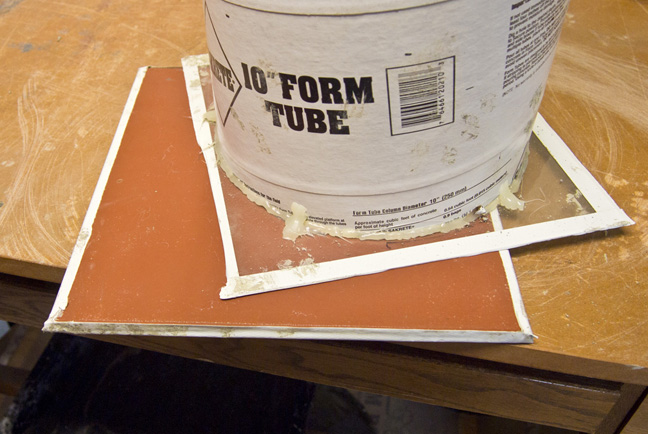
Step 3: Make the Base and Glue Down the Tube

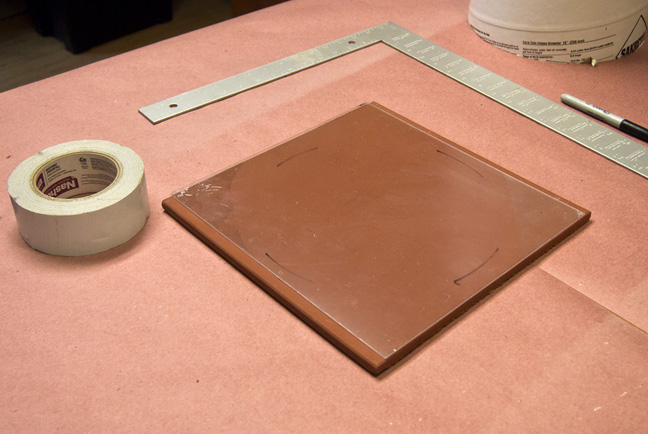
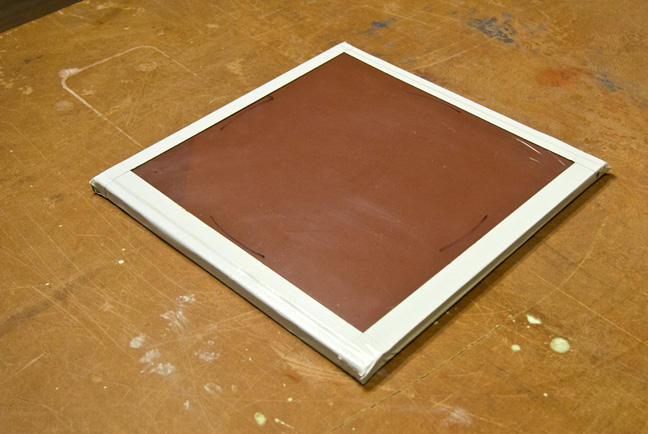
Make the base for the form tube using something flat, like a scrap piece of plywood, or in this case, a terracotta tile that was laying around. Tape a piece of plastic (11"x11") to the tile. The plastic will make it easy to remove from the piece later.
- Tape the plastic down on the tile.
- Place the form tube in the center of the tile.
-
Run a bead of hot glue around the base of the form tube to hold it in place.
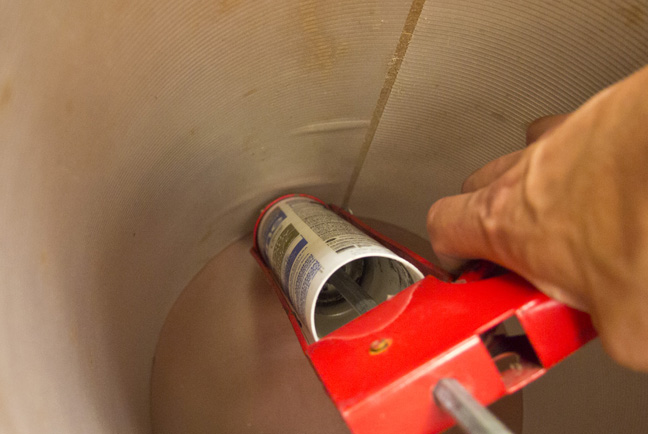
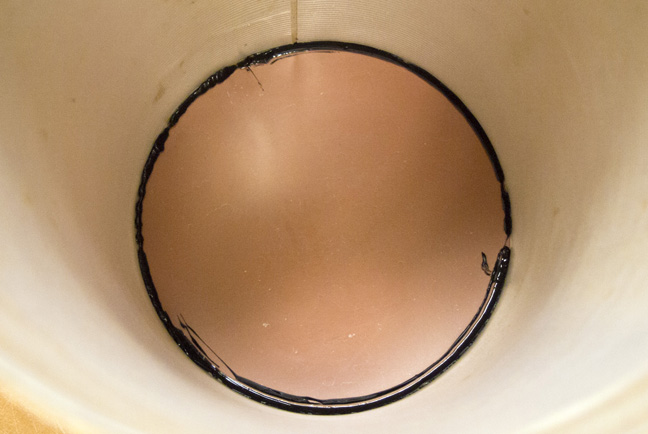
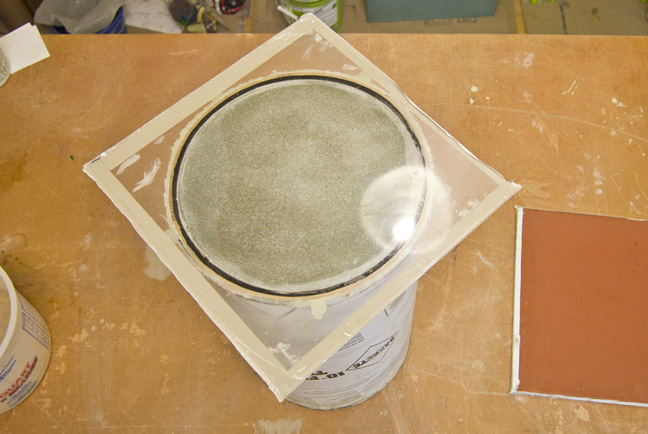
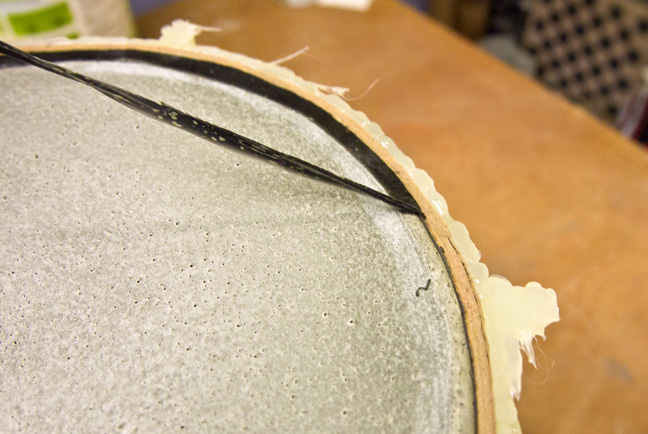
Step 4: Silicone the Inside Edge
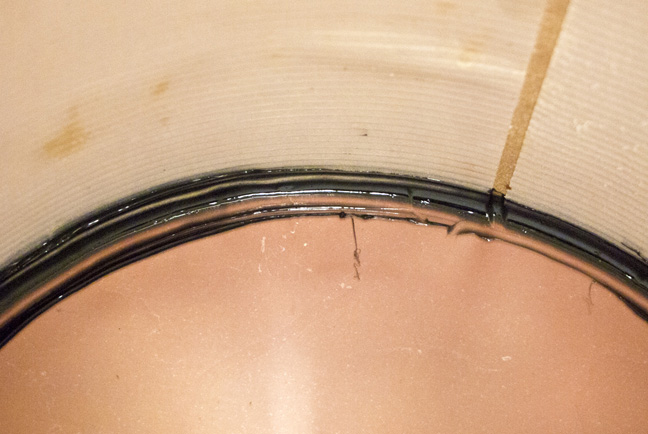
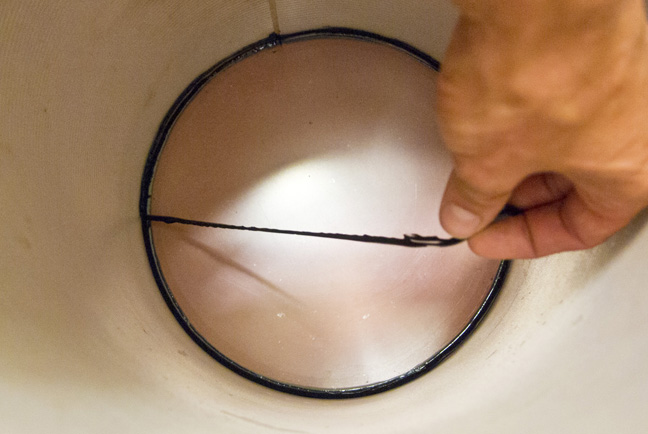
This step is also optional, but it will create a nice round-over on the top edge. If you skip this step, the top will have some sharp edges that need to be sanded down with diamond hand pads.
- Run a bead of caulk around the bottom inside edge of the tube.
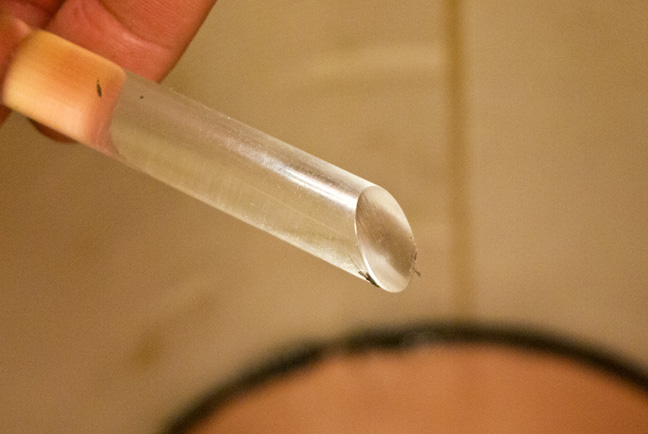
- Tool the caulk with a seam shaping tool (an acrylic rod cut at an angle).
- Scrape up the excess silicone with a razor blade.
- Wait for the silicone to cure and then pull up the excess silicone from the sides of the tube.
- After the silicone has fully cured, clean out the form with denatured alcohol.
Now the form is ready to pack.
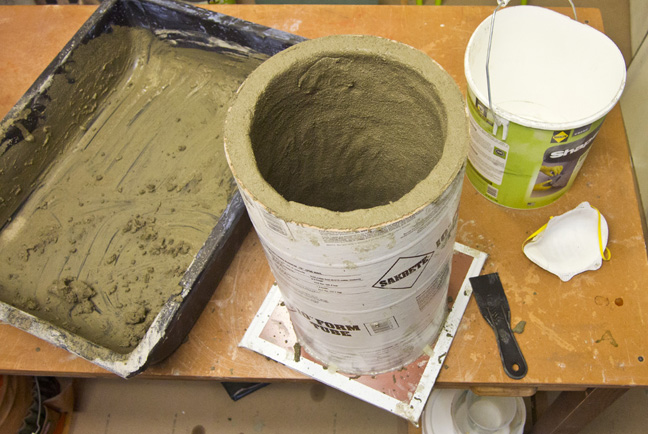
Step 5: Mix ShapeCrete

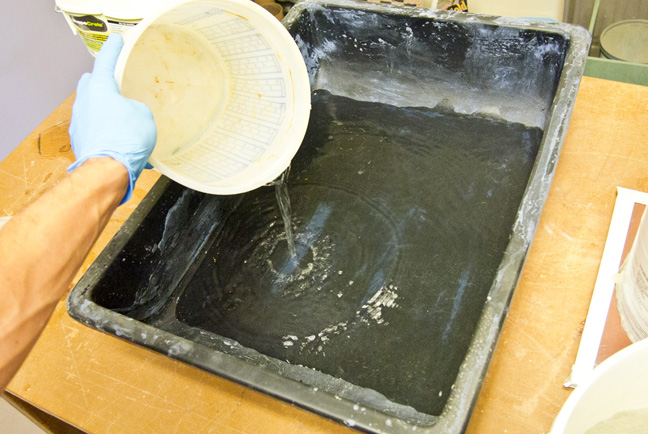
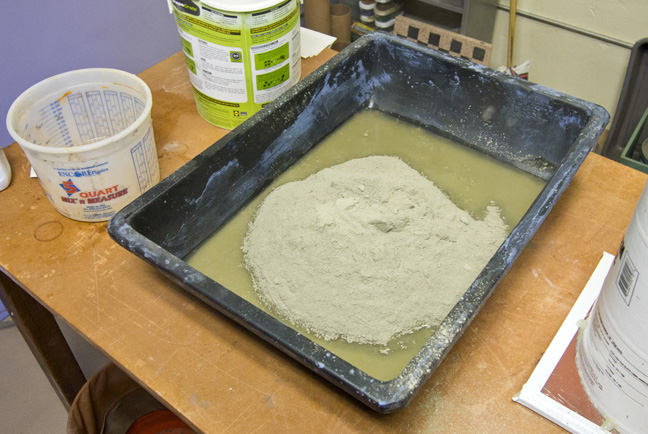
A project this size will take about 25 lbs. of mix, at about 5/8" - 3/4" thick. It helps to mix this amount in a 5-gallon bucket or a concrete mixing tub.
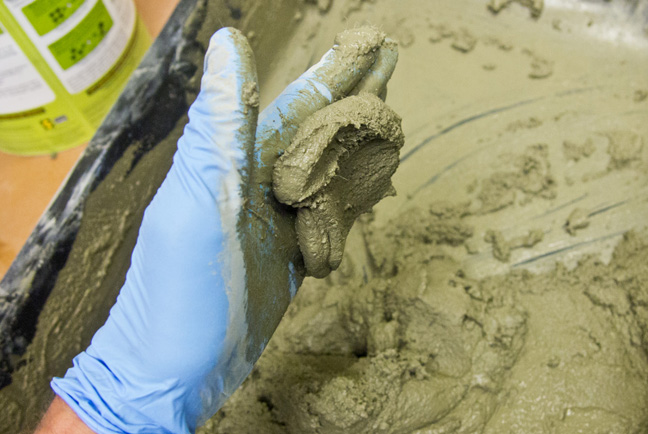
Mix ShapeCrete to a Clay-Like Consistency.
- Add half the water to the tub.
- Add the dry mix with the dry pigment already blended in (optional).
- Blend thoroughly by hand or with a paddle mixer. The mix should hang vertically when it's the right consistency. Adjust water content as needed.
Always wear a rubber gloves, safety glasses, and a dust mask when mixing.
Step 6: Pack the Form
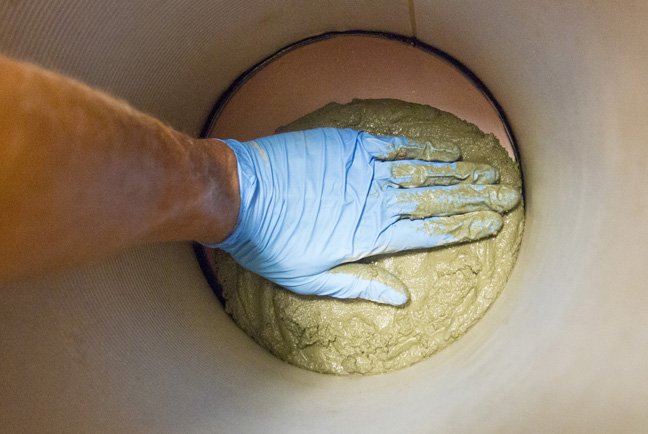
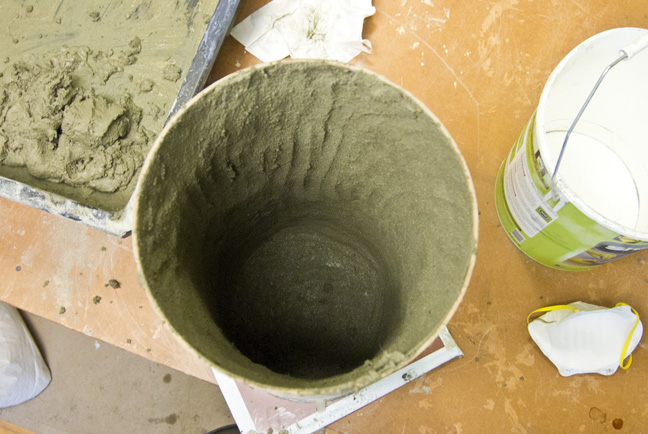
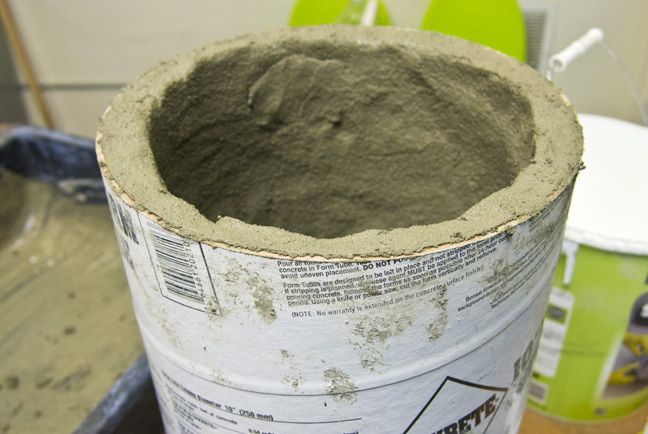
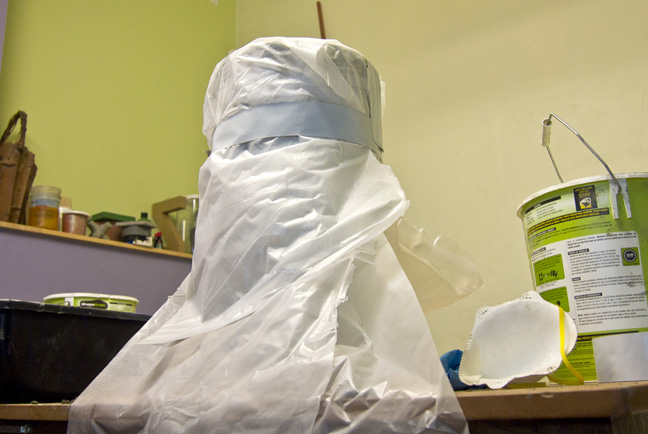
- Begin by packing the bottom of the form to an even thickness. Press the mix into the edges of the form so you don't leave air bubbles.
-
Gradually pack the mix up the walls of the form, turning it as you go along.
-
If the mix is slumping down, it may be too wet. Try pressing thinner pads into the form and then coming back with a second layer to thicken it up.
-
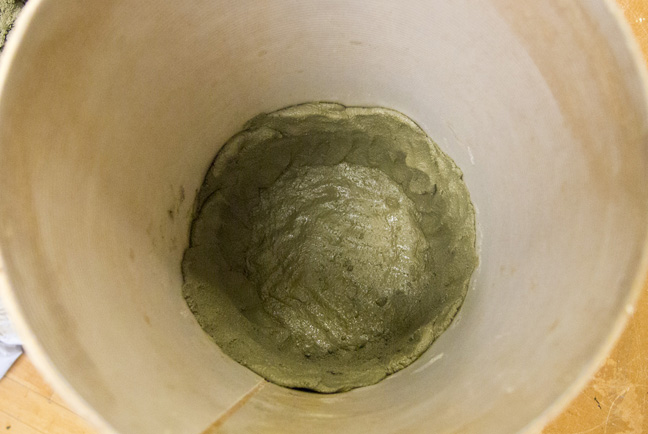
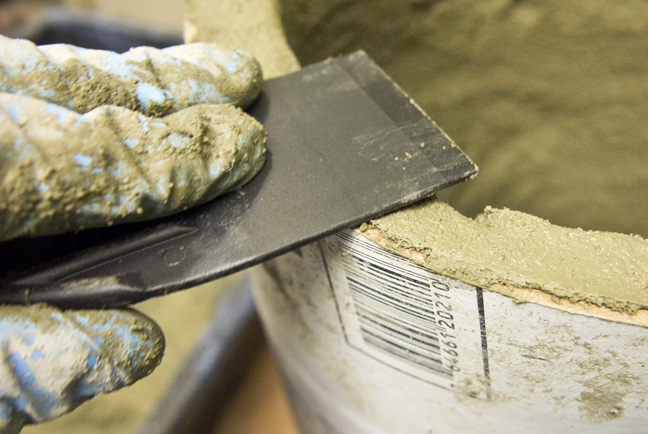
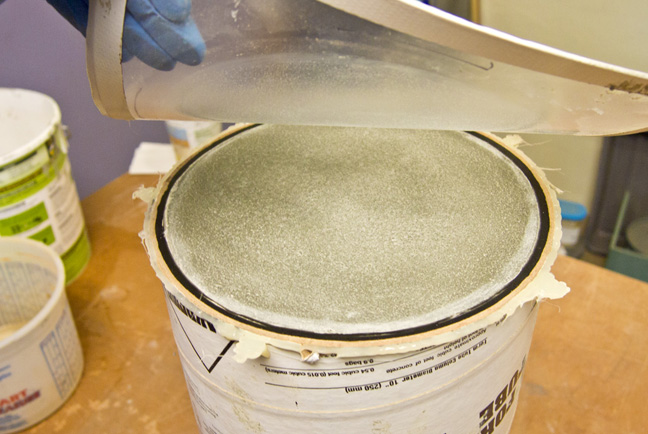
When you get to the top of the form, smooth the top edge with a trowel or putty knife.
Cover with plastic and let it cure for 24-48 hours before removing it from the form.
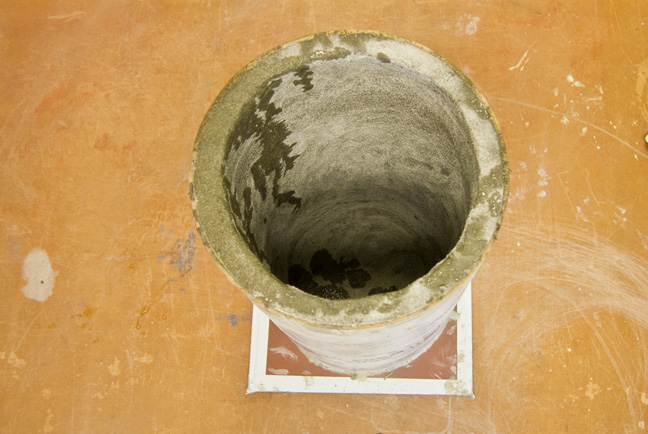
Step 7: Demold
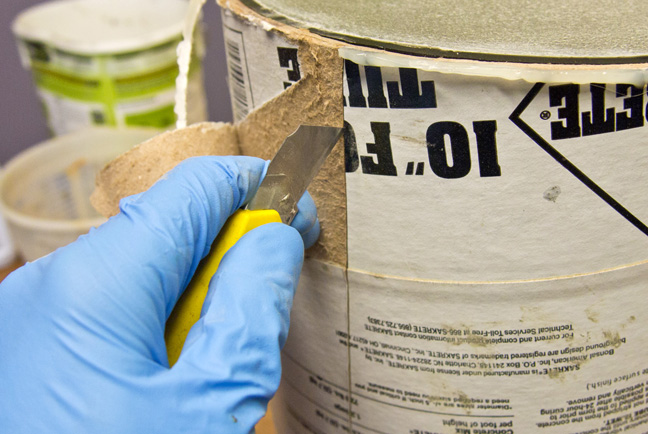
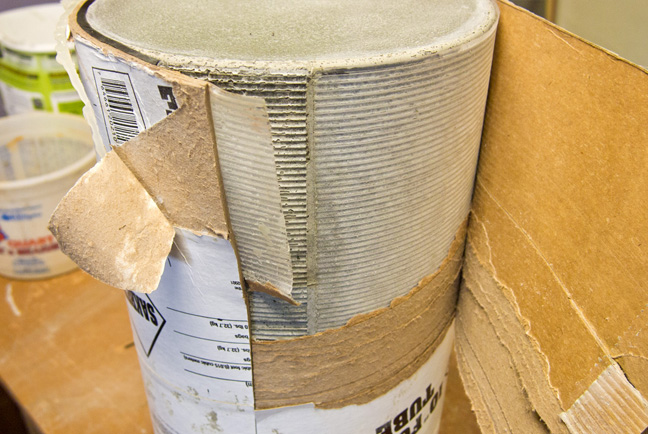
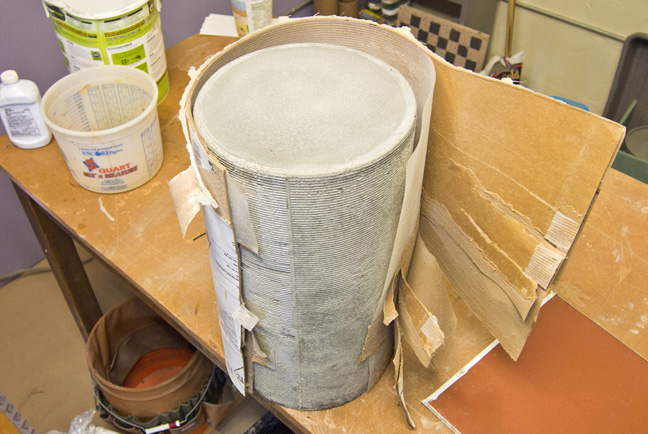
Stripping the form is easy.
- Remove the tape from the tile so the plastic is loose.
- Flip the piece over and peel away the plastic.
- Use a utility knife to carefully slice into the tube and gradually peel it away. Be careful not to cut too deep into the piece.
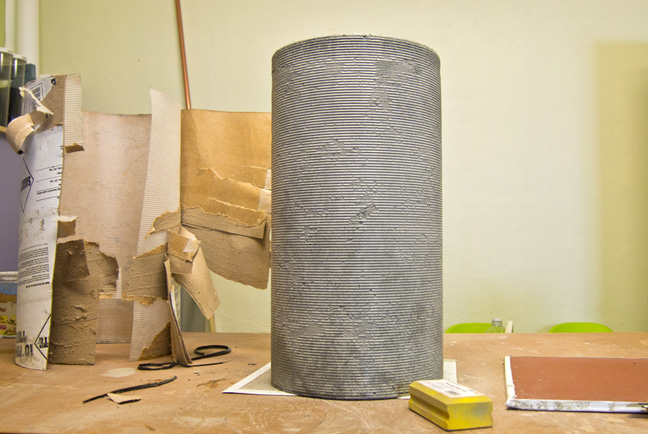
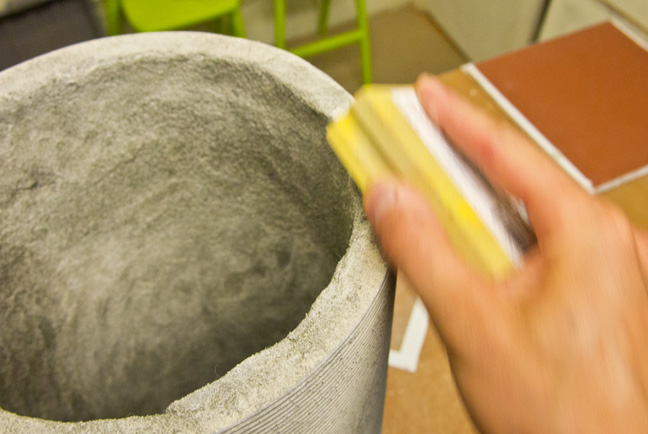
- Sand any jagged edges with diamond hand pads, files, or coarse sandpaper.
The Finished Piece:
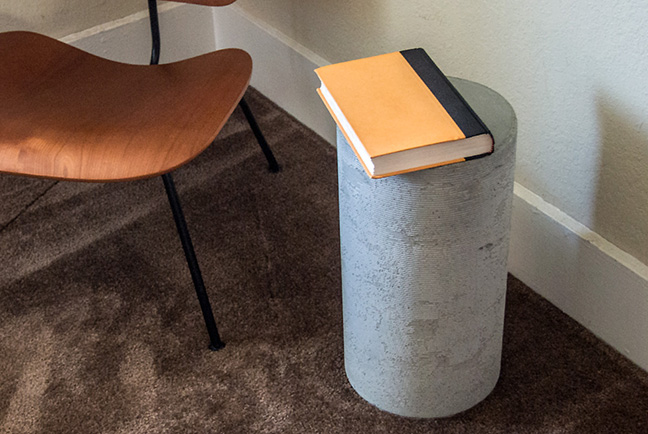
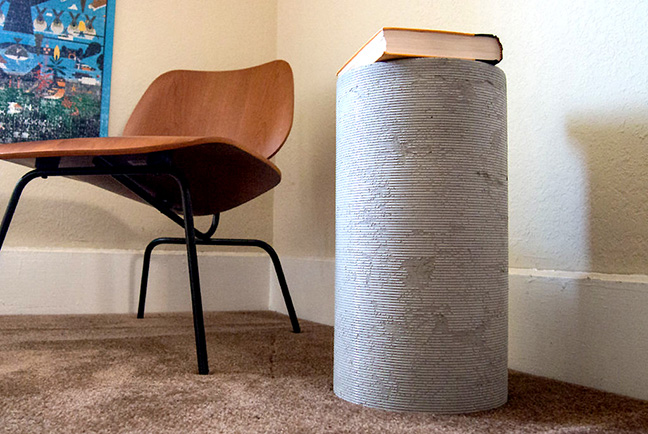
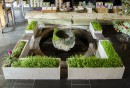
Concrete form tubes are really versatile and come in a huge range of sizes so they can be used to make a lot of different (cylindrical) things. The tubes can be packed to form planters, waste bin surrounds, small containers, or short side tables like this project.
Featured Projects