Birds!
Materials + Supplies:
• Cardboard Box
• Modeling Clay
• 2-Part Mold Rubber
• Mold Release
Tools:
• Scissors
• Tape
Size: 3" x 1.5" x 1.5" high
Color: Various
Technique: Cast
Birds!
ShapeCrete can mimic the finest details. This is a more advanced project because it involves creating a two-part rubber mold. After you get through that learning curve, you'll realize you can make a rubber mold of just about anything!
There are a lot of great Mold Making Tutorials on sites like Instructables and YouTube. Smooth-On and Polytek are two mold rubber companies who have great videos to check out if you're interested in learning more.
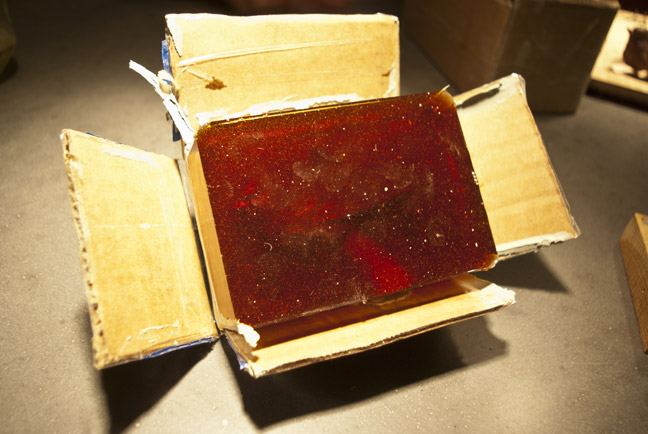
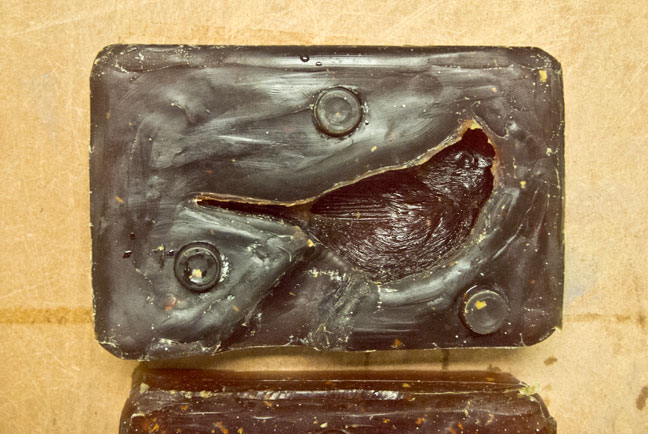
STEP 1: Pour the First Half
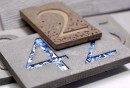
Press the bird down in the modeling clay and build up a clay tube so you have a place to fill (this is on the underside of the bird so it's hidden). We used a cardboard box as the exterior form.
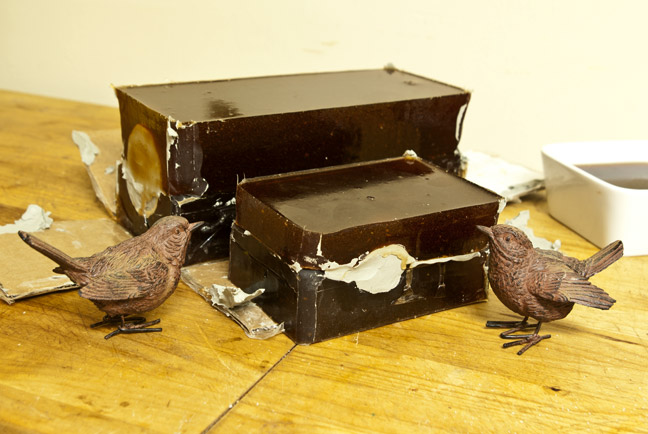
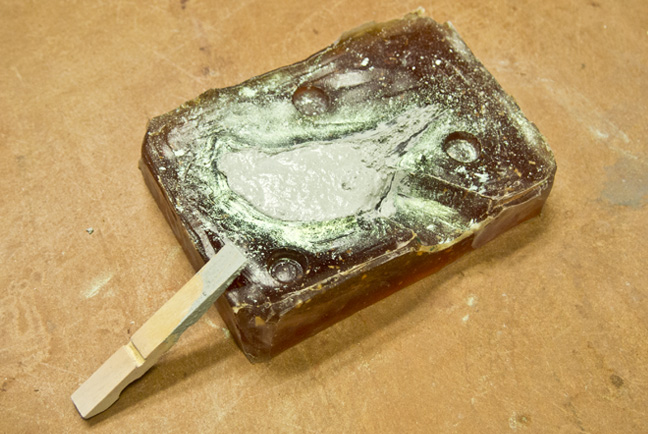
After the first half has been poured, it looks like this as it's coming out of the box:
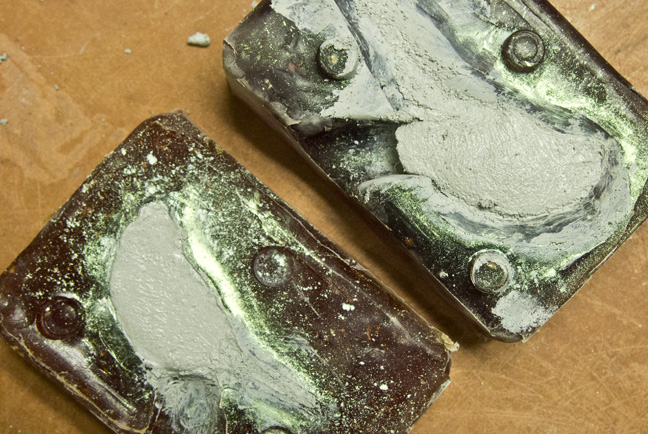
STEP 2: Pour the Second Half
Remove the rubber from the modeling clay, but don't remove the bird!
Place that half in the box with the bird side up. Again build a mound of clay so you have a place to fill the mold.

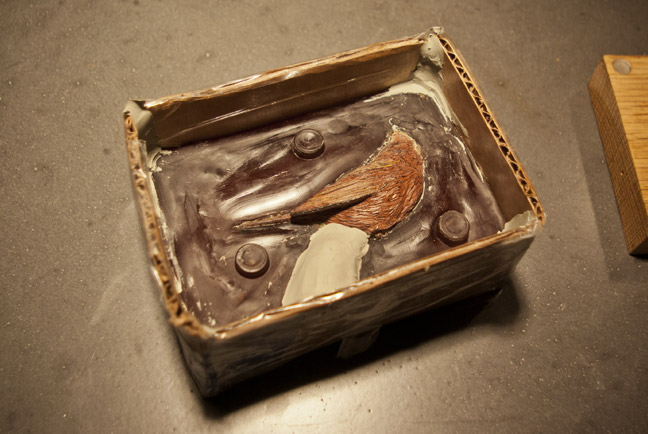
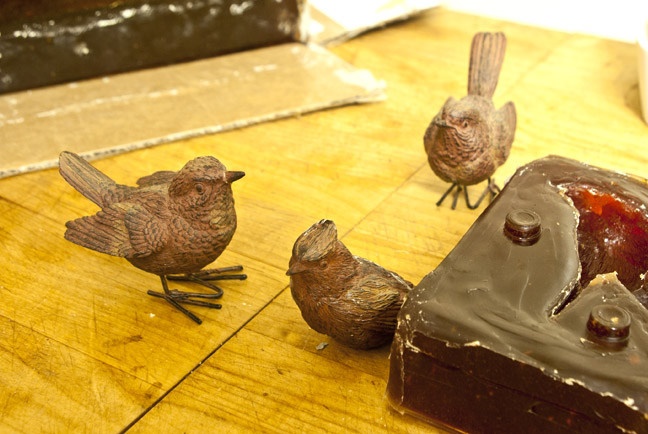
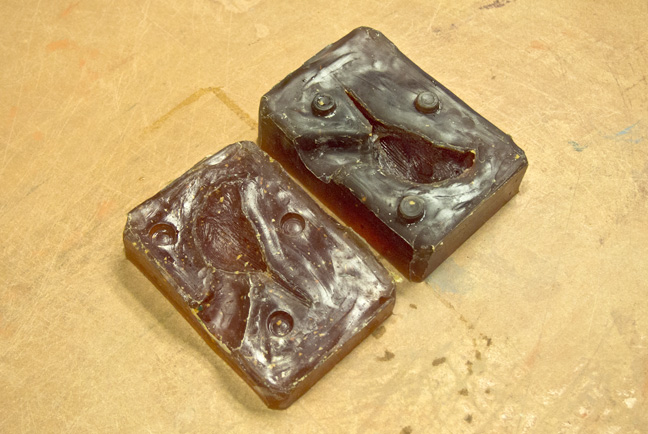
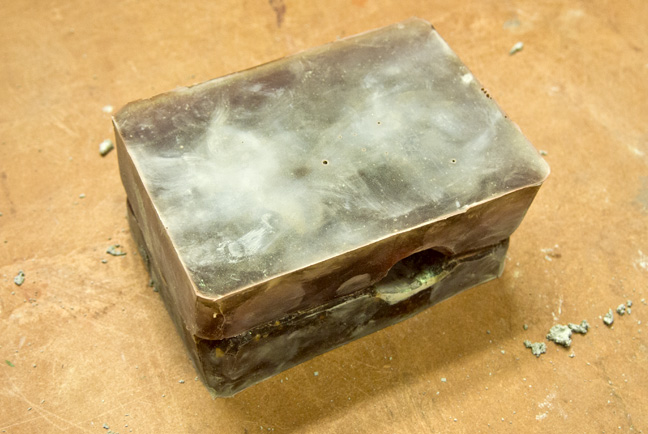
STEP 3: Completed Rubber Mold
The rubber cures in about 12 hours, and then the bird can be removed and join his friends again.
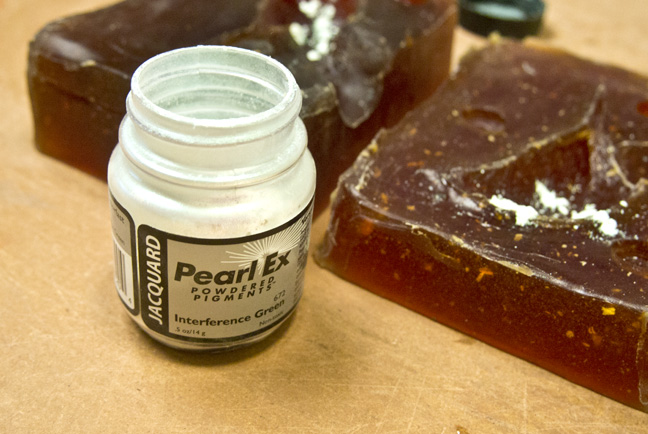
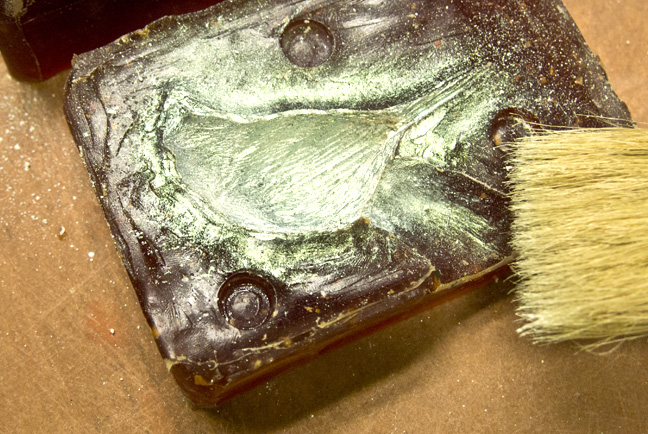
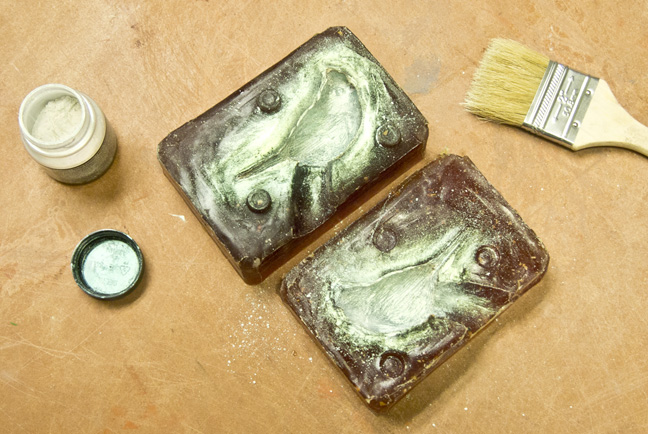
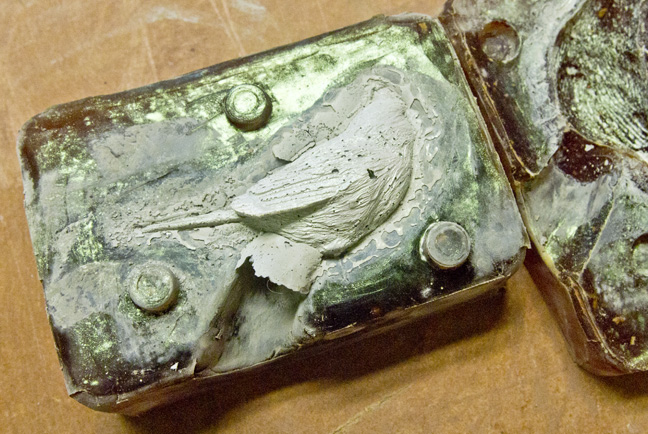
STEP 4: Add Incandescent Pigment to the Mold
Fill the mold with ShapeCrete. On a piece like this it helps to fill in the areas like the wing tips, tail, and the beak first. This will help minimize air bubbles. Then press the mold together and fill it until the bird is filled up.

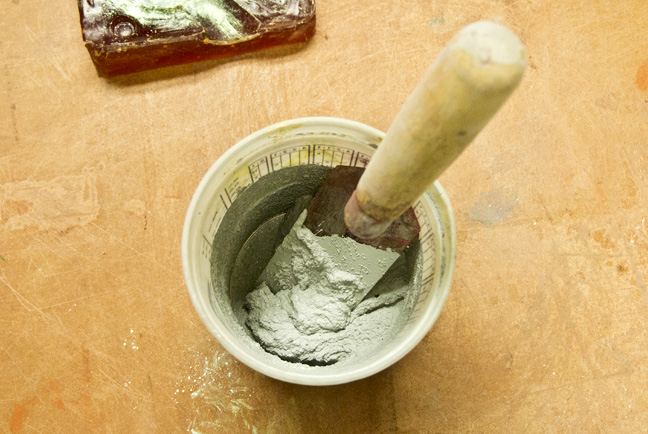
STEP 5: Mix and Fill Mold with ShapeCrete
STEP 6: Cover and Cure
STEP 7: Demold
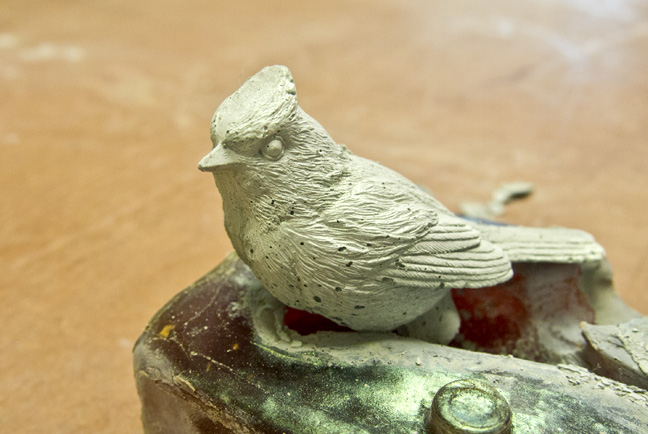
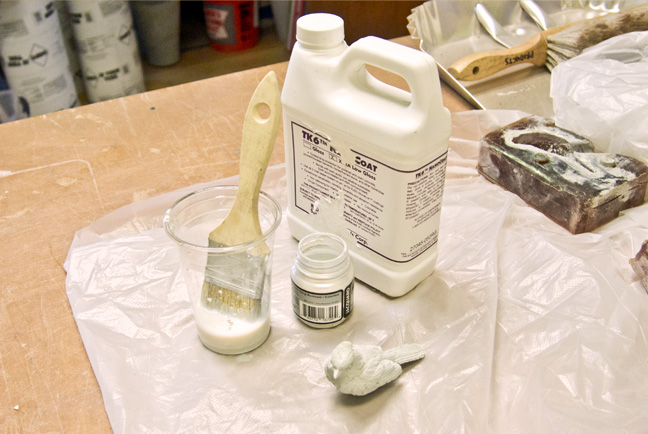
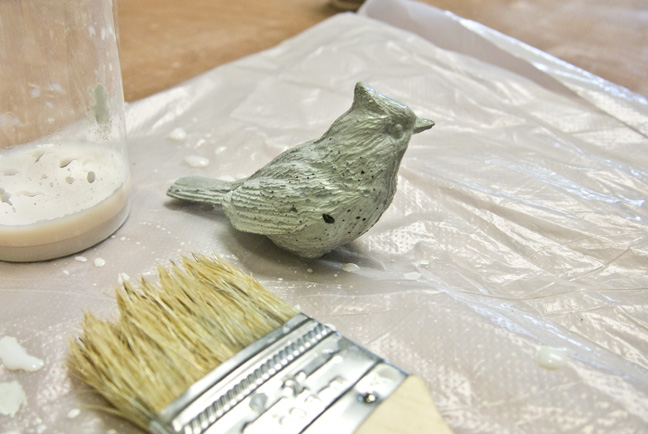
STEP 8: Seal
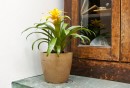
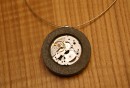
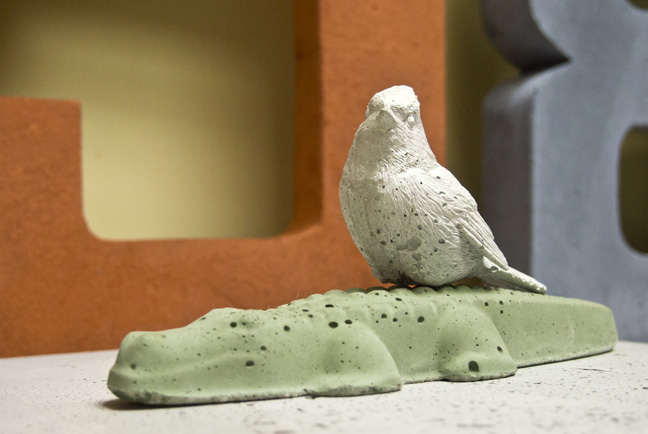
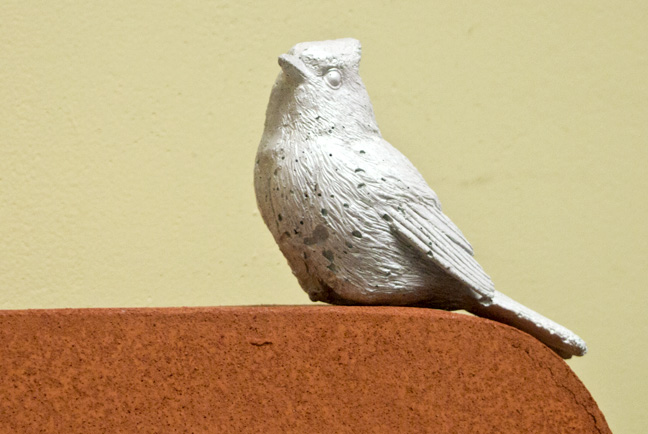
The Finished Piece:
Featured Projects