
Bonsai Planter
Materials + Supplies:
• Plastic Tupperware Container
• Soil, a Plant, Decorative Rocks
Tools:
• Masonry Bit and Drill (Optional)
Size: 12" x 12" x 2" high
Color: Chianti SmartColor Pigment
Technique: Packed
Bonsai Planter
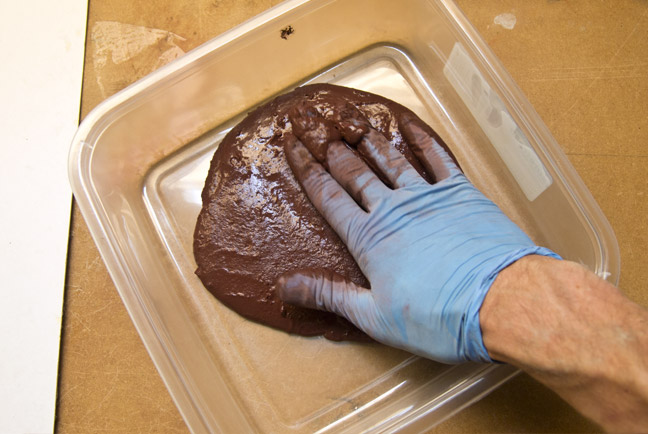
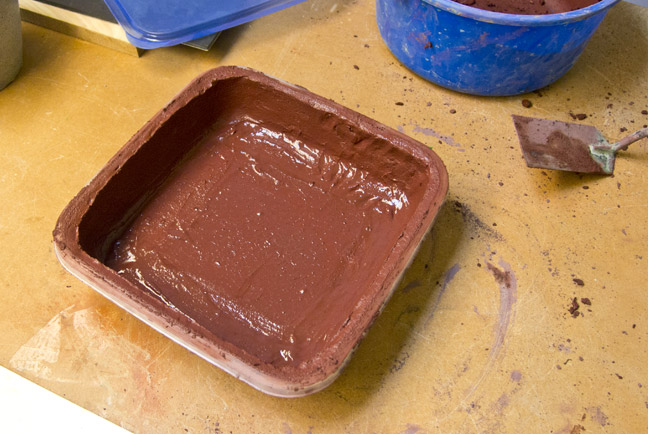
STEP 1: Pack the Form
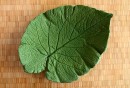
First pack the bottom of the form. Shake the container back and forth to help the mix flow out to a uniform thickness (about 1/4"). Dragging the mix up the sides of the container will help minimize the seam where the vertical and horizontal surfaces meet.

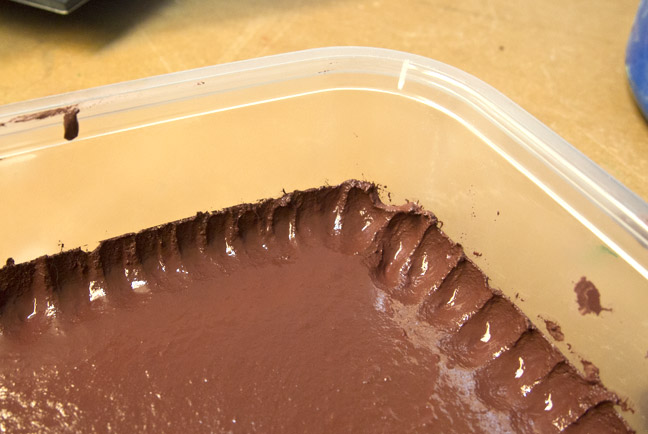
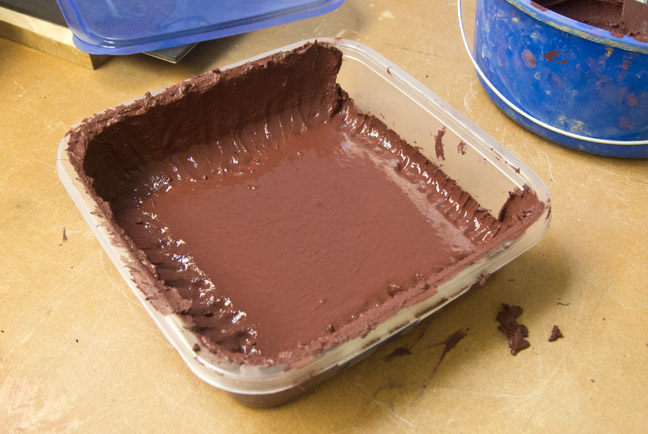
Pack the mix up the sides and smooth it out evenly as you go along. You can use a trowel to make the top edge flush with the top of the container.
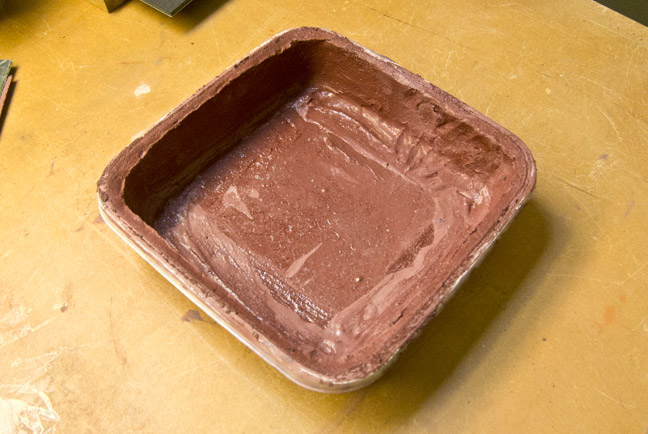
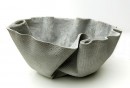
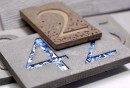
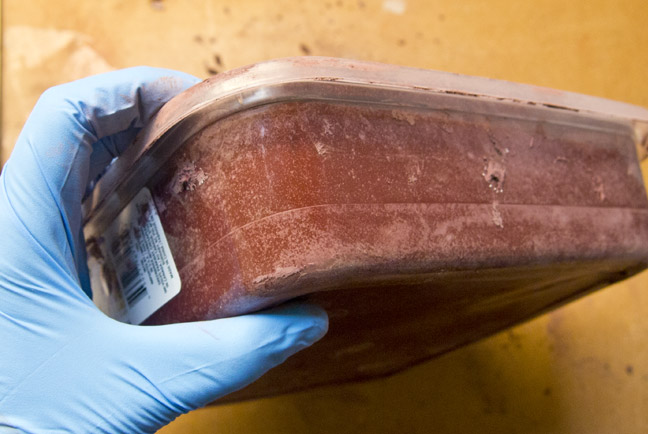
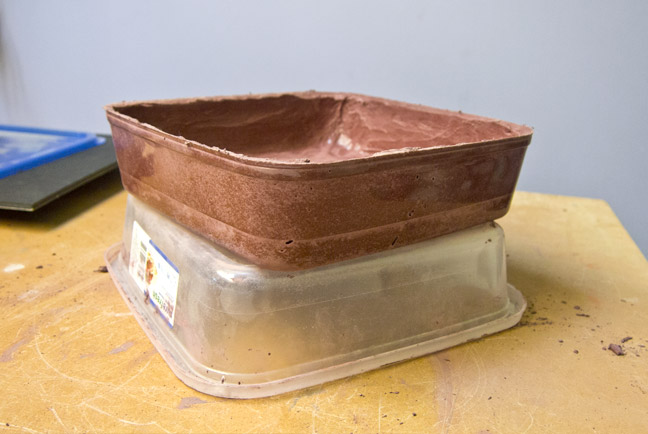
STEP 2: Demold
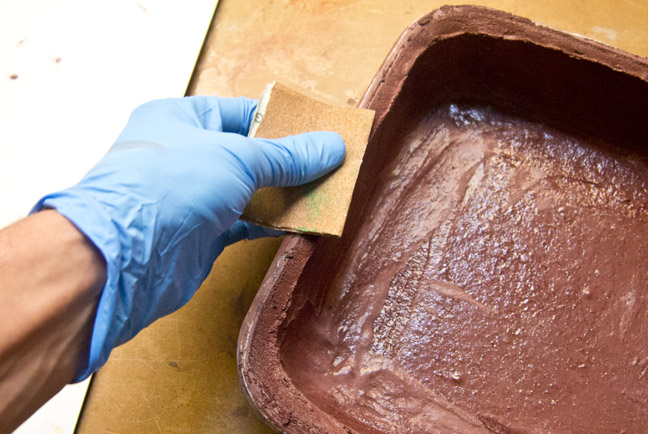
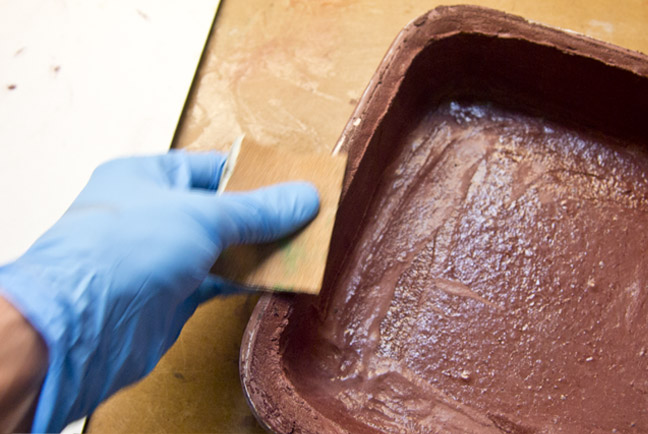
Before trying to remove the piece, sand the top edge down. This helps keep the edge from chipping when the piece is removed.
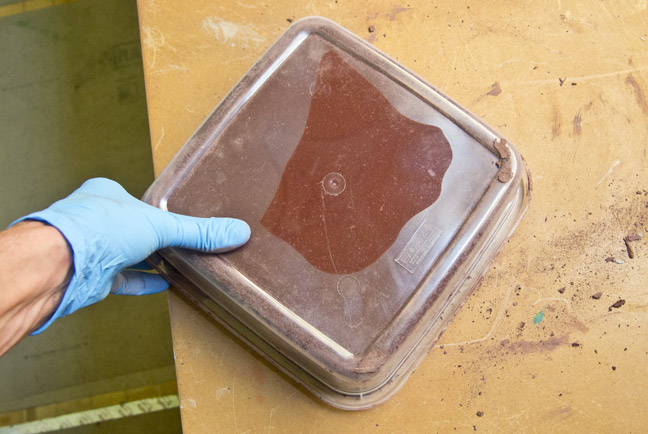
Gently pry the plastic away from the piece, working your way around. On a clear container like this, it's easy to see where the seal hasn't been broken yet.

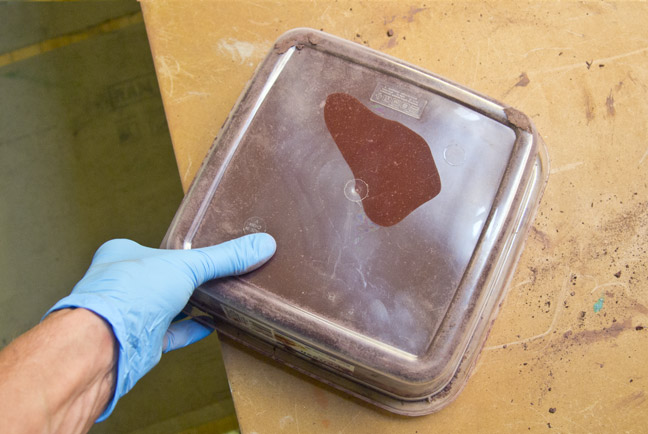
Move onto the bottom, gently prying at the plastic, then remove the piece from the form.
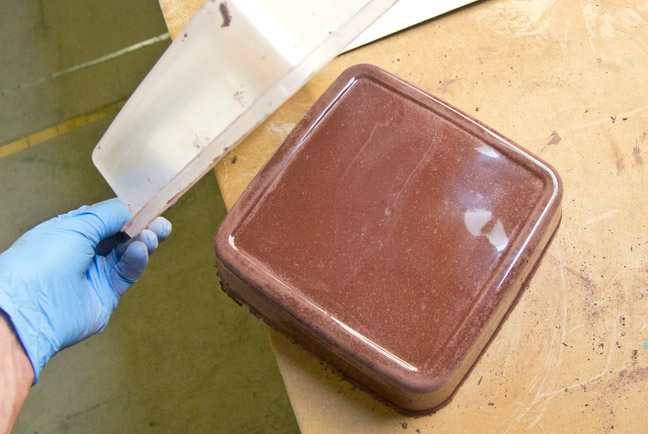
Lightly sand the top edge to smooth it out.
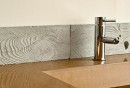
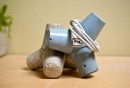
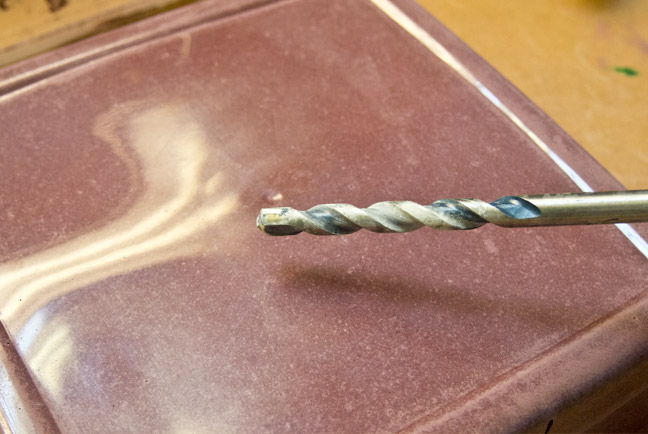
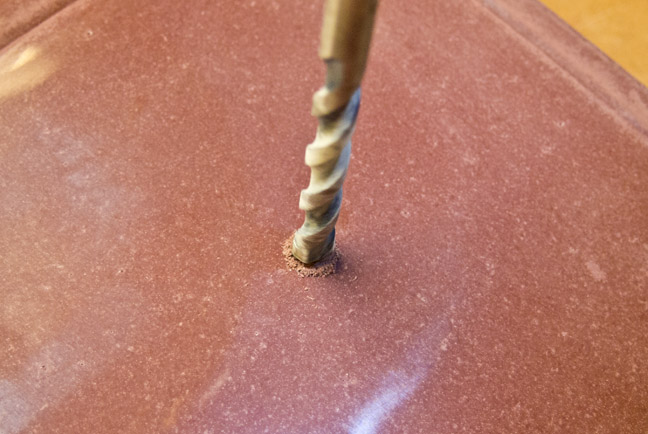
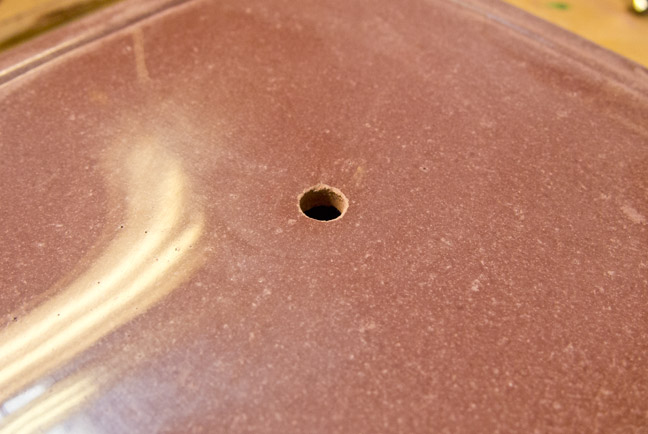
STEP 3: Drill Drainage Hole
This step can be done while packing the form, simply by poking a hole with your finger, but ShapeCrete is easy to drill with a masonry bit, and the holes are very clean.
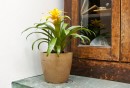
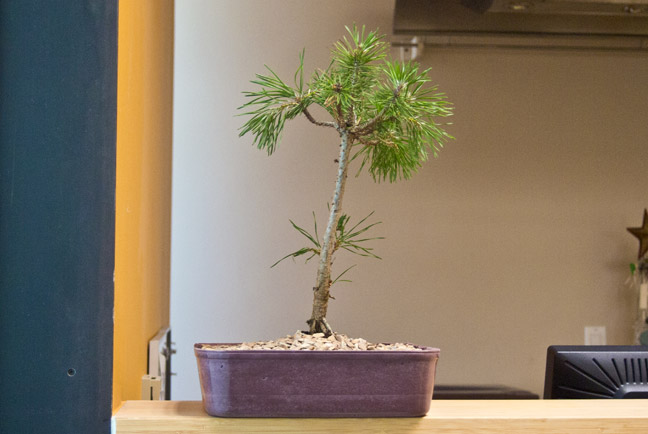
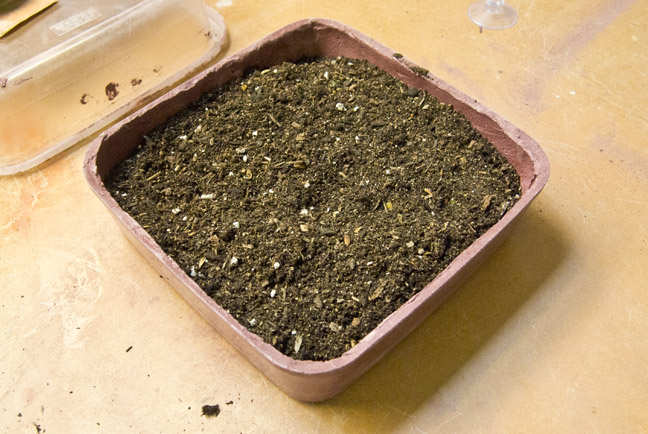
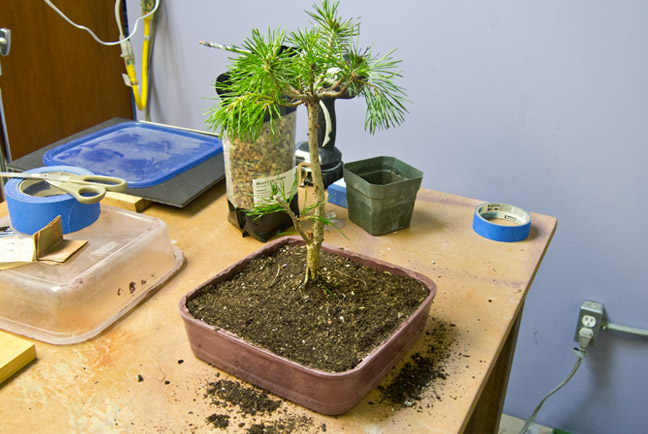
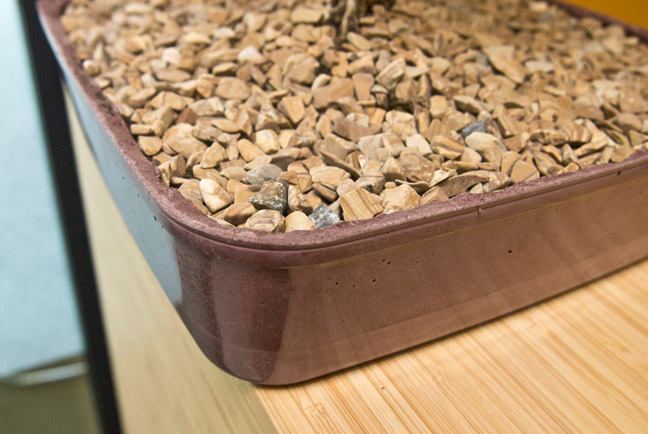
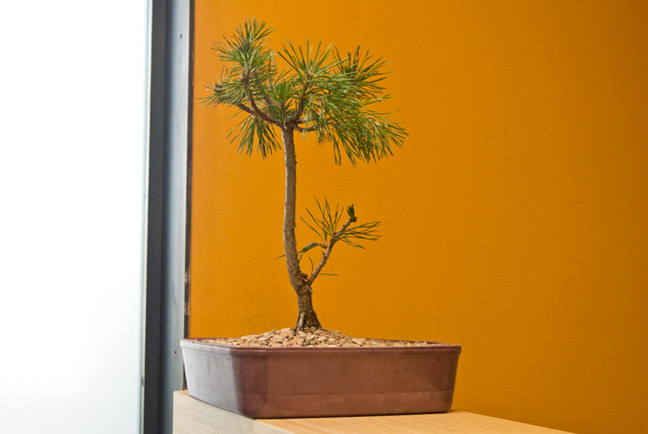
STEP 4: Plant
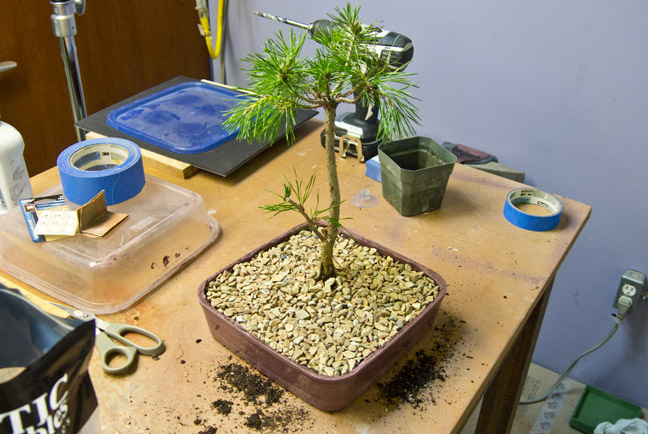
Fill the container with soil and the plant of your choice. You can put decorative rock of a contrasting color for a nice look.
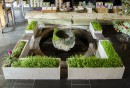
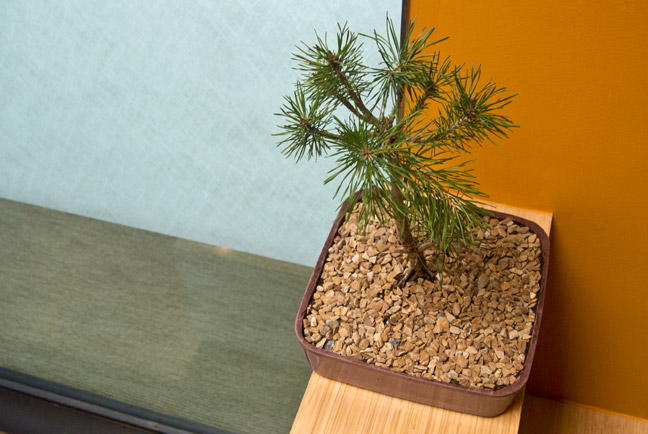
The Finished Piece:
Featured Projects