
Coffee Tabletop
Materials + Supplies:
• 3/4" Melamine
• Drywall Screws
• Luan for Making Template
• Clear Tape
Tools:
• Hot Glue Gun
• Cordless Drill
• Variable Speed Concrete Polisher (Optional)
Size: 60" x 26" x 1" thick
Color: Red
Technique: Cast
Coffee Tabletop
ShapeCrete isn't just for small projects!
This tabletop is an intermediate project due to the size and the tools needed to build the form. The project as shown here can be simplified in a lot of ways, and it can be scaled down to a more manageable size. Instead of making a top so large, you could use these same methods to make a smaller top for a side table.
Building the form requires using basic hand tools and a table saw or circular saw to cut the form walls. This can be simplified by using a Foam Forming System for Concrete Countertops instead of cutting melamine form walls.
This tabletop weighs just under 110 lbs. Mixing so much ShapeCrete at the same time is a lot easier with a good paddle mixer. You can still mix large batches using a wheel barrow and a concrete hoe.
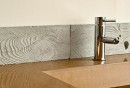
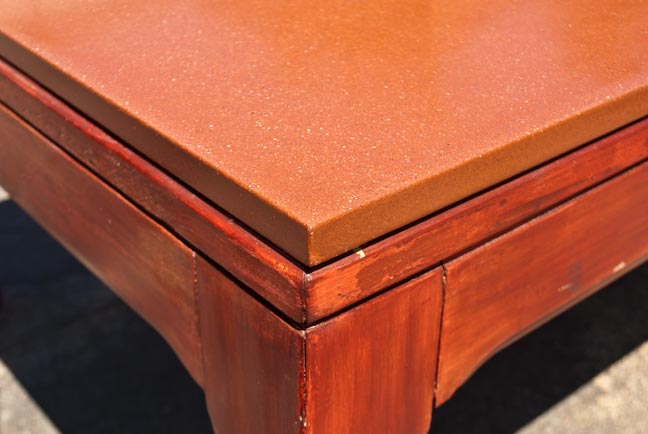
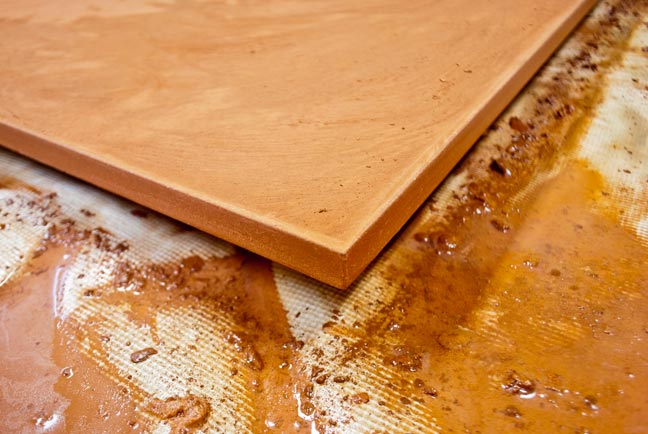
The final step of this project is polishing. This is absolutely optional. ShapeCrete will mimic whatever surface it is cast against. If that's a piece of very smooth plastic, the surface will be glossy and shiny. If it is a piece of melamine, it will have the texture of the melamine and will be a more matte finish. Polishing a top this size requires a variable speed concrete polisher and a set of diamond sanding pads.
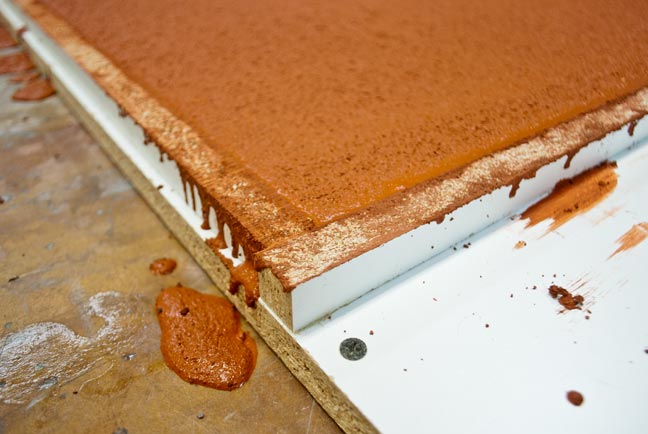
The thickness of the top is important. Too thin and it could be difficult to remove from the form, or not durable enough over time. Too thick and it will be extremely heavy. The top shown here is 1" thick. If this top weren't so long, it could be thinner, around 5/8"
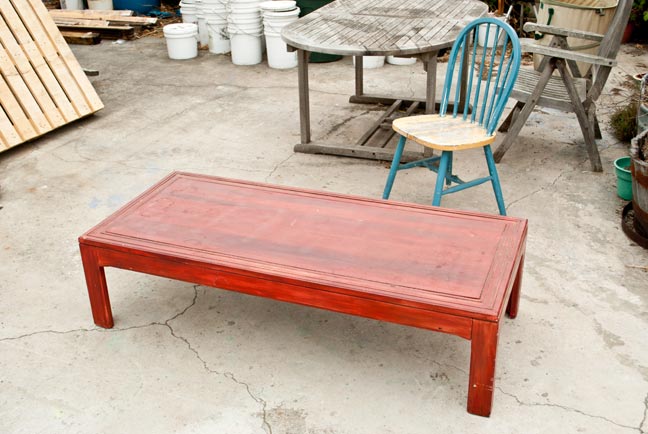
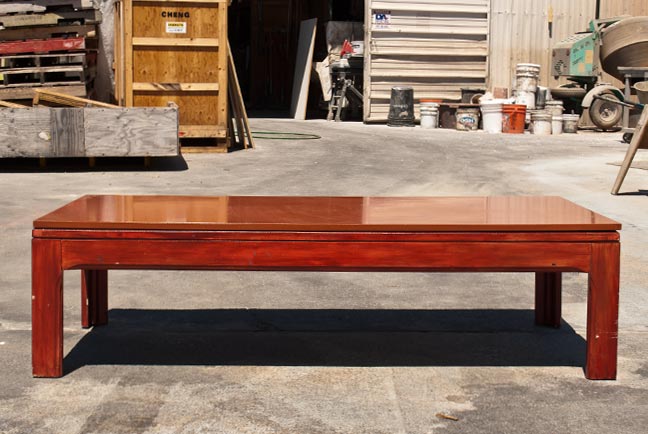
STEP 1: Table Base
The table base needs to be strong enough to support the weight of the top. If the table base is not very solid, it should be reinforced. A large top like this can weigh well over 100 lbs., even at just 1" thick.
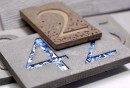
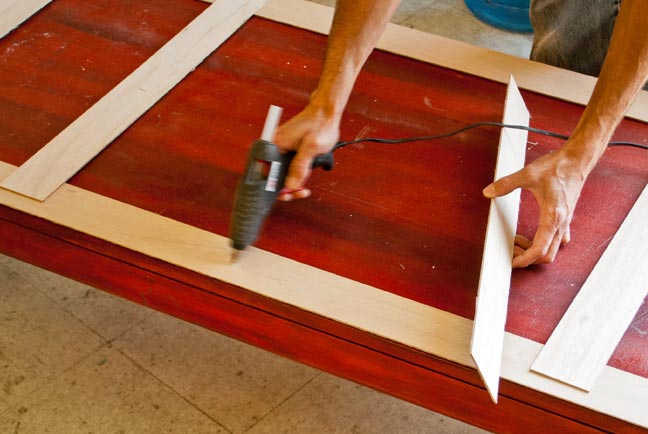
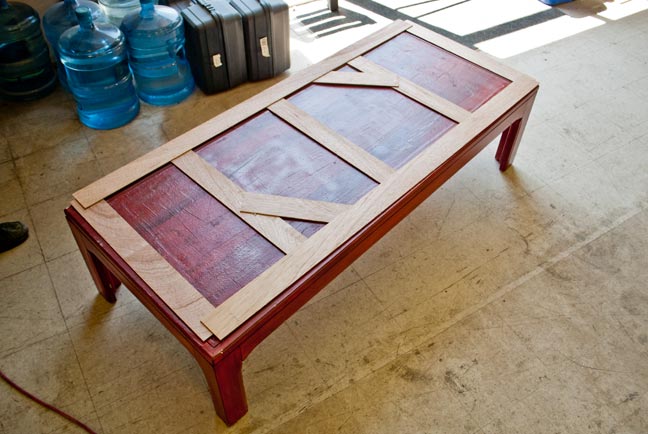
STEP 2: Templating
This step is optional, but it will help make sure the top fits the table base exactly. It's really helpful if you're dealing with an old wood table that was never precisely square to begin with.
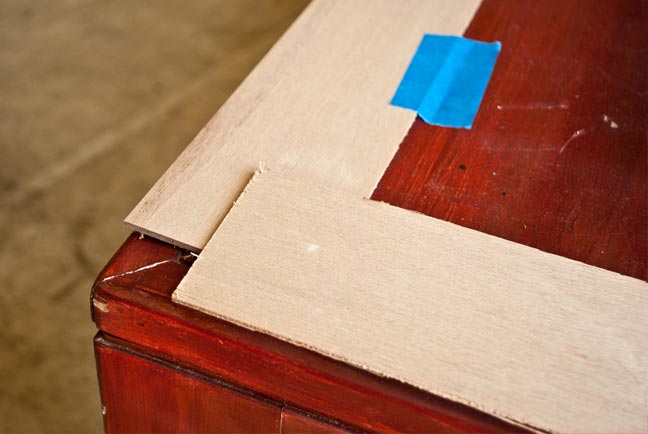
Use a thin, rigid material like Luan (door skin). Cut it into strips 3" wide. Cut the strips to length and stick them together with hot glue. Use blue tape to help hold the template in place.
When the template is built, mark which side is up. When you build the form below, you will flip the template and place it face down in the mold.
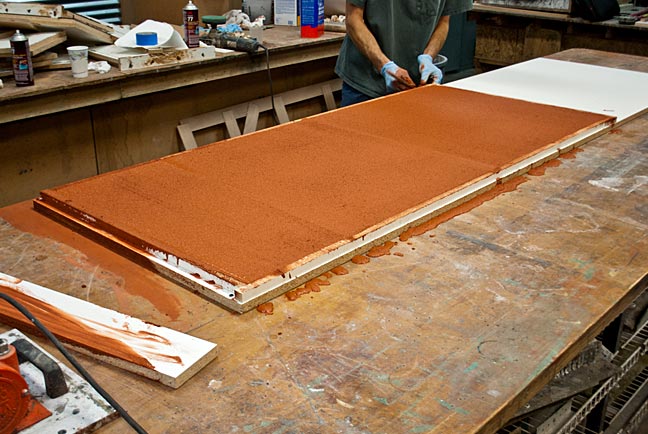
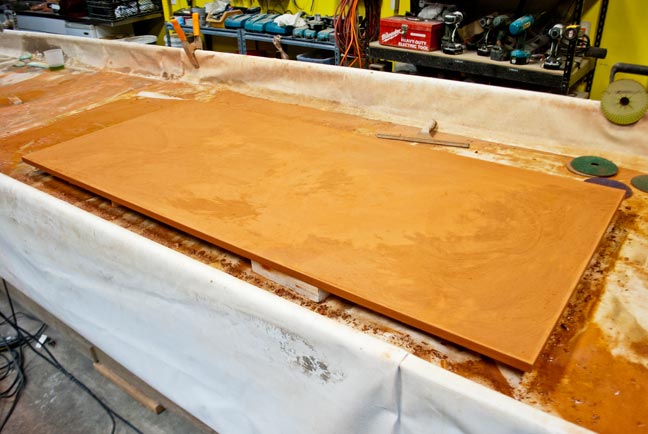
STEP 3: Build the Form and Cast
Flip the template upside down, so the top is face down against the form board. Build the walls around the template.
Cut strips of 3/4" Melamine Coated Particle Board to 1" (or however thick you want your tabletop to be). Then cut them to length and screw them in place around the form.
Mix 100 lbs. of ShapeCrete using a paddle mixer or similar. Fill the form completely, then use a scrap piece of wood to screed it flat.
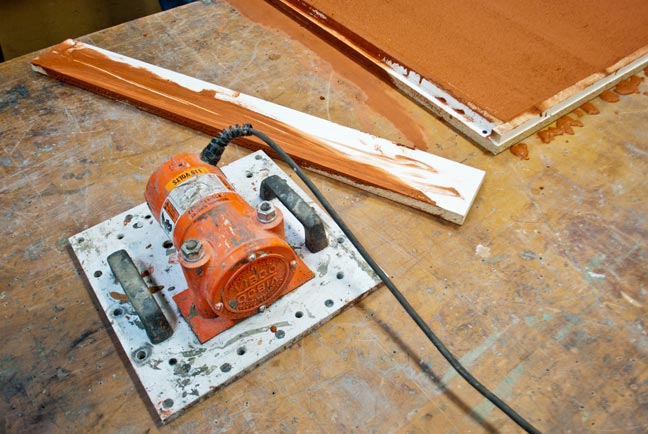
A concrete table vibrator is helpful in driving out air bubbles, but it's not necessary.
STEP 4: Slurry Fill and Polish
This step is optional, and not recommended if this is your first project. It requires a variable speed concrete polisher and adds more time to the project.
Any air holes can be filled with slurry (cement and pigment). Then the top is polished with a series of concrete polishing pads.
STEP 5: Finished Tabletop
.jpg)

Featured Projects