Jack-O'-Lantern
Materials and Supplies:
- Pumpkin Shaped Candy Pail (Walgreens / CVS / Dollar Store, etc.)
- 10 lbs. ShapeCrete
- Rubber Gloves, Dust Mask, Mixing Supplies
- Plastic Sheet
- Permanent Marker
- LED Light, Candle
Tools:
- Scissors
- Utility Knife
- Spoon
- Misc. Carving Tools
Jack-O'-Lantern
Neighborhood vandals always kicking your jack-o'-lanterns? This year, why not surprise them with something more concrete?
This is a really quick project and much less messy than carving a real pumpkin, except you don't get to bake and eat the seeds or throw the slimy stuff on your friends and family.
All you need is a plastic pumpkin from the dollar store, a box knife, and about half a bucket of ShapeCrete.
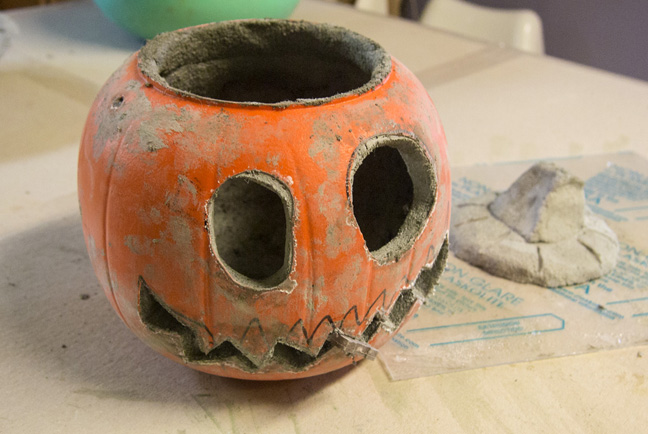
Step 1: Draw and Cut your Design
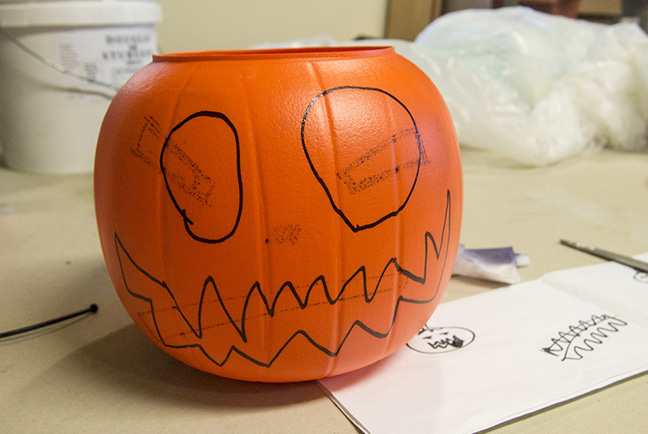
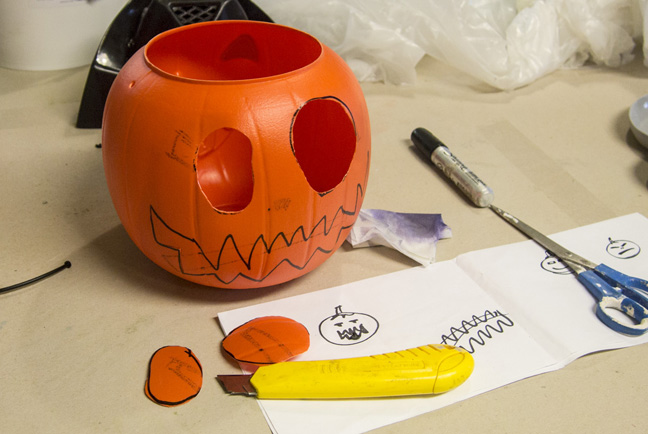
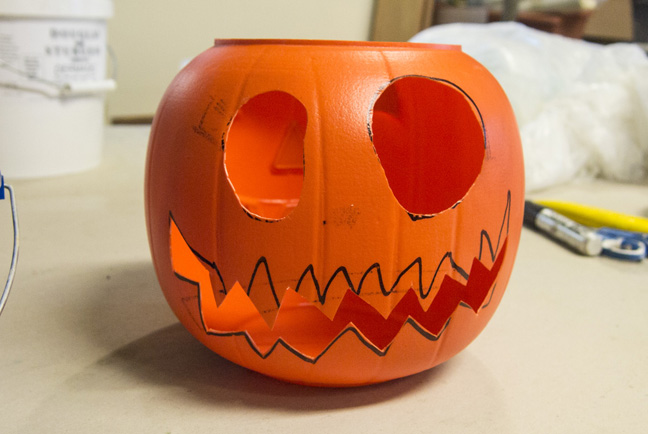
Draw out the design on the pumpkin with a marker. If you don't like what you've drawn, start over by erasing it with rubbing alcohol.
Carefully use a utility knife to cut out the shapes.
Step 2: Pack it with ShapeCrete

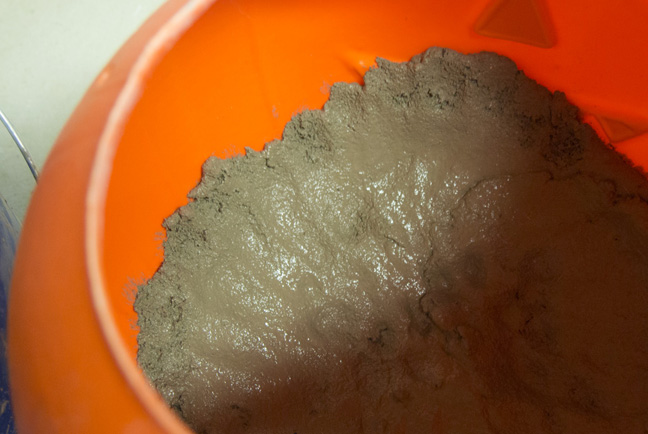
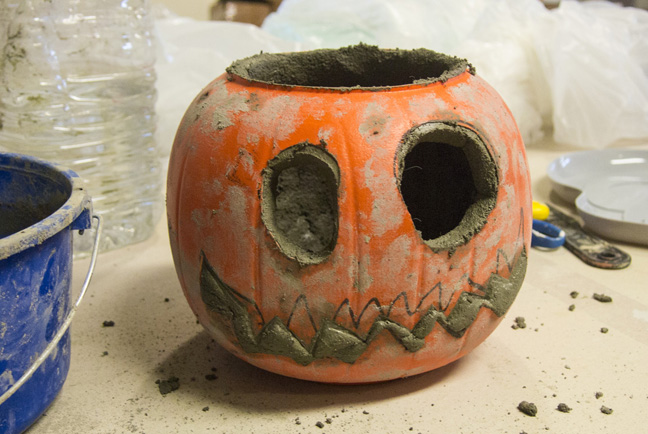
Mix ShapeCrete to a Clay-Like Consistency.
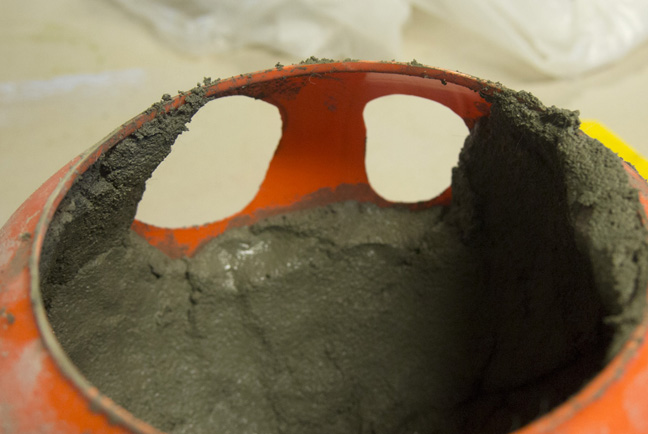
Pack the mix in the form, starting from the bottom and working upwards. This piece is about 5/8"-3/4" thick.
Larger holes can be left open, but in this case the mouth had to be packed and then carved away. If we didn't do this, the walls would probably slump down. They need a little bit of support at first, but as the mix stiffens up, it'll stay in place.
Pack up to the top opening. It helps to roll the mix over the edge a bit to get it to hang in place when the shape curves in on itself like this.
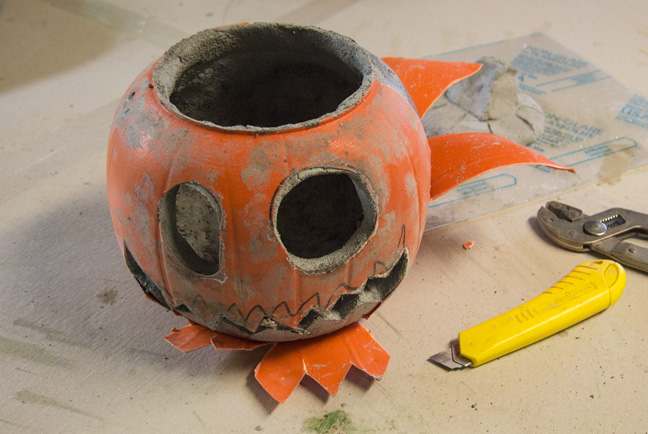
Step 3: Carve out the Mouth
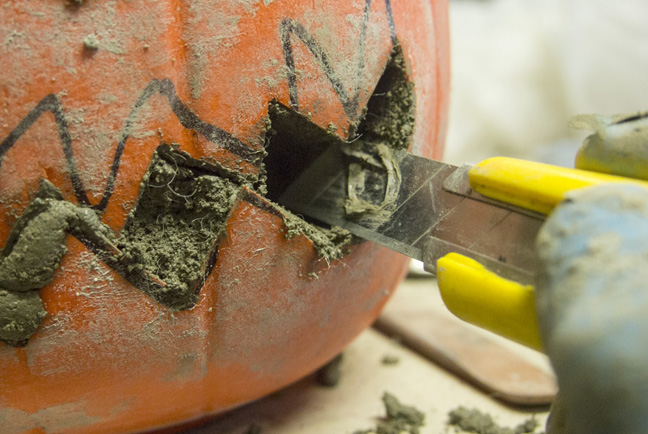
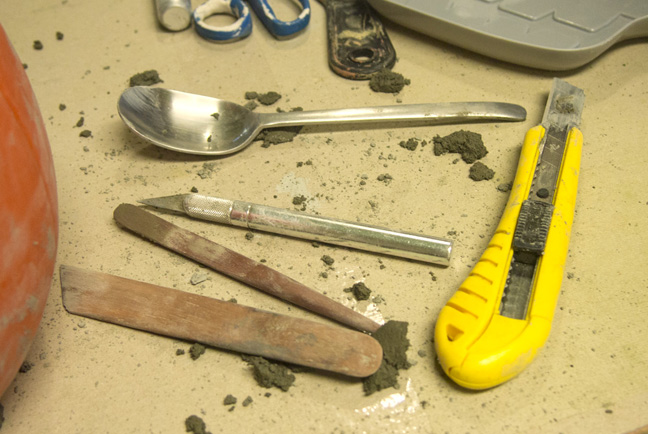
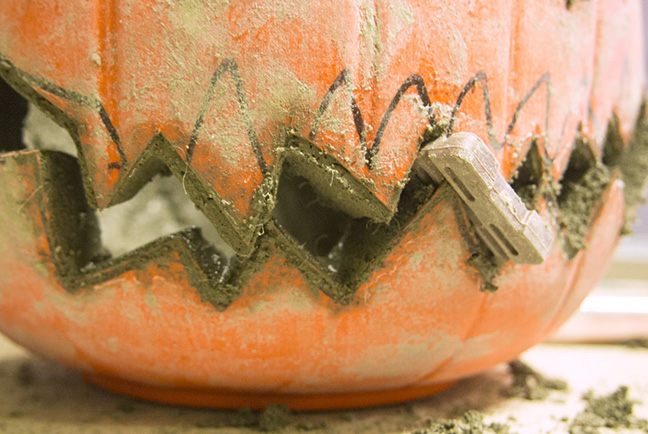
The utility knife is really useful here. You slice the mix, gradually digging it out, and then smoothing the cut with the side of the blade. This will give it a nice flat surface.
The smaller tools are useful for the more detailed spots. The handle of the spoon was good to smooth out the tight places.
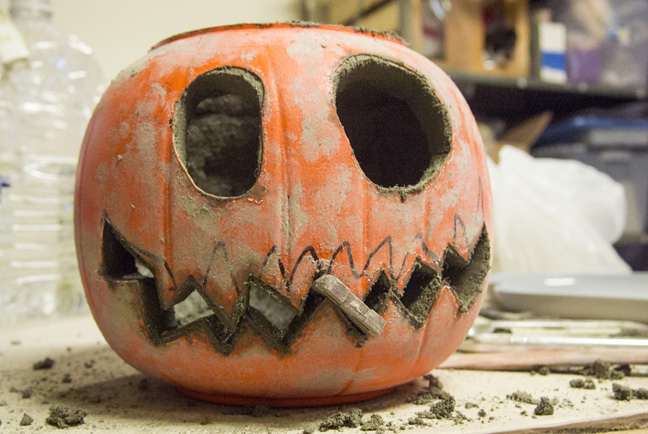
The weight of the piece was pulling the mouth down, so I put a plastic wedge in there to help hold it up. In hindsight, this wasn't a great idea because it was a pain to remove and had to be drilled out. If this happens to your piece, use a piece of cardboard or something less rigid instead.
You have at least 30 minutes of work time and more depending on the environment. In a cool, shady spot, you'll have more time than out in the hot sun.
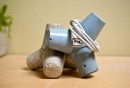
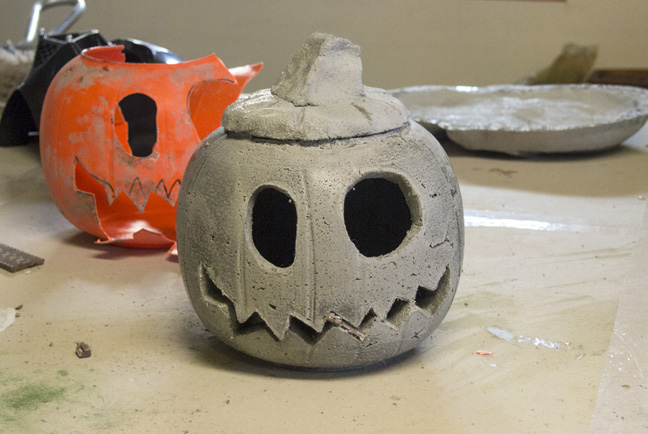
Step 4: Shape the Top
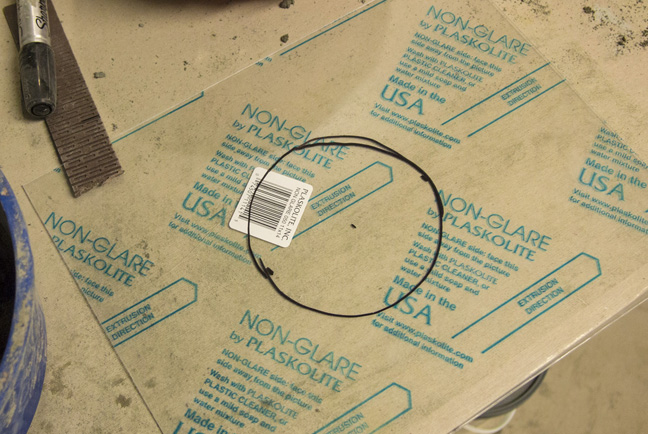
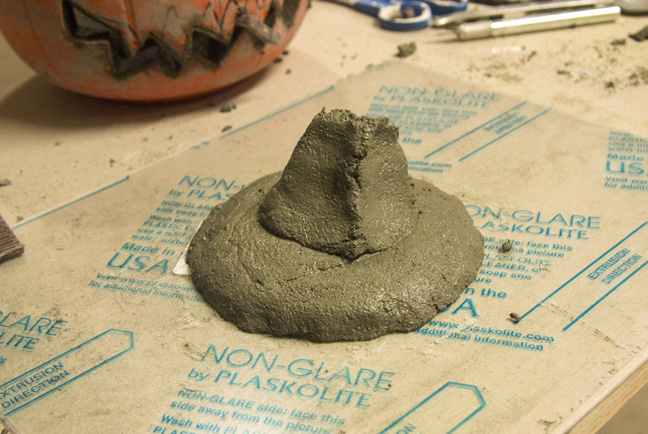
On a clear piece of plastic, draw out the approximate diameter that the top should be.
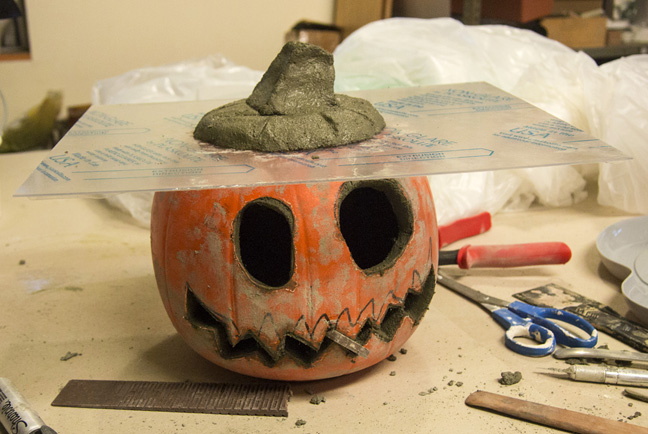
Shape the top by hand and use different tools to add detail.
The nice thing about the clear plastic is that you can put it on top of the pumpkin and see how it lines up.
When you're finished carving, cover the pieces with plastic and let them cure for 24-48 hours depending on the level of detail in your piece. This one came out of the form the next day.
Step 5: Remove the Form
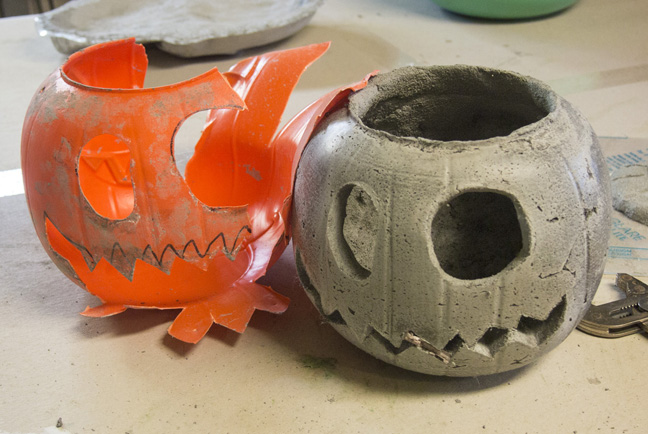
The plastic mold has to be cut away. Do this carefully so you don't slice into the piece or yourself.
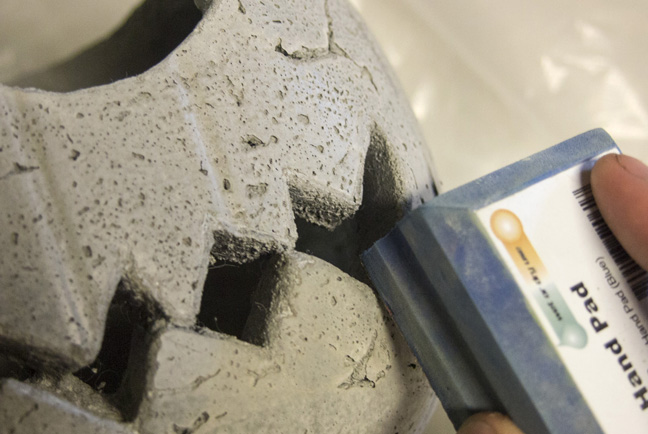
Use diamond hand pads or sandpaper and files to finish the edges. I used a flat screwdriver and banged on parts of it with a hammer to clear out the mouth a bit more.
Step 6: The Finished Piece
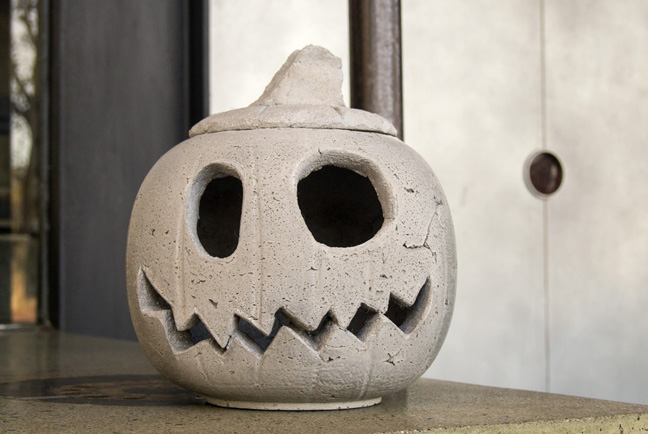
Put a tea light or LED light in the pumpkin and that's it.
The piece can be stained or painted if you want a more convincing pumpkin and you really do hope to break some toes this year.
Have a happy halloween!
Featured Projects