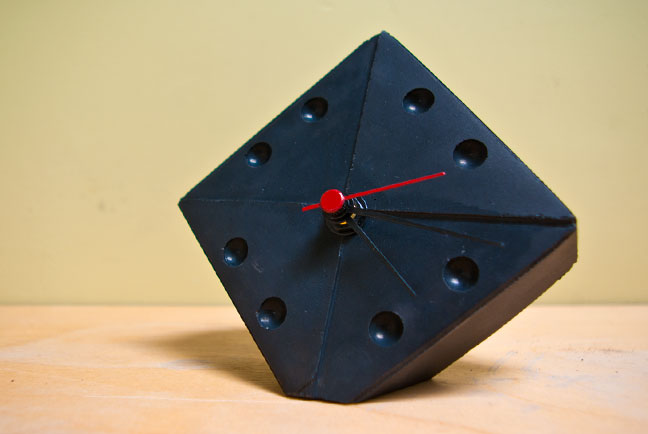

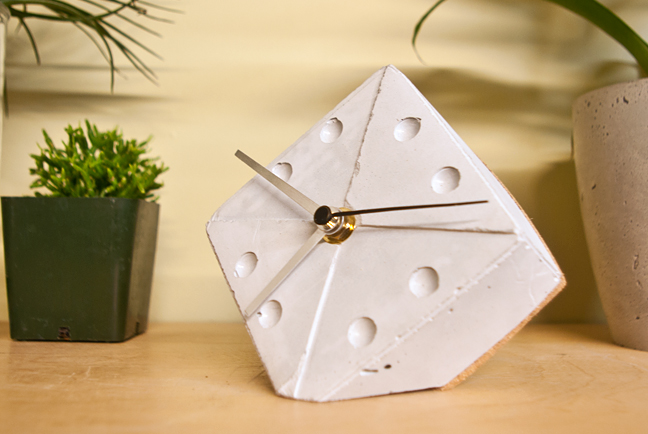
Juice Box Clock
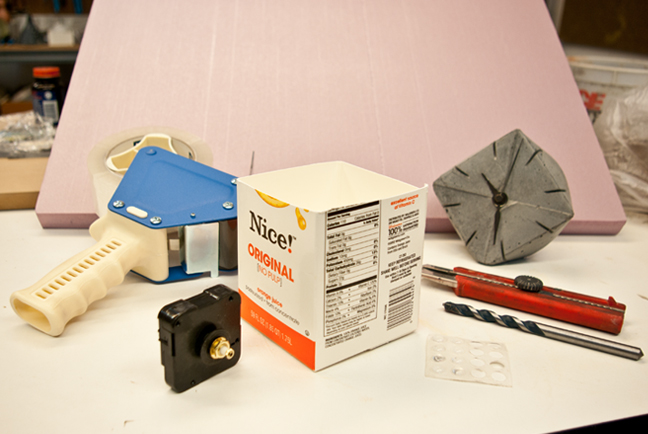
Materials + Supplies:
• Juice Box
• Clock Mechanism
• Foam Knockout
• Clear Tape
Tools:
• Drill and Masonry Bit
Size: 5" x 5" x 1 .5" high
Color: Charcoal SmartColor Pigment
Technique: Cast
Juice Box Clock
Video Instructions:

A cardboard juice container has a plastic lining, making it perfect for casting ShapeCrete! This project will demonstrate how to make a clock from a juice box, a few pieces of foam, and a clock mechanism that you can find at your local hobby shop.
STEP 1: Gather Supplies
The supplies for this project are easy to find and the whole project only takes 30 minutes to 1 hour.
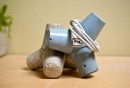
STEP 2: Clock Mechanism Knockout
Trace around the clock mechanism on a piece of 1" thick insulating form or styrofoam. Make it about 1/4" oversized, then cut it out with a hand saw or utility knife.
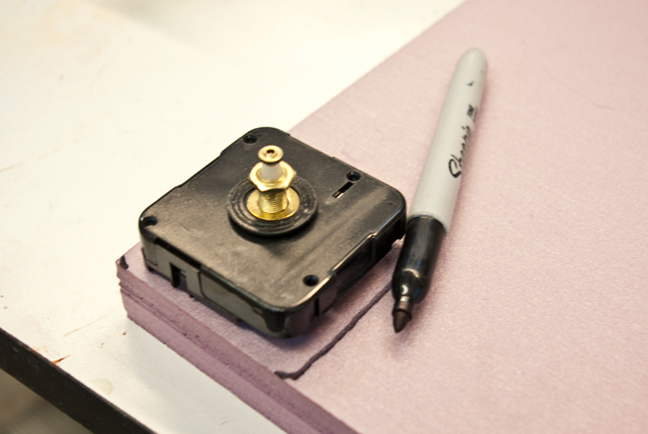
Sand the edges of the foam and round the corners a little bit. It's important that the foam is thicker than the body of the clock mechanism.
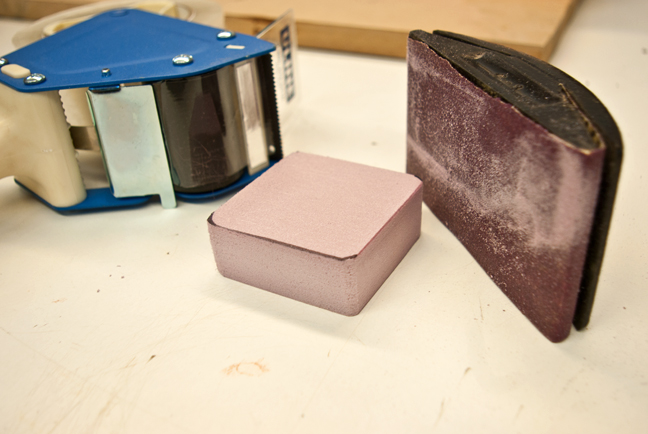
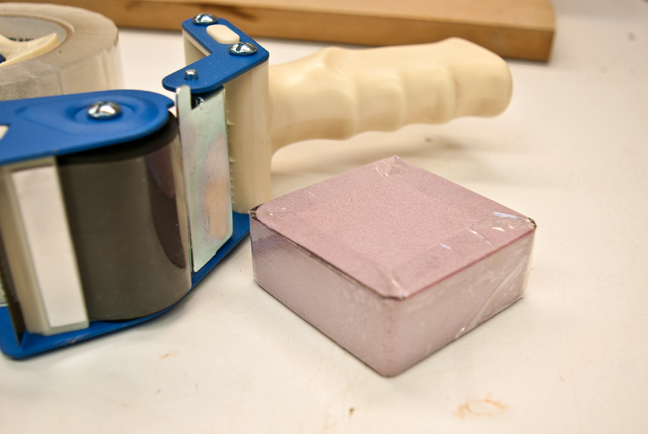
Cover the knockout with clear packing tape. This will make it easy to remove from the finished piece.
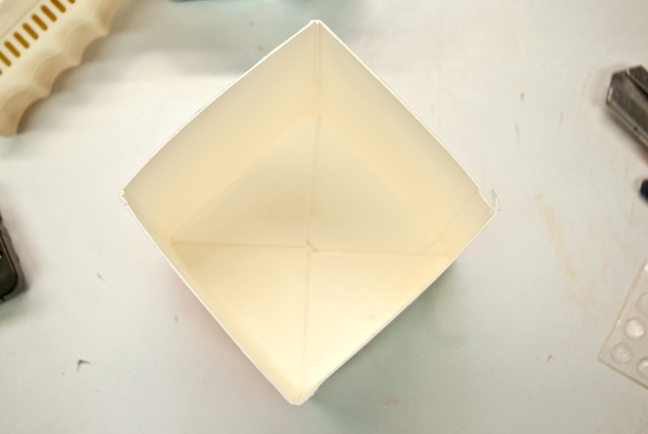
STEP 3: Make the Form
Cut the juice box down to the desired thickness with a utility knife or razor blade.
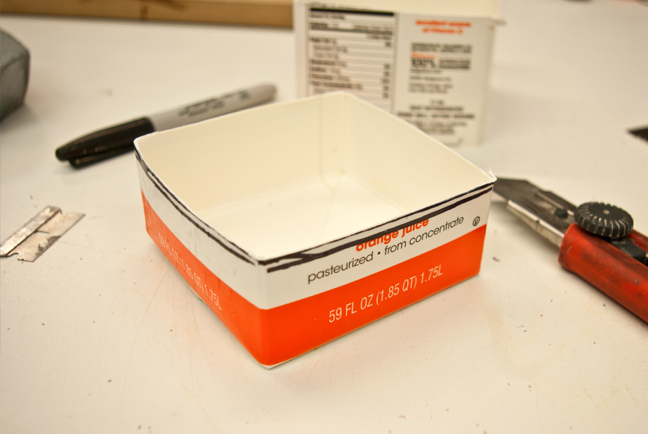
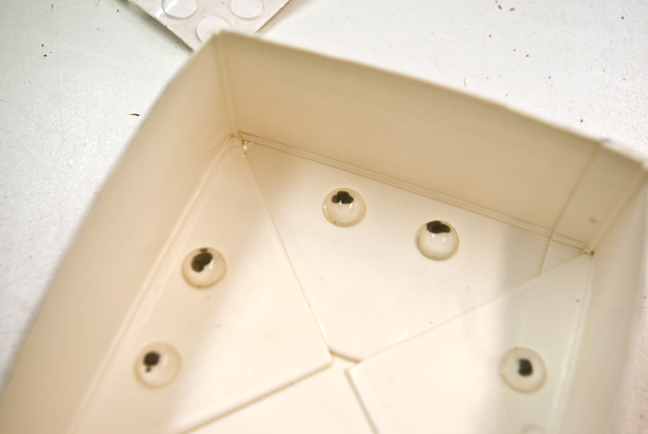
Vinyl Furniture Bumpers can be stuck down to the box to create marks for the different hours of the day and night. You will find these bumpers in the hardware store and they have an adhesive backing, so you just peel them off and stick them down. Make some marks on the box with a marker so you know where to stick them down.
STEP 4: Base Knockout
To make this clock tilt back slightly, we've cut a piece of foam to place in one corner. There is a little bit of trial and error to get the foam to be the right shape, but it should be the same height as the cut-down juice box, and the angle shouldn't be too steep, otherwise the clock won't stand up.

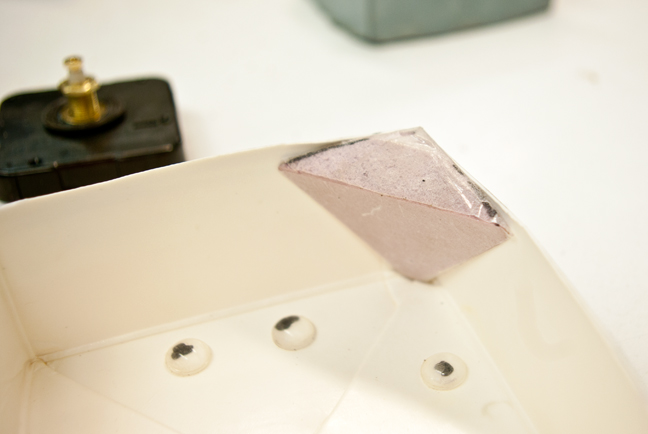
Cover this piece with clear packing tape and use spray adhesive to glue it inside one corner of the box. Pay close attention to the way the foam is stuck in the box, and remember that the bottom of the box will actually be the front face of the finished piece.
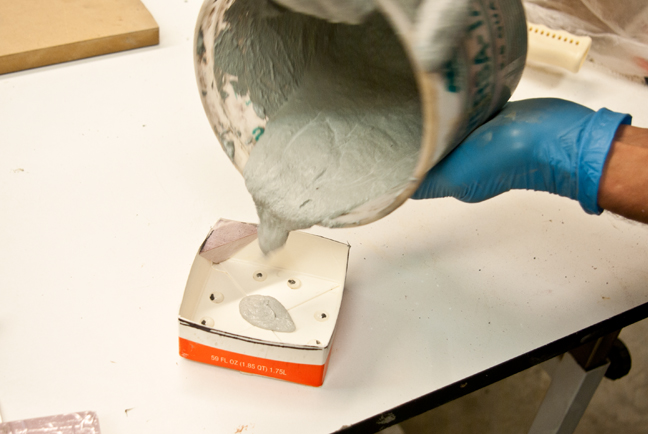
STEP 5: Mix and Pour
Mix ShapeCrete to a Castable Consistency. For this project we've added white pigment so the piece will be a lighter shade of grey. Pour the mix into the form, but don't fill it all the way to the top. Fill it about halfway and then press in the foam knockout for the clock mechanism.
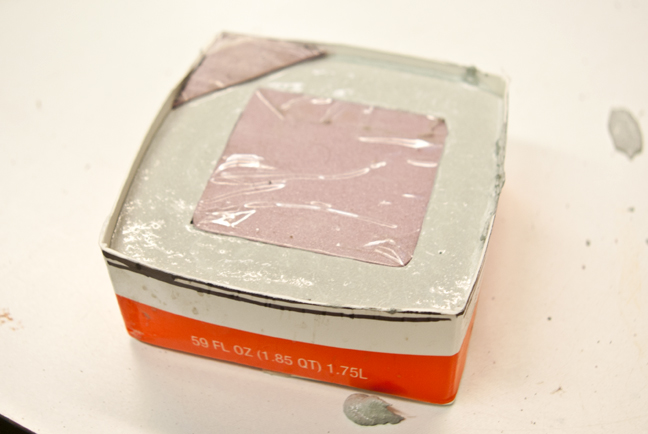
Gently press the knockout down into the mix. Add more mix if necessary, and wait a few minutes to build it up around the edges so it's even with the top of the form. If the knockout floats up, put a small weight on it to hold it down in the mix.
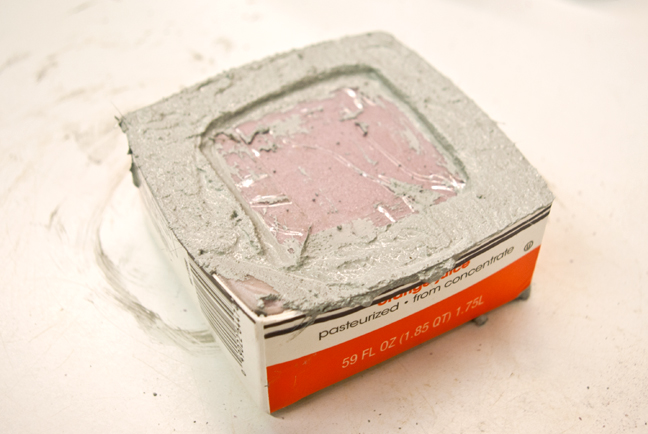
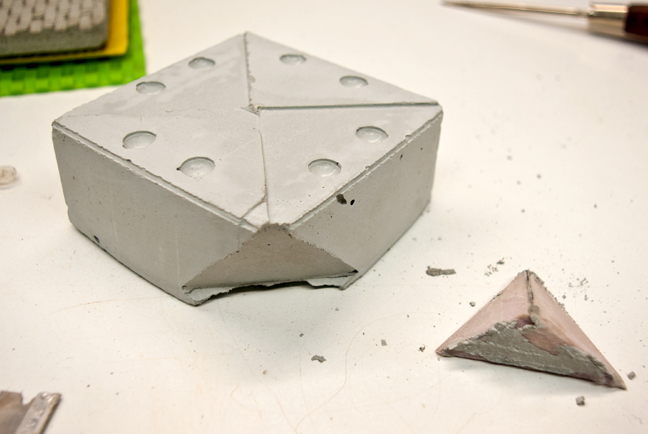
STEP 6: Remove the Form
Slice the juice box open on the corner with the knockout. This way you won't be cutting into the finished piece. Then peel the juice box away.
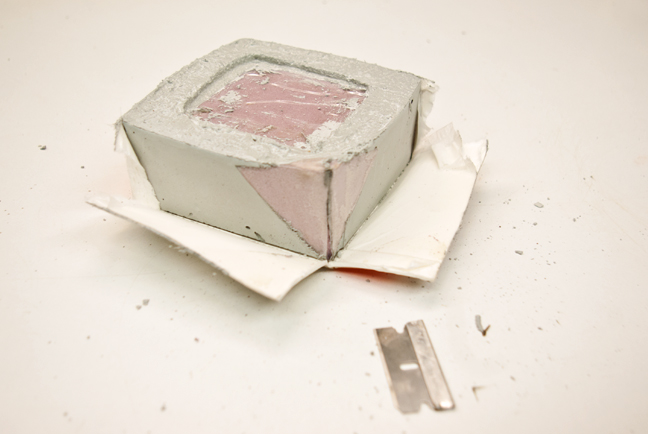
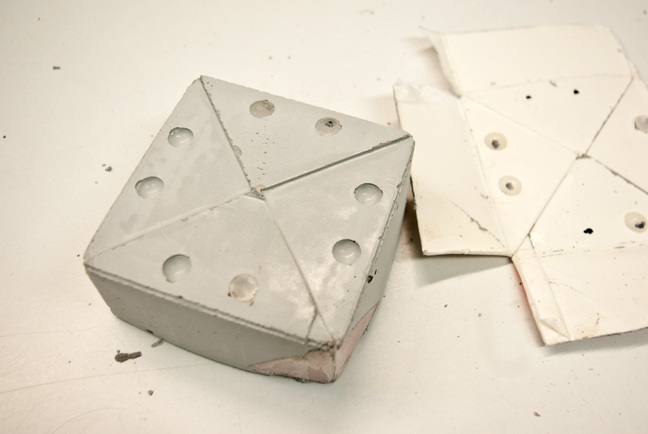
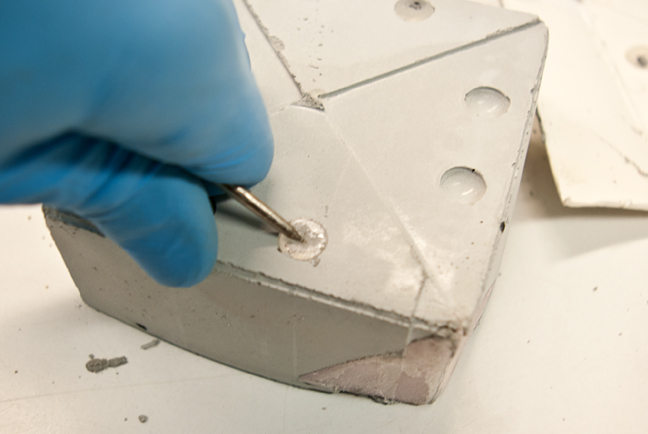
Remove the vinyl bumpers with a small flat screwdriver or an awl. Be careful not to damage the piece!
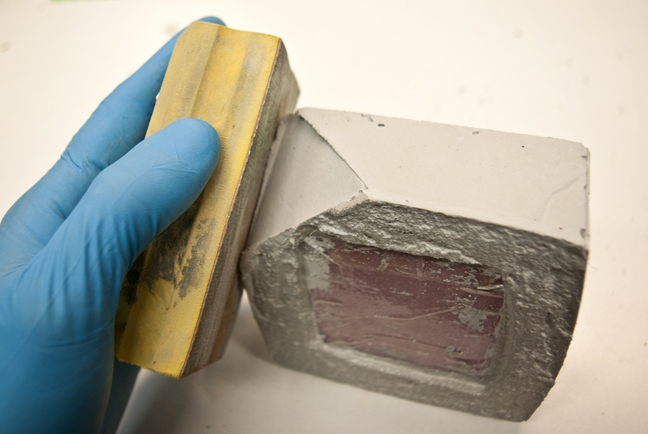
Remove the base knockout and sand the edges with a diamond hand sanding pad, sandpaper, or file.
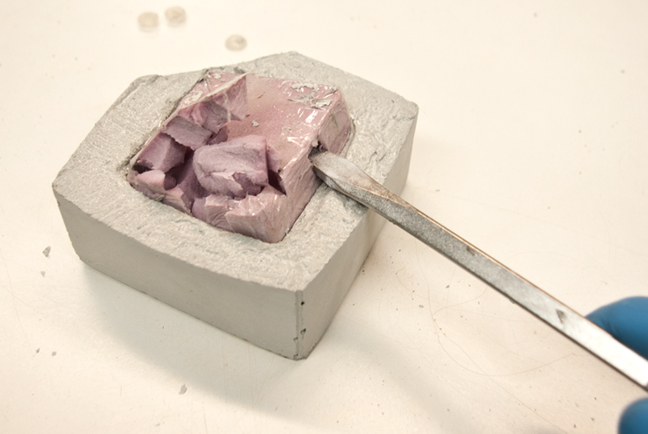

Remove the clock mechanism knockout with a flat screwdriver. Test fit the clock mechanism. If it doesn't fit, start over! ;)
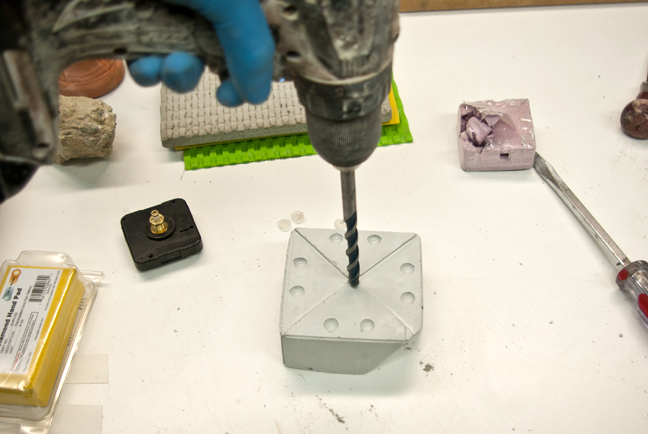
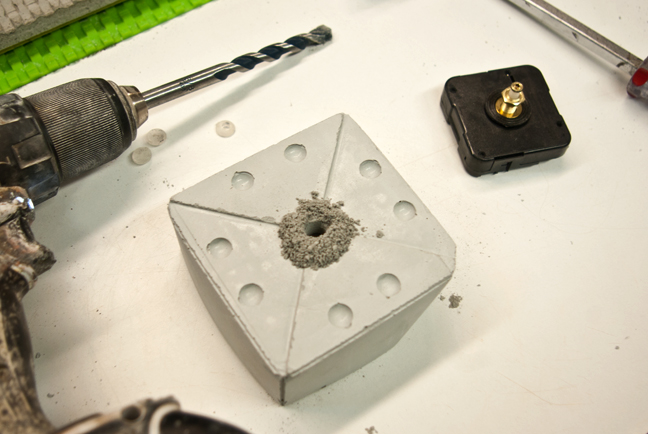
STEP 7: Install the Clock Mechanism
Drill a 3/8" hole in the center of the piece with a masonry bit. Do this from the front side, and drill slowly, making sure to stay on center.
.jpg)
Install the clock mechanism. The thickness of the face of the piece will determine how long the threads on the clock mechanism need to be. This is good to plan in the beginning. If the mechanism won't pass through the face, you probably need a longer threaded piece. If it sticks out a lot, find a shorter one. This example cut it pretty close, but with a little bit of extra grinding on the front and back side, the nut finally screwed on.
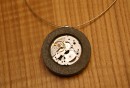
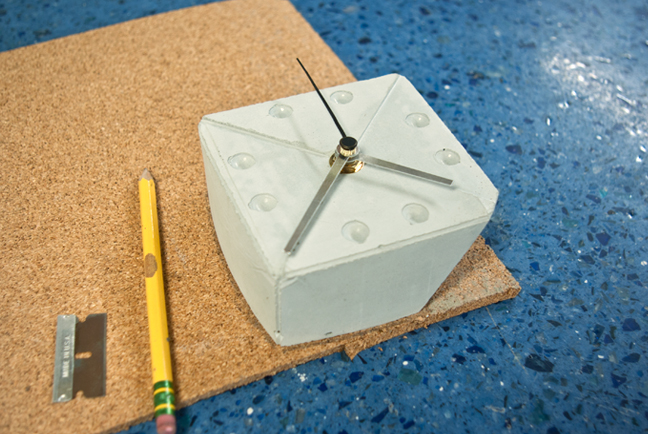
STEP 8: Cork Backer
Now to clean up the back of the clock, place it on a sheet of cork and trace around it. Cut the cork with a razor blade or utility knive, keep it oversized by about 1/4" so you can trim it flush later.
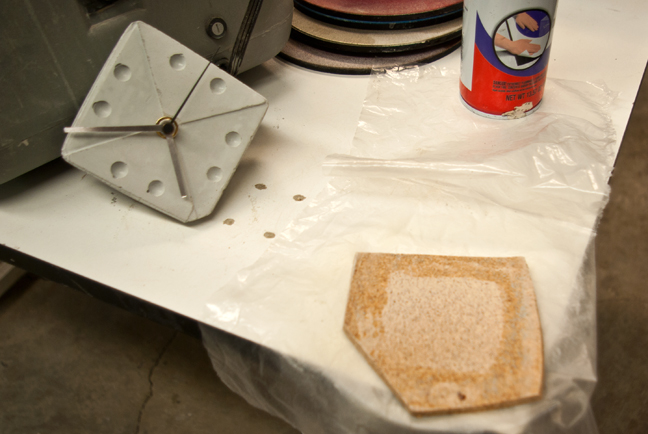
Use spray adhesive to glue the cork to the back. Follow the directions on the can (spray both sides and wait 10 minutes). A good trick is to spray just the cork, then press it onto the back of the clock and repeat this a few times. This way adhesive will be on both sides and you don't have to worry about masking off the clock. Wait a few minutes then press the two together, trim it down to size, and lightly sand the edges with 120 grit sandpaper. Don't forget to install the AA battery!
The Finished Piece:
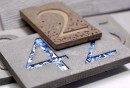
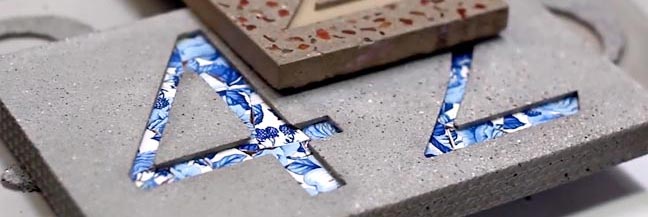
For another project using a similar technique, check out the House Numbers:
Featured Projects