Preformed Cardboard Letters
Materials + Supplies:
• Cardboard Letter
• Clear Lacquer / Shellac
• Wire Mesh for Reinforcement
Tools:
• Utility Knife
• Wire Cutters
Size: 14" x 14" x 1-1/2" high
Color: Ocean SmartColor
Technique: Cast
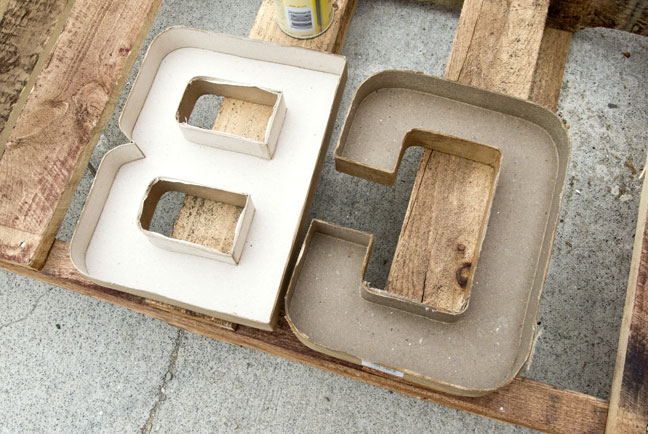
Preformed Cardboard Letters
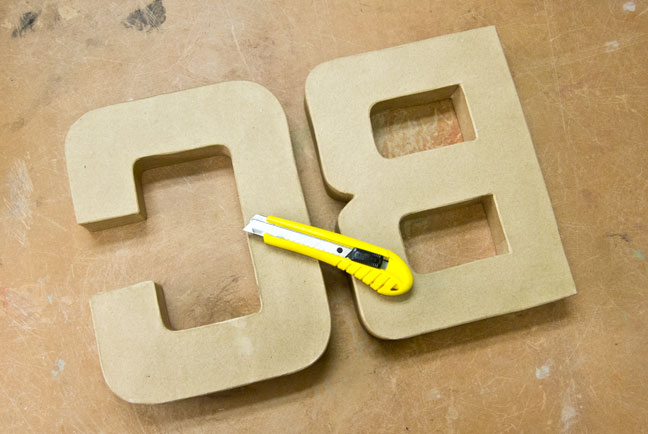
Your local hobby shop should sell cardboard numbers and letters in a range of sizes. By cutting them open, we can use them as molds to cast ShapeCrete numbers and letters.
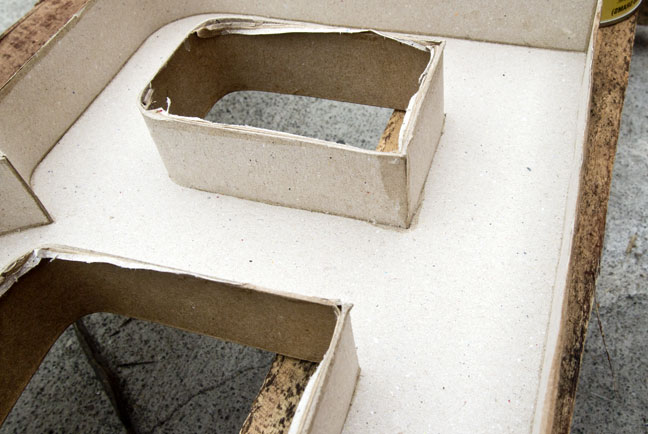
STEP 1: Cut the Top Off
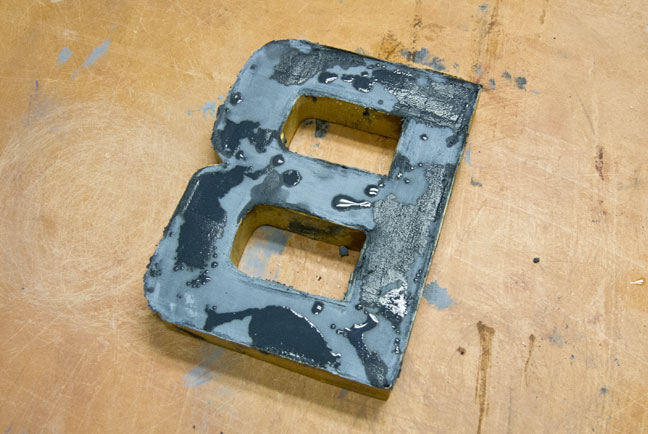
Use an exacto knife or utility knife to cut the top off, then pull out the cardboard structure inside the number. Make sure to cut the back of the letter off, this way the face of the letter you cast will be smooth.

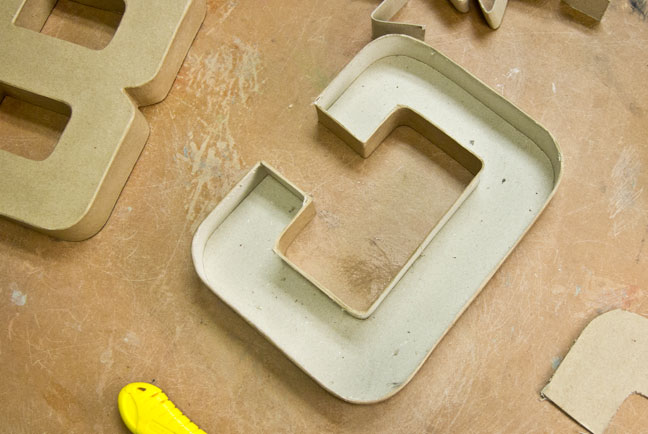
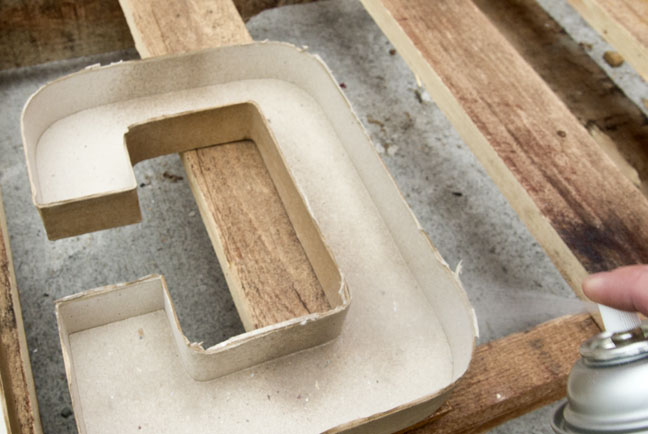
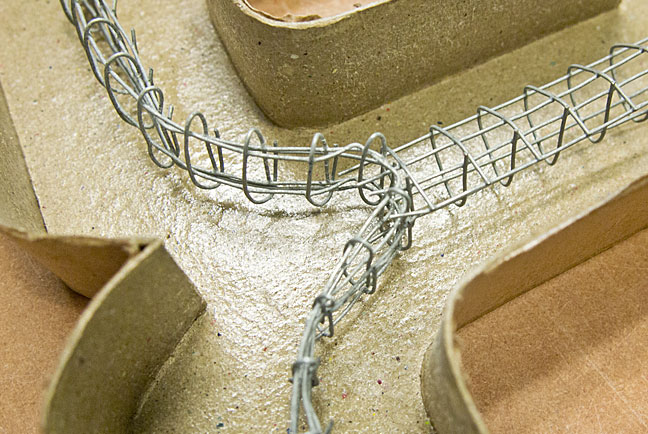
STEP 2: Seal with Shellac
For the best results, spray the inside of the form with clear acrylic paint, shellac, or seal it with something similar. This will help keep the cardboard from soaking up water from the mix, which usually leaves a chalky finish on the surface. Spray a few coats of paint in the form and make sure it's fully dry before filling the form.
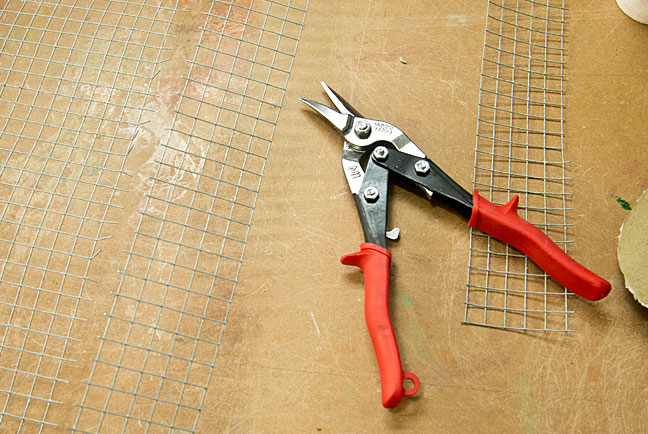
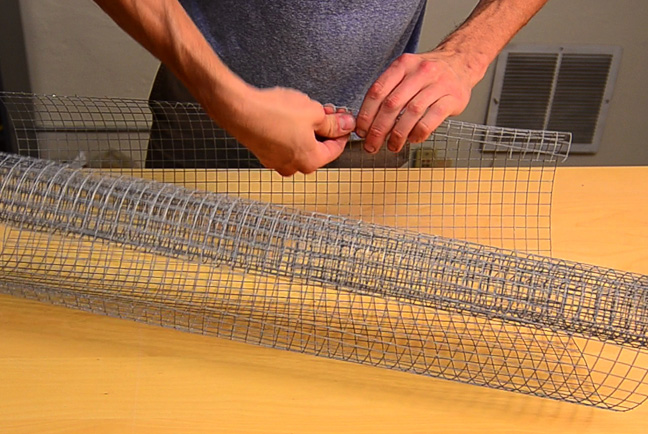
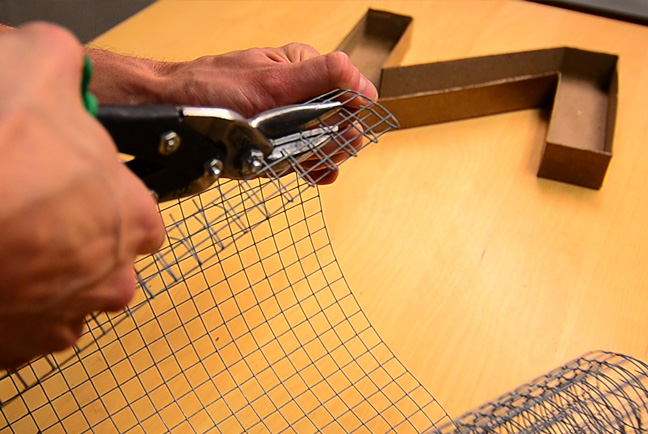
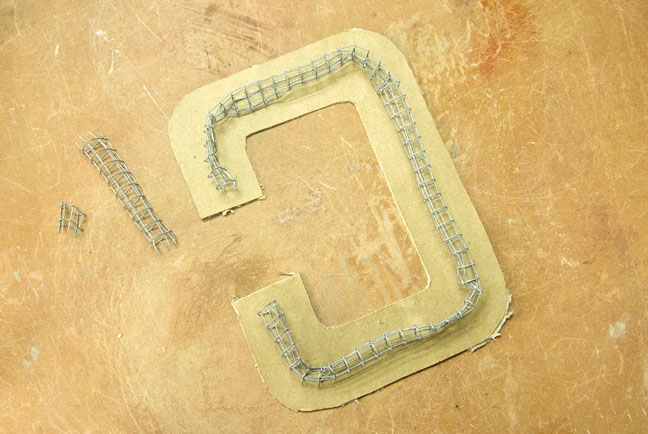
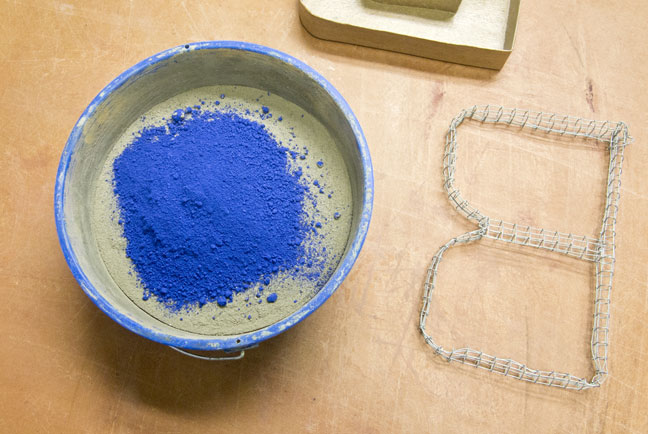
STEP 3: Bend Wire Mesh
To reinforce the piece, we're using wire mesh screen, rolling it into a tube, and then bending it to fit in the form.
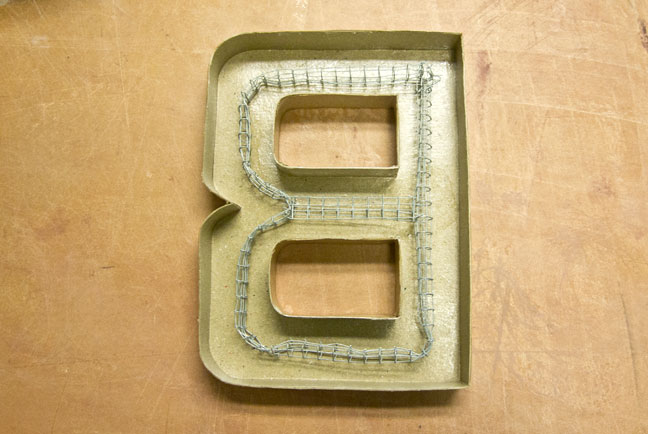
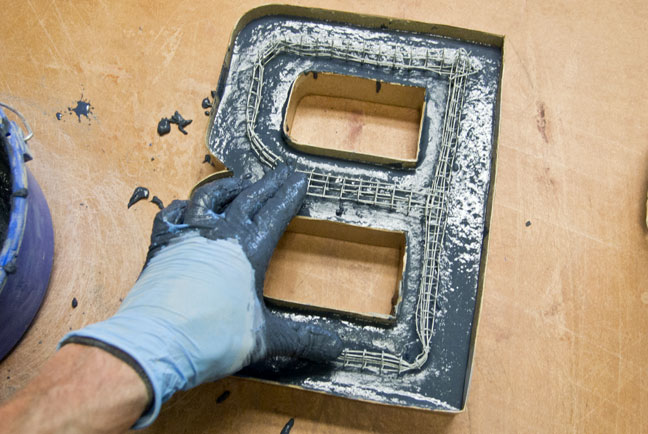
STEP 4: Mix and Fill
Mix ShapeCrete to a Castable Consistency, and Add Pigment if you want it to be a color. Start filling and shake the form around to level out the mix. When it's about halfway, stop, and place the reinforcement inside.
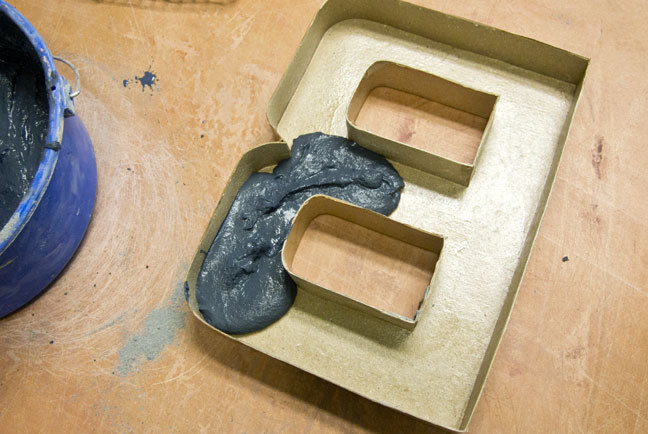
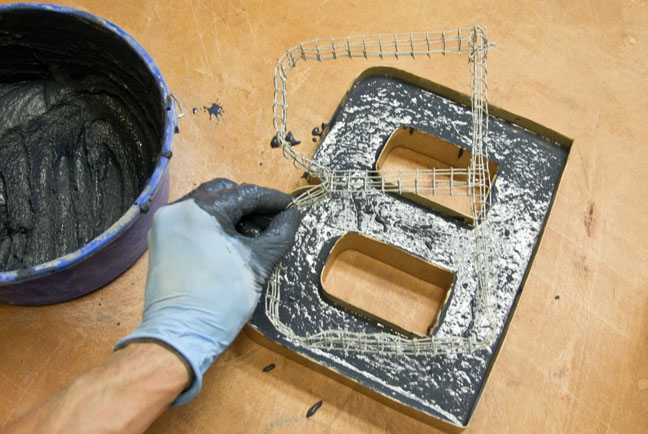
STEP 5: Float the Reinforcement
Press the reinforcement down into the mix, keeping it about halfway through. Then top off the form.

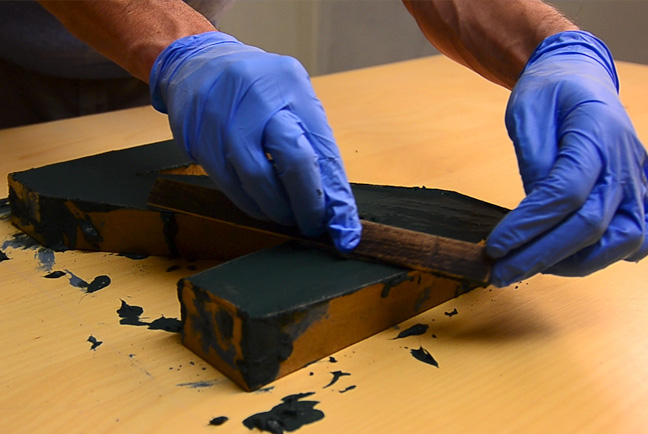
STEP 6: Screed the Surface
Use a flat stick or a ruler to scrape the top and remove any excess mix.
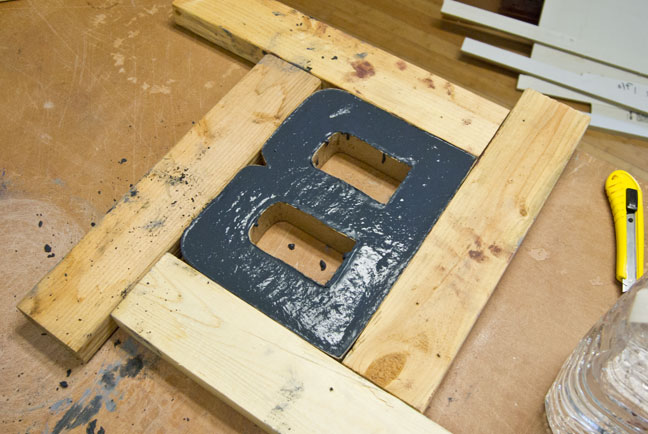
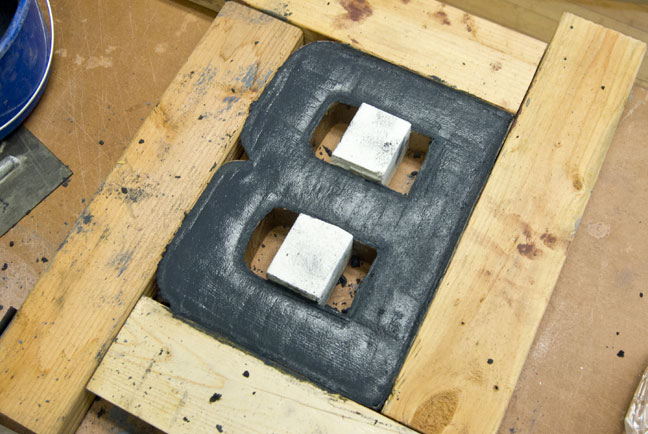
STEP 7: Wall Supports
Because the walls of the form aren't very rigid, they'll bow out a little bit when the mix is added. You can use something like bricks to help straighten the walls out again. Cover the piece with plastic and let it cure for 24 hours.
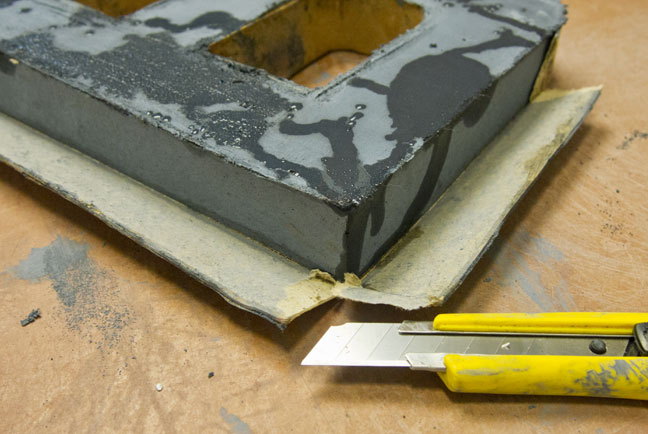
STEP 8: Demold
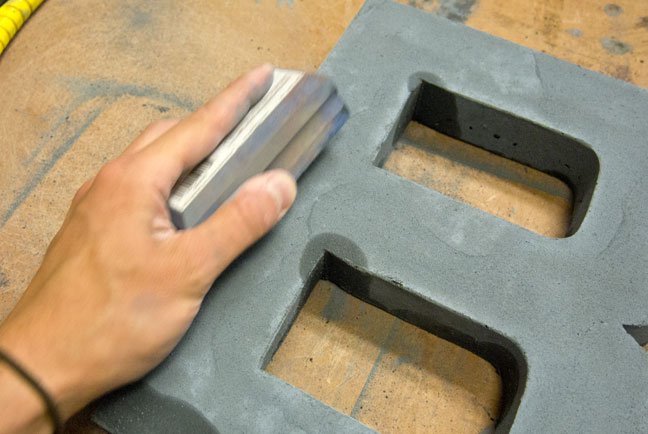
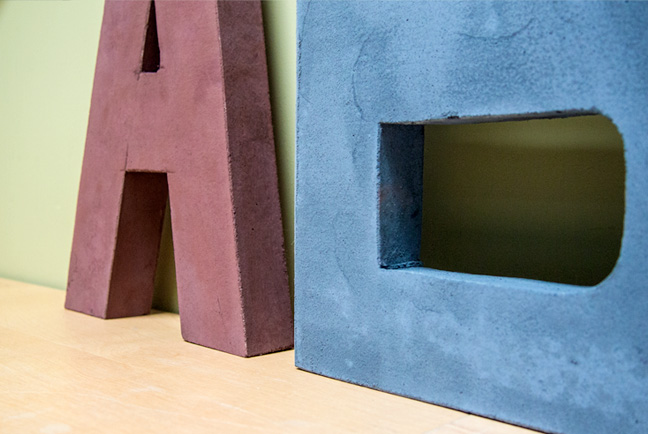
Slit one edge of the form and peel away the cardboard. Sand any sharp edges with a diamond hand pad or sandpaper.
STEP 9: Sand Edges
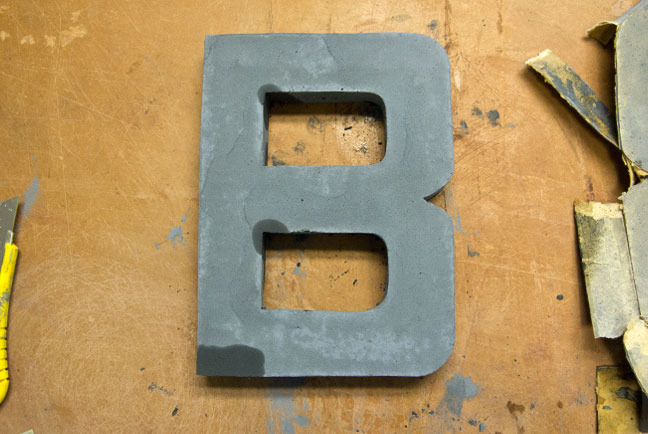
The Finished Pieces:

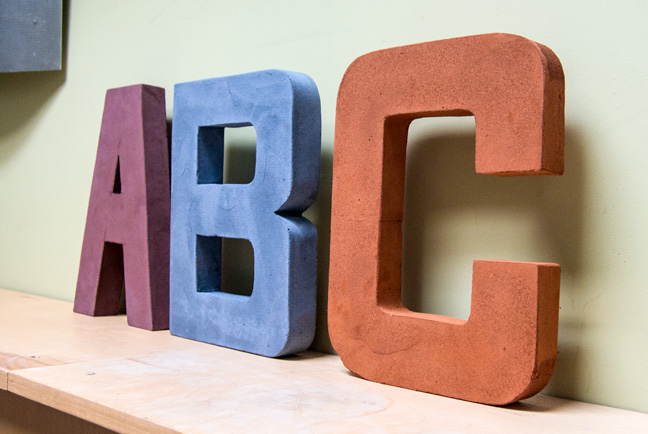
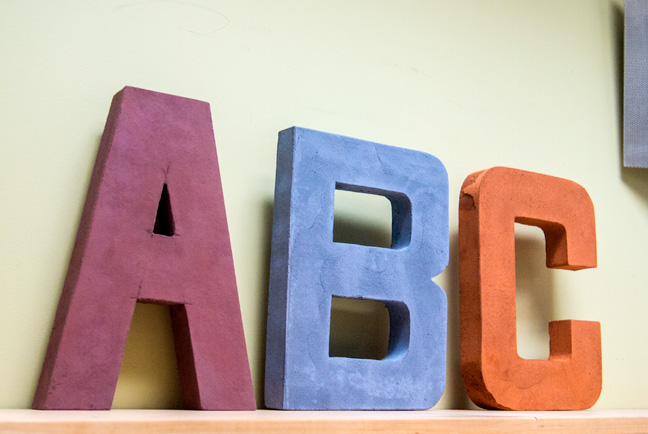
Featured Projects