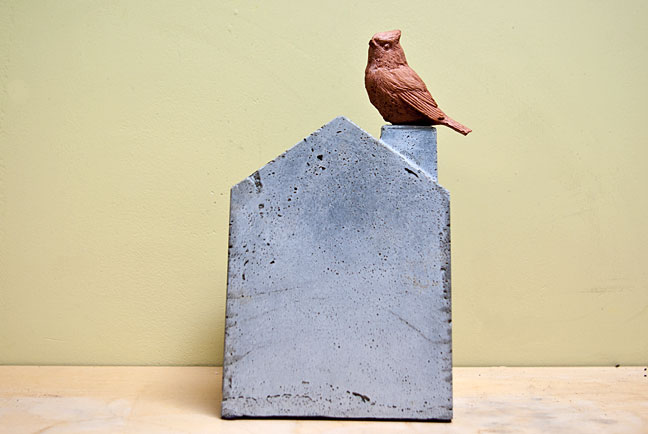

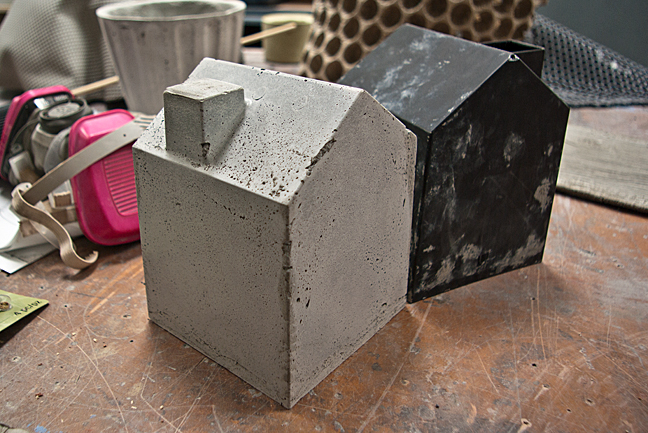
Tissue House
Materials + Supplies:
• Plastic Tissue Holder
• Masking Tape
Tools:
• Utility Knife
Size: 5" x 5" x 7" high
Color: Grey
Technique: Hand Packed
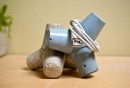
Tissue House
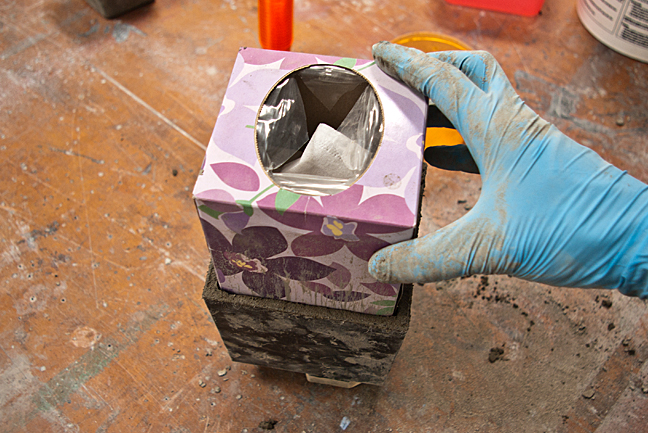
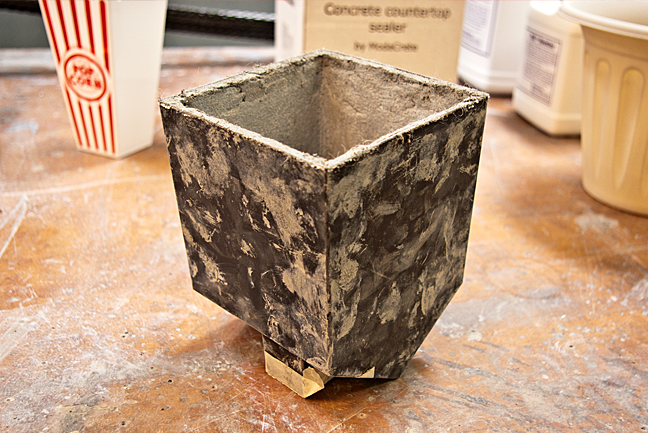
Umbra Plastic Tissue Holder, hand pack clay-like mix inside. Slit edge of plastic to remove ShapeCrete piece.
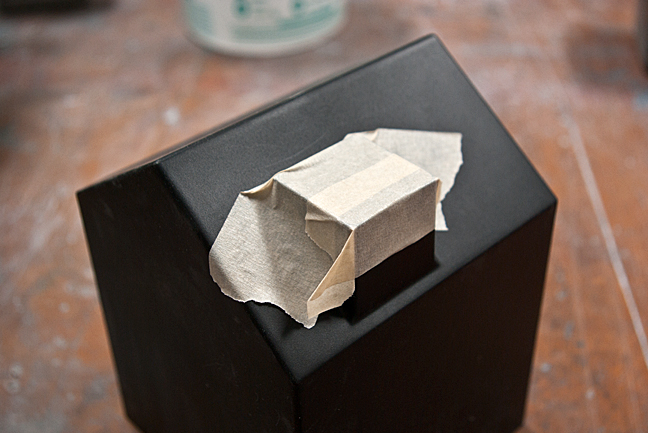
STEP 1: Tape over Chimney
Tape over the chimney opening with masking tape. This way the mix will stay inside when the form is being packed.
STEP 2: Pack ShapeCrete Inside
Mix ShapeCrete to a Clay-Like Consistency and begin packing the form. Pack it in thin, about 1/4". Gradually build up the other walls.
If the house needs to fit over the tissue box, make sure to test fit and remove material where necessary.
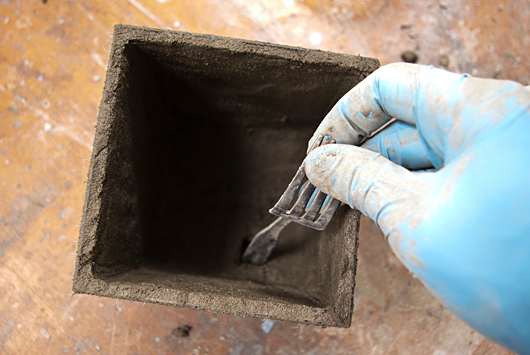
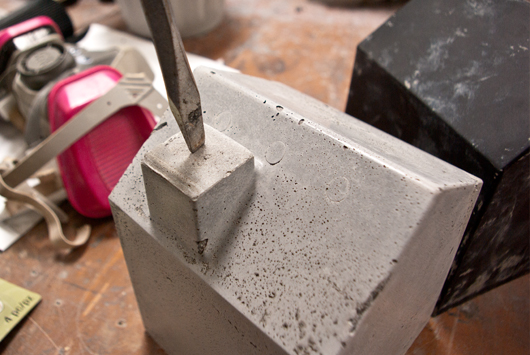
STEP 3: Chimney Clear Out
Clear out the chimney with a tool. It is a hard to reach area, but something like a chopstick, fork, or pencil will work.
Cover the piece with plastic and let it cure for at least 24 hours.
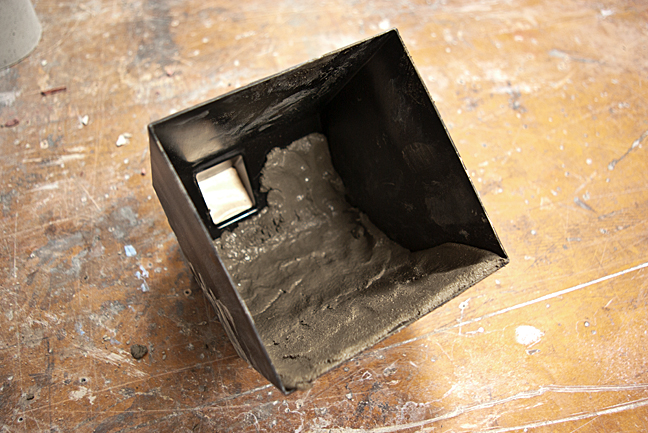
STEP 4: Slit Plastic and Remove From Mold
In order to remove the piece, the plastic for has to be slit in a few places. Slit the corner of the house nearest the chimney, and then slit part of the chimney. Do this with a sharp utility knife, being careful not to cut too deep into the piece. By slitting the edges, you can still reuse the form.
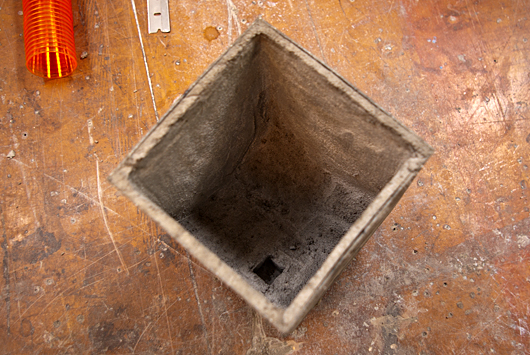
STEP 5: Chimney Punch Out
The last step it to punch a hole in the chimney. It was hard to clean it out completely, but the material is very thin here, so poking a hole is easy. Clean up the rough edges with diamond hand sanding pads, sandpaper, or a file.
.jpg)
Featured Projects