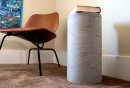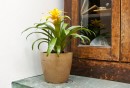

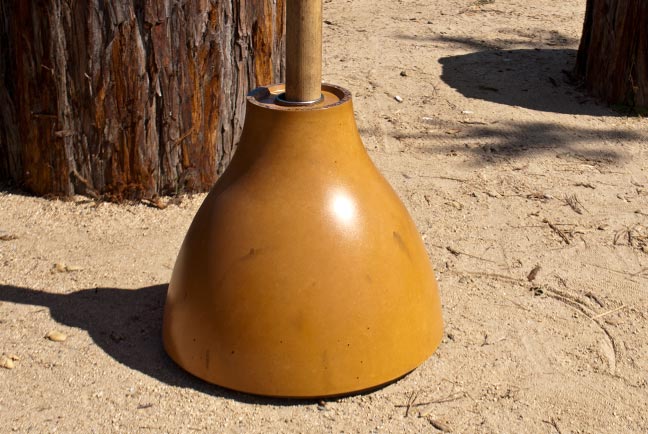
Umbrella Stand
Materials + Supplies:
• Plastic Lampshade (Melodi from IKEA)
• Leaves
• Spray Adhesive
• Weatherstripping
• Insulating Foam / Styrofoam 2" thick
• Spray Adhesive (3M 77)
• Sakrete ShapeCrete
Tools:
• Rubber Mallet
• Utility Knife
Size: 14" x 14" x 14" high
Color: Green
Technique: Hand-Packed
Umbrella Stand
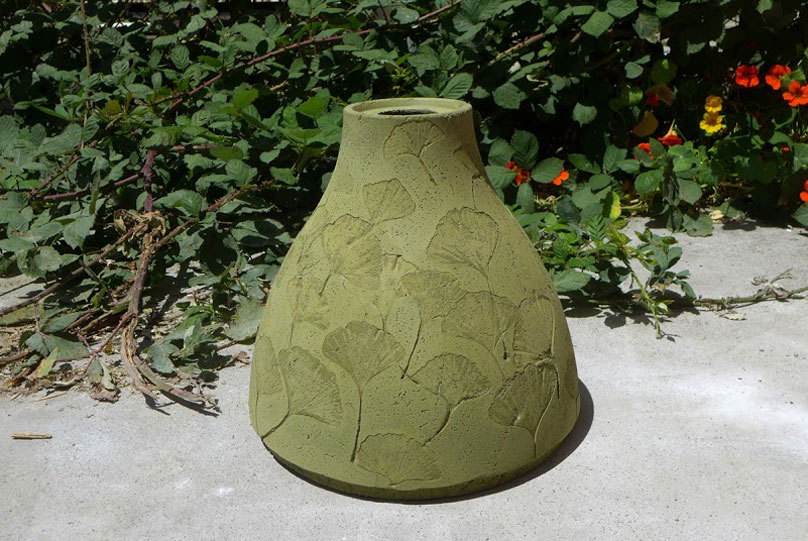
Leaves are glued to the inside of a plasic lampshade and then ShapeCrete is packed inside, about 1/ 2" thick.
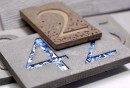
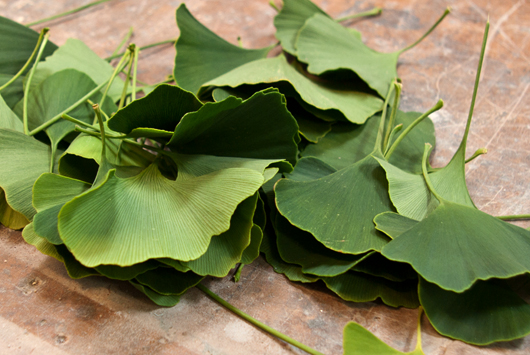
STEP 1: Gather Leaves
These Ginko leaves are from a tree down the street. It is important to use FRESH leaves! Dry leaves will absorb moisture and create a chalky finished surface.
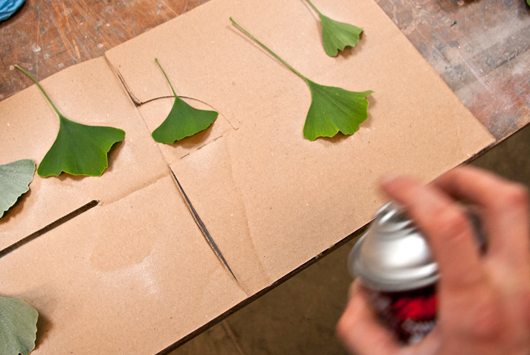
STEP 2: Spray Leaves with Spray Adhesive
Spray one side of the leaf liberally with spray adhesive then press it into the form.
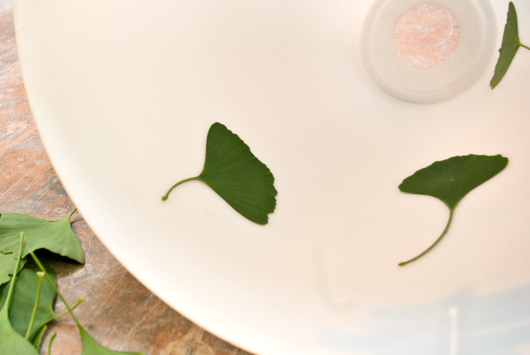
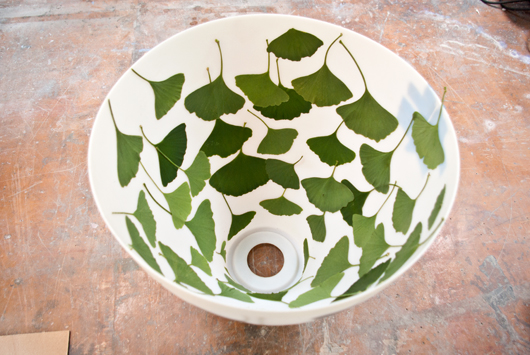
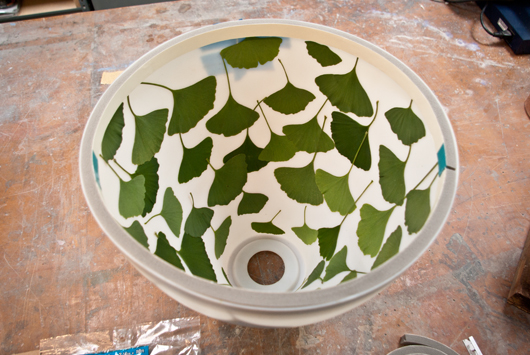
STEP 3: Glue Leaves to Inside of Container
Overlapping the leaves can have a nice effect, but using them sparingly also works. You might practice on a small sample piece to see how it's going to look before committing to a larger project.
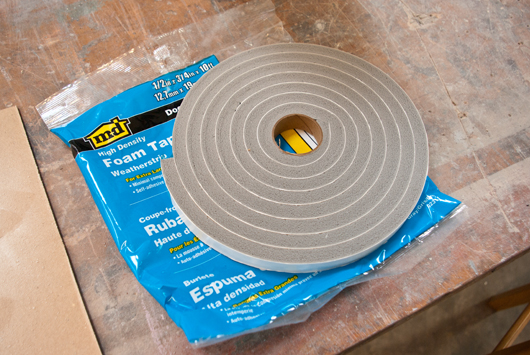
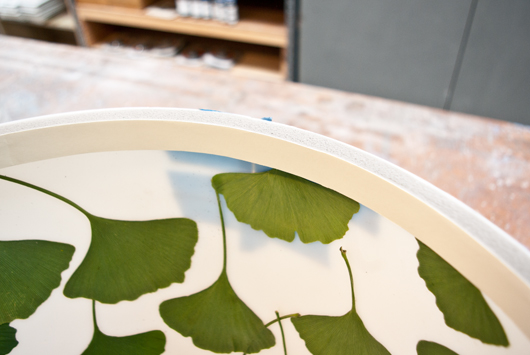
STEP 4: Stick Weather Stripping along Top Edge
Sticking weather stripping around the rim of the lampshade will do two things. It will give the piece a "lip" along the bottom edge. This lip can be used to lift the piece, and it will help prevent chipping or spalling up the edge of the piece if it's ever dragged around. After the piece is finished, the weather stripping can be removed and the edge of the plastic lampsade can be banged with a mallet, which will usually help release the piece from the form.
STEP 5: Mix and Pack
Mix ShapeCrete to a Clay-Like Consistency and begin packing the form.

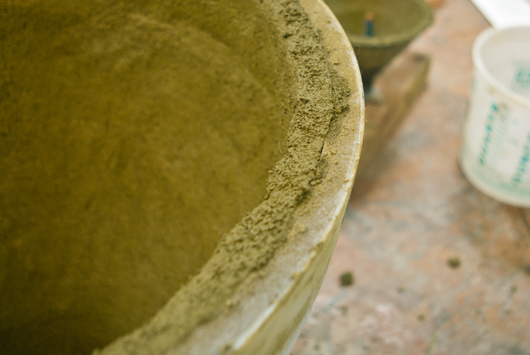
It helps to pack the lampshade on its side rather than trying to build the mix up the vertical surface. Packing takes some time, but the forming is very easy and this way we can create a hollow piece.
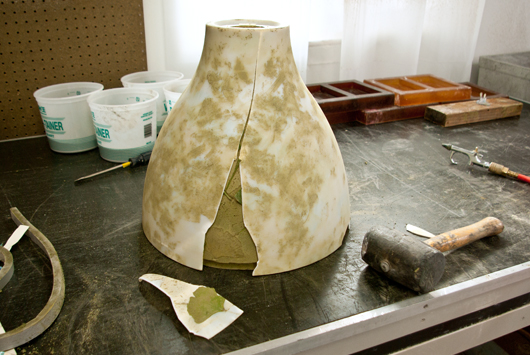
STEP 6: Remove Plastic Mold
First remove the weather stripping. Then try tapping the around the rim of the plastic with a mallet. Unfortunately with so many leaves inlaid on the piece, it locks the form in place and makes it very difficult to remove. If this happens, take some wire cutters and snip the plastic, then break a line up the form and the piece will drop out.
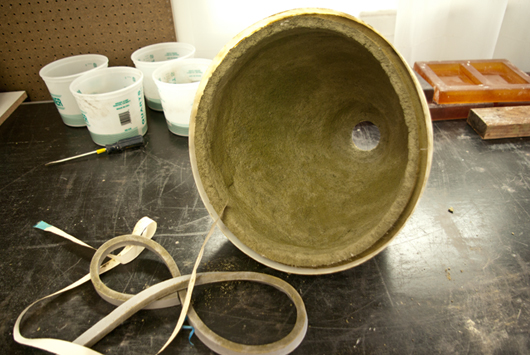
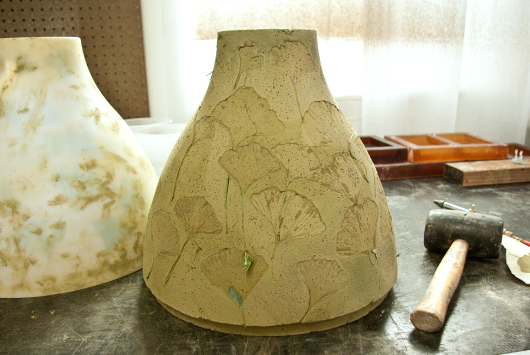
The majority of the leaves stayed stuck to the inside of the plastic, but some of them will need to be removed.
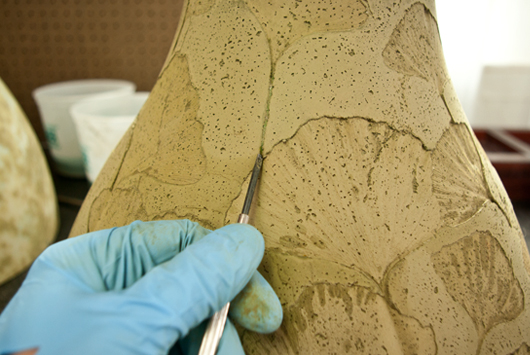
STEP 7: Remove Leaves and Finish
Use a small, thin screwdriver to remove the stems of the leaves. It may help to first slit them with a razor blade. A toothbrush can be used to remove any parts of the leaf that stay stuck in the piece.
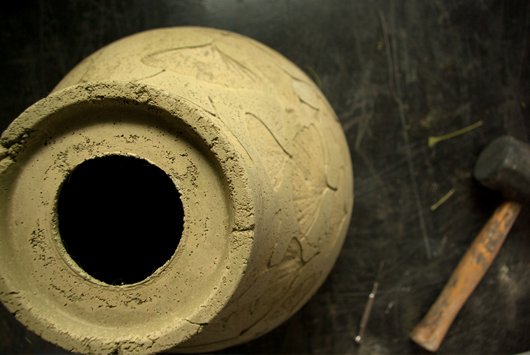
Clean up any rough edges with diamond hand pads, sandpaper, or files.


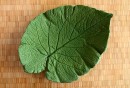
For another Outdoor Related Project, check out the Hand-Packed Leaf:

Featured Projects