
Door STOP
Materials + Supplies:
• 3/4" Melamine-coated particle board or other water-proof baseboard (plastic sheet, plywood sealed with packing tape, etc.)
• Insulating Foam / Styrofoam 2" thick
• Spray Adhesive (3M 77)
• Sakrete ShapeCrete
Tools:
• Jig Saw
• Sandpaper (120, 220 grit)
Concrete Mixing:
• Bucket / Wheelbarrow
• Shovel / Trowel
• Particle Mask
• Rubber Gloves
Size: 10" x 5" x 2" high
Color: Brick SmartColor Pigment
Technique: Cast
Door STOP
This Step-By-Step guide will show you how to make a door stop using a piece of 2" thick insulating foam. You'll print out a template, trace it onto foam, cut it out, glue it down to a base board, and then fill it with ShapeCrete.
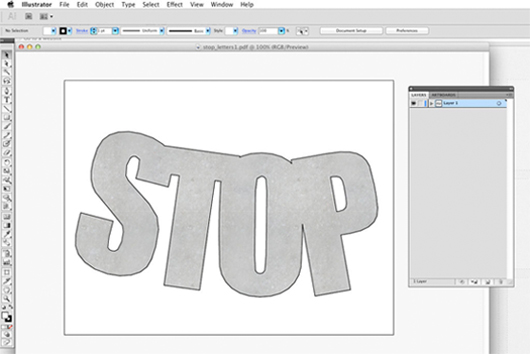
STEP 1: Print a Template
If you don't have a program like Photoshop or Illustrator, just use a program like Word. Choose a bold, thick font, and re-size it until it takes up most of the page. Or you can skip the following steps and sketch straight on the foam.
• Print out the template.
• Cut out the template with scissors.
• Trace around the template on the foam with a permanent marker.
Choosing a font:
The font you use should be bold and thick, like Impact in this example. The concrete won't be very strong if it's less than 1" thick, and even then it will be easy to break, so take that into consideration when determining the size of the letters.
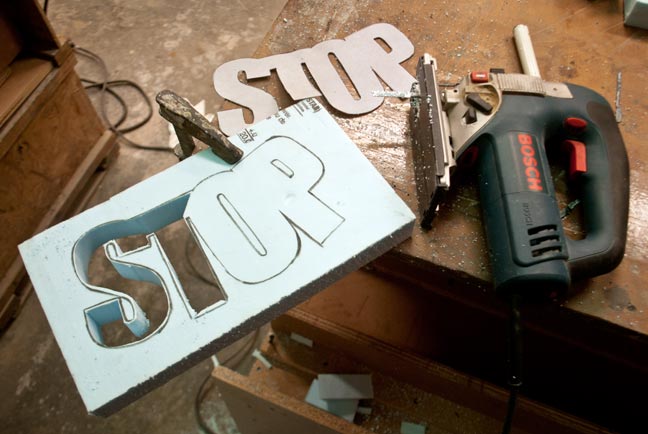
STEP 2: Cut the Foam
This step would be easy with a laser cutter or a hot wire. A coping saw or a jig saw will work just fine - the trick is to make sure the blade is vertical. You could also use a utility knife for cutting out very simple shapes.

• Gently clamp the foam over the edge of a work table.
• Drill a hole so the blade of the jig saw has a place to start.
• Cut out the negative space first, like the middle part of the letter O and the P. Cutting them out first will be easier and safer than trying to do it later.
• Then cut out the rest of the letters, following the traced lines. Leave some room so you can sand it to the exact size.
• After the shape is cut out, sand the inside of the foam by hand with 120 or 220 grit sandpaper. The smoother you can sand it, the smoother the sides of the finished concrete piece will be.
What kind of foam?
DOW makes a rigid polystyrene insulating foam that works well for projects like this and is available in 2" thickness from most hardware stores or places that sell building supplies. Owens Corning makes a pink insulating foam has the same qualities and will work as well, but you don't usually see it over 1" thick. White styrofoam will also work, but it's not as dense and doesn't sand as well as blue foam. Experiment with what you can find in the dumpster. Anything more rigid is unnecessary, and anything with an open core won't really work.
STEP 3: Glue foam to Base
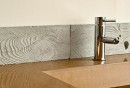
In this example, the foam is glued down backwards, so the front of the word STOP will have a cast finish from the melamine baseboard. If you don't glue it down backwards, you will want to trowel the top of the concrete smooth after casting to get an even surface.
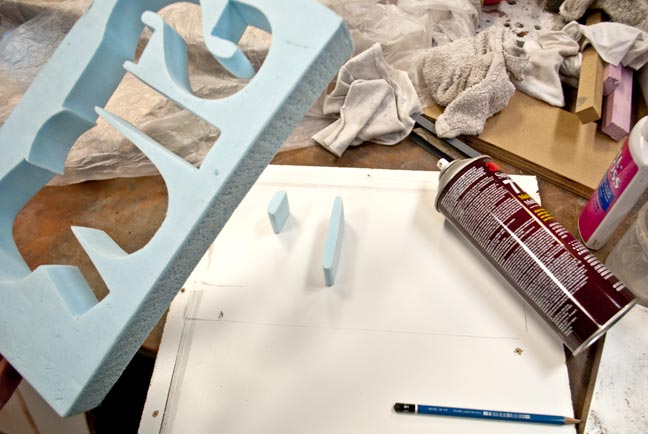
• Place the foam on the base board and trace around the inside and outside with a pencil.
• Put the negative spaces in place, like the center of the O and P. Trace around them.
• Spray one side of the foam with spray adhesive, hold the can at least 12" away from the foam because the aerosol can melt the foam. You can also use silicone caulk, which will provide a better seal against bleed out, but takes a few hours to cure.
• Use the pencil lines as a guide and press the foam down firmly to the base board. To get the best seal, follow the instructions on the spray adhesive and spray a little bit of foam on the base board too.
• The spray adhesive and silicone will leave some texture on the concrete unless you clean it off the base board with denatured alcohol.
When to Pour:
Pour the form soon after it has been glued down with spray adhesive. The spray adhesive won't stick as well the next day and this can cause problems if the concrete bleeds through and forces the foam up. If you're using silicone, wait for it to fully cure before pouring (3+ hours). The silicone will bond just as well over time, so you could pour the silicone-sealed form a week later and still get good results.
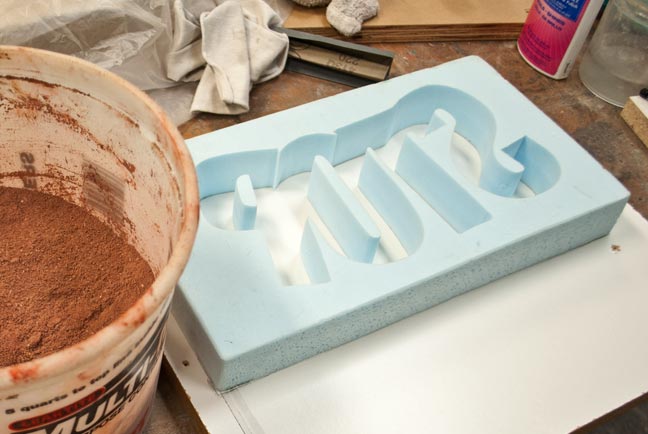
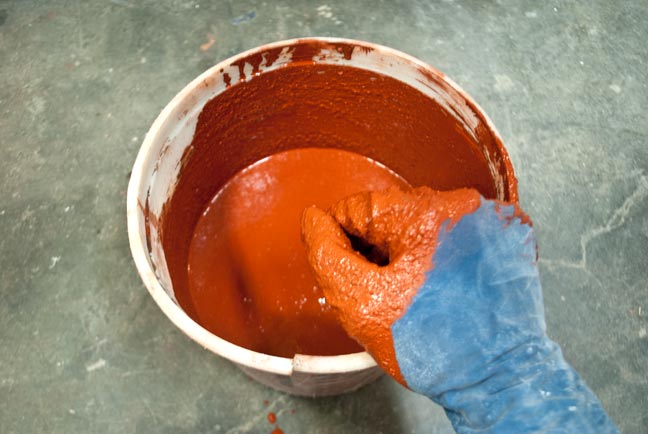
STEP 4: Mix and Pour ShapeCrete
Mix ShapeCrete to a Castable Consistency.
.jpg)
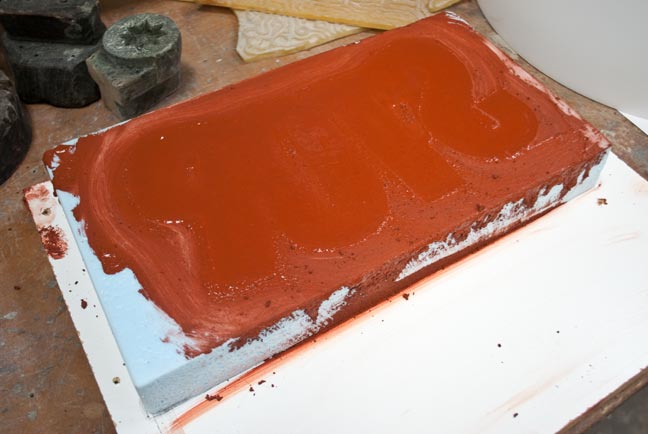
• Vibrate the form using drop compaction (pick up one side of the base board a few inches and repeatedly drop it to help the air bubbles rise to the surface).
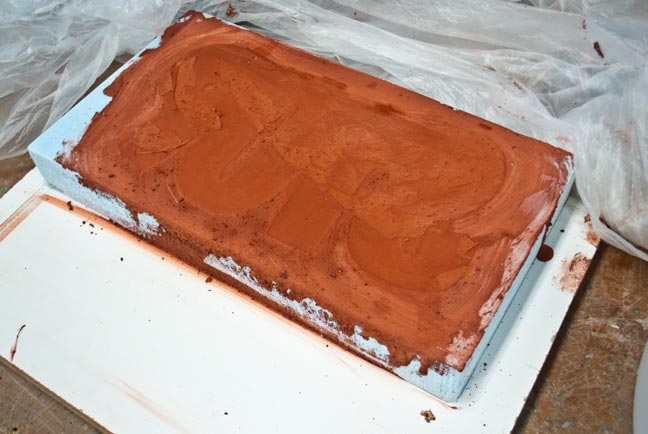
• Smooth the top flat with a trowel.
• Cover the piece with plastic and let it cure for at least 24 hours.
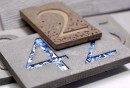
STEP 5: Remove the Foam
If your piece is very thin, wait a few extra days and be extra careful when removing it from the foam mold or it may crack.
.jpg)
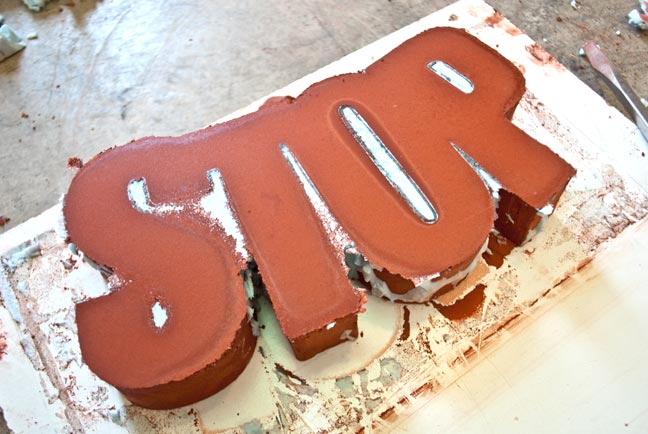

• Slide the piece sideways to break the seal to the base board.
• Break the foam away with your hands and a plastic putty knife.
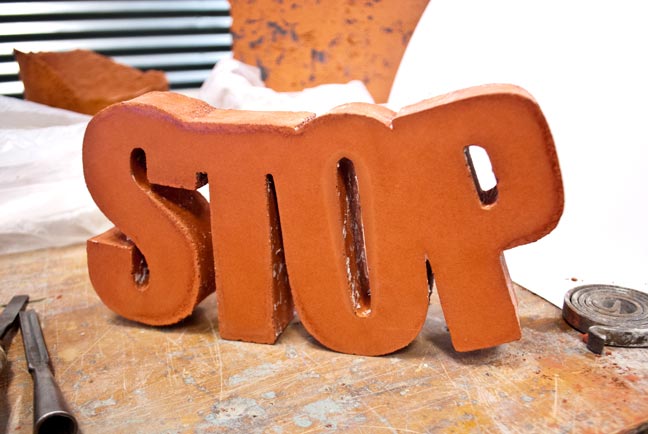
• Scrub away the foam left on the surface with a bristle brush or an old tooth brush. You could dissolve any residue with denatured alcohol or acetone but it's not necessary.
• Sand any rough edges with diamond hand pads.
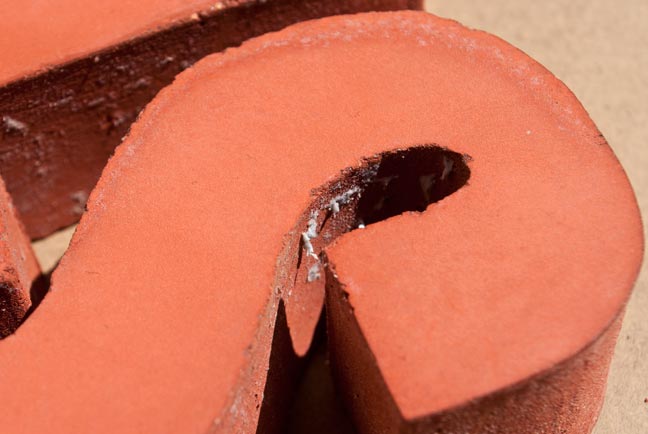
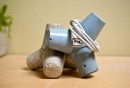
The Finished Piece:

That's it. Hopefully this project inspires you to experiment with using scrap foam as a mold for ShapeCrete. Thanks for reading!
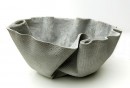
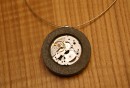
For another project that uses scrap styrofoam, check out the Saru Planter:
.jpg)
Featured Projects