
Saru Planter
Materials + Supplies:
• Styrofoam Container (This one is from the sushi restaurant for shipping fish on ice)
• Masking Tape to patch any holes
Tools:
• Trowel
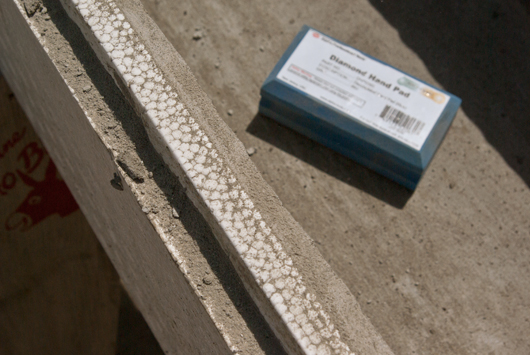
• Diamond Sanding Pad
Size: 30" x 12" x 10" high
Color: Grey
Technique: Hand-Packed
Saru Planter
Packing ShapeCrete into styrofoam containers is a great way to make long planters, perfect for a patio garden. The styrofoam has a rough texture, which makes it easy to hand-pack, unlike very smooth plastic containers which can be tricky if you're just starting out.
Using a styrofoam container also saves a lot of time over building a traditional box, and it doesn't require any tools or any investment in materials. The downside is that you're limited by the size of the styrofoam containers you can find, but there is a lot of waste packaging in the world to work with.
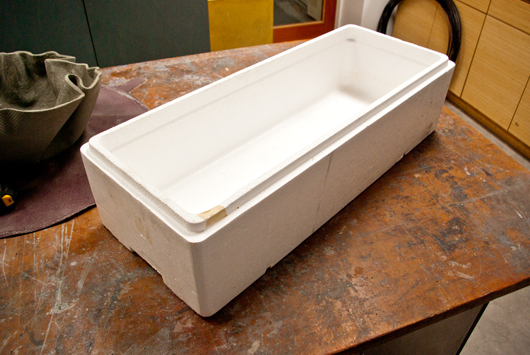
Step 1: Find a Container
I live above a Sushi Restaurant and their fish comes straight from japan in long styrofoam containers in a variety of sizes. They are perfect for this project, but the restaurant reuses them, so if you see them stacked behind a restaurant in your neighborhood, you should ask nicely if you can have one or two of them.
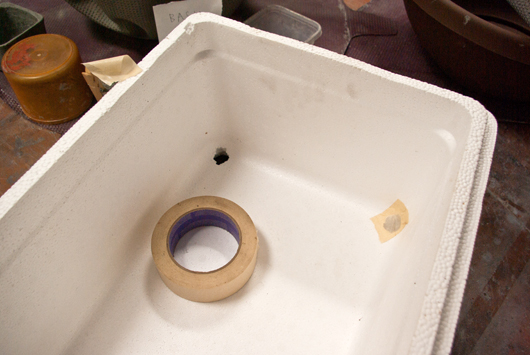
Step 2: Patch any Holes
If there are any holes in the foam, patch them with masking tape.
Step 3: Mix and Pack
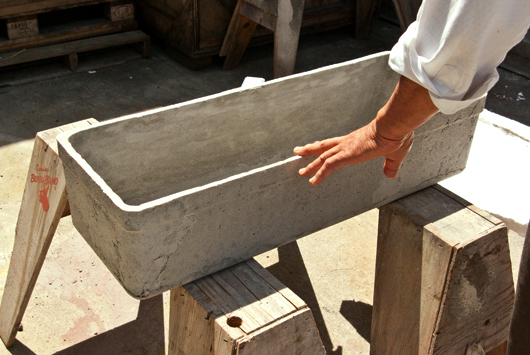
Mix ShapeCrete to a Clay-Like Consistency and begin packing the bottom of the form. The finished planter should be at least 1/2" thick at minimum. Make sure there are no thin sections or it may break as the plants grow in.
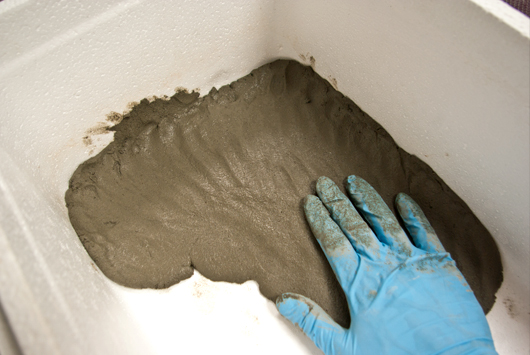
When the bottom of the container is covered, begin packing material up the walls. As you reach the top, smooth the mix over the edge. This will help it hang in place.
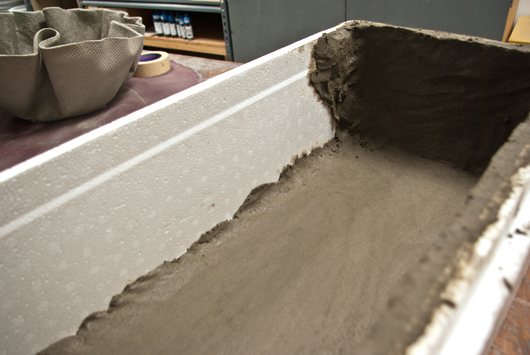
With all of the walls built up, smooth everything out, again checking for consistent thickness, and finally you can trowel the top surface smooth. Be careful not to agitate the mix too much, or it might slump down.
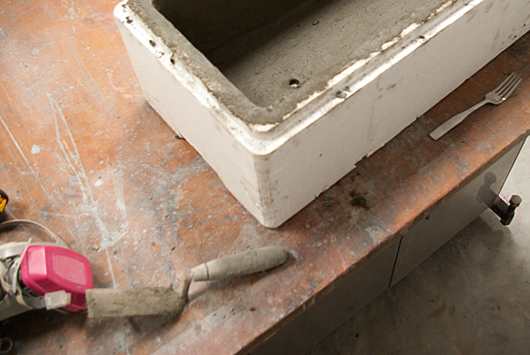
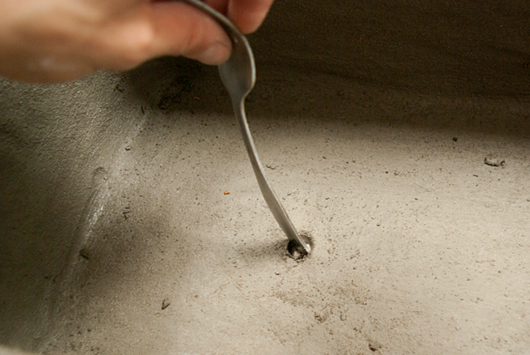
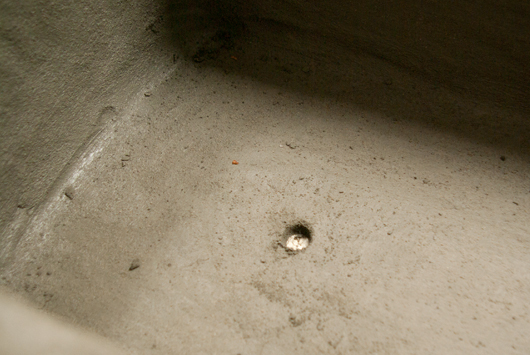
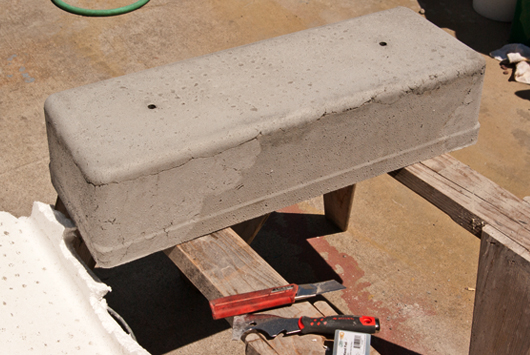
Step 4: Drainage Holes
Use a tool to make drainage holes in the bottom of the planter. This is important if it's going to be used outdoors, otherwise it can flood with water when it rains. If the planter is for indoor use, don't make drainage holes unless you have some plan for catching excess water.
When you're finished, cover the piece with plastic and let it cure for at least 24 hours.
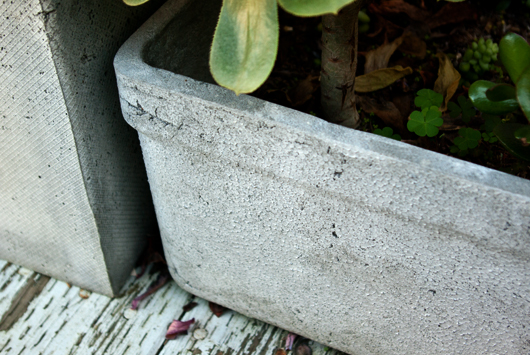
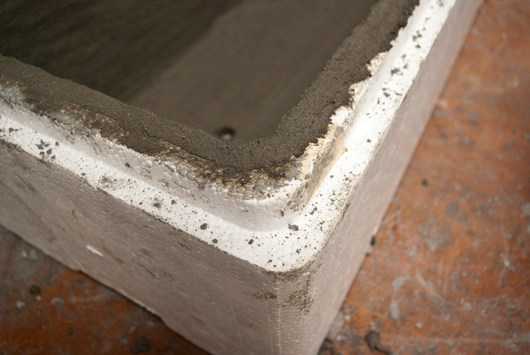
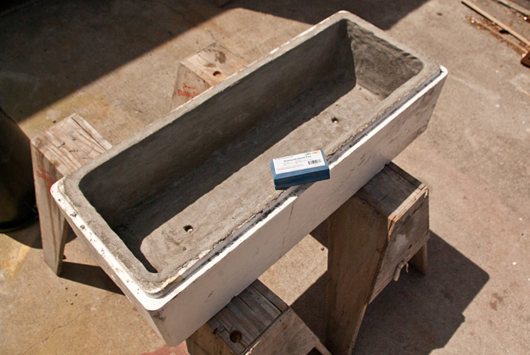
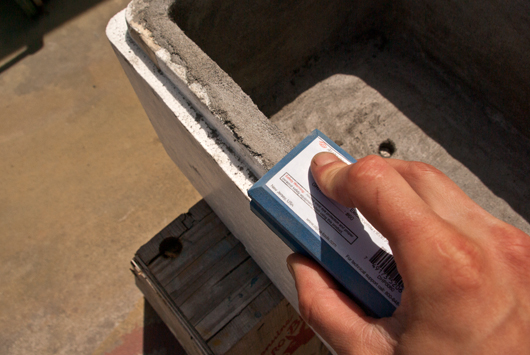
Step 5: Sand Edges
Sand the top edge with a diamond hand pad, a file, or very coarse sandpaper. You should be able to see the form wall around the perimeter of the piece before moving onto the next step.
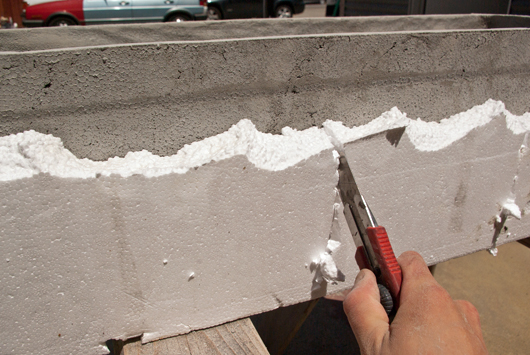
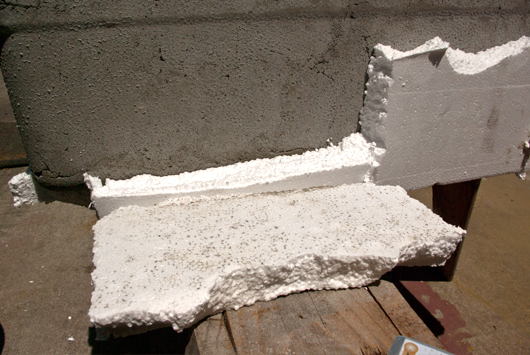
Step 6: Remove the Foam
It is easiest to try and break away the foam in large sections. Use a utility knife to slice the foam, but be careful not to go too deep and cut into the piece. Pry away the foam with and break it away piece by piece.
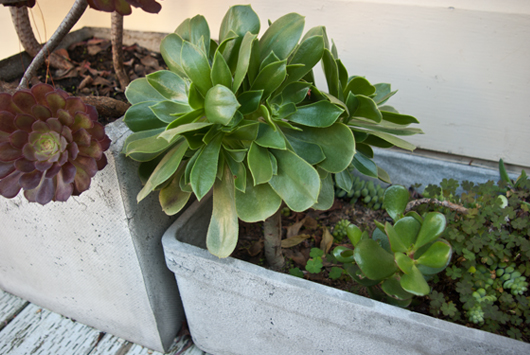
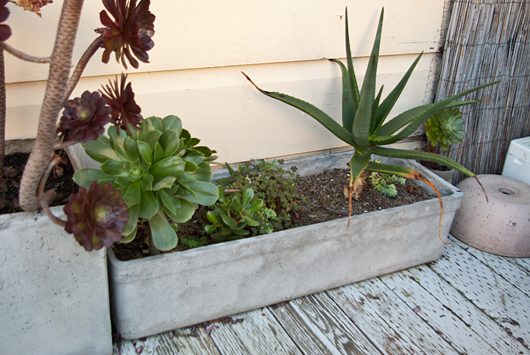
Step 7: Fill with Soil and Plants
July 2014 January 2015

For another Outdoor Project made using ShapeCrete, check out the Umbrella Stand:
Featured Projects