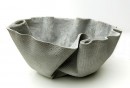

Planter with 3 Feet
Materials + Supplies:
• Inflatable Exercise Ball
• Weather Stripping Form Walls
• Tape
Tools:
• Scissors
Size: 26" x 26" x 8" high
Color: Grey
Technique: Hand-Packed
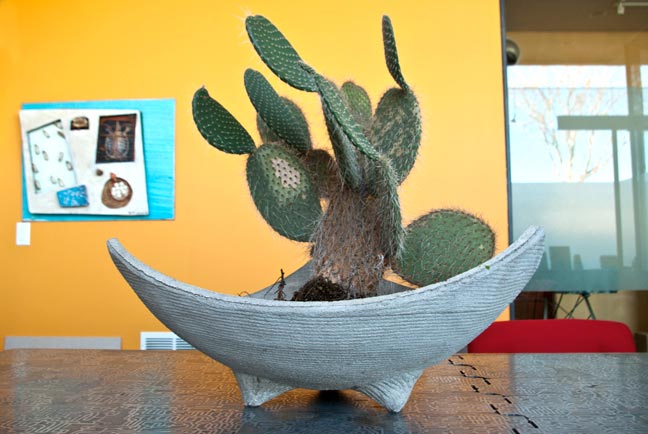
Planter with 3 Feet
This is a relatively easy project to make a medium sized planter with a unique shape.
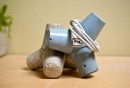
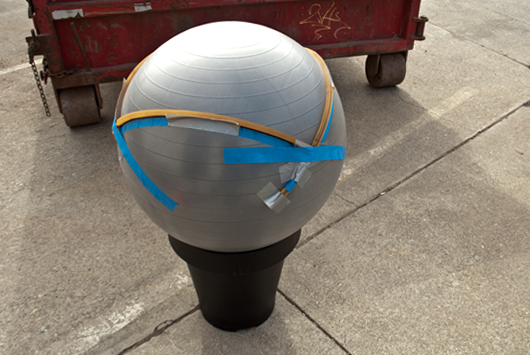
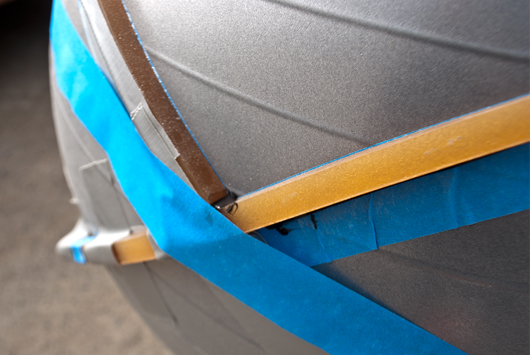
STEP 1: The Form
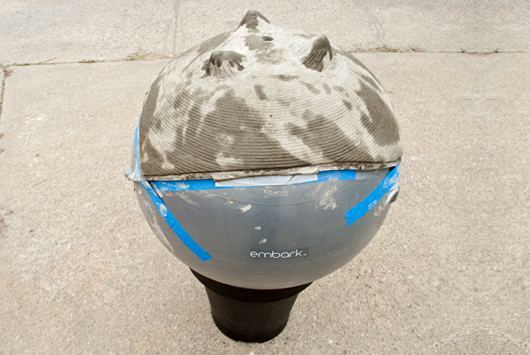
Strips of rubber (or weatherstripping) are glued to the exercise ball with spray adhesive and then taped in place to make sure they don't move during the hand-packing process.
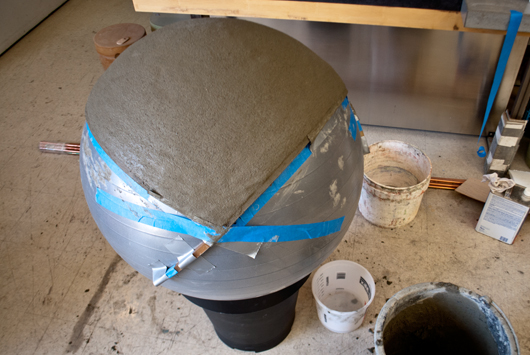
STEP 2: Mix and Pack
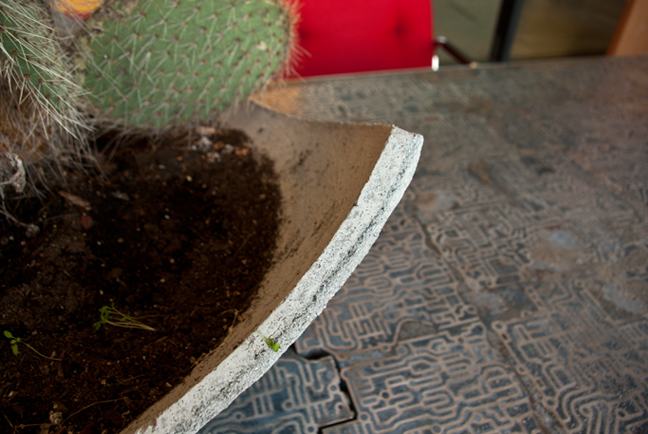
Mix ShapeCrete to a Clay-Like Consistency and begin packing the planter. Pack on top of the ball first, then work your way to the edges. Maintain a thickness of 5/8" - 3/4".
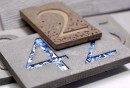
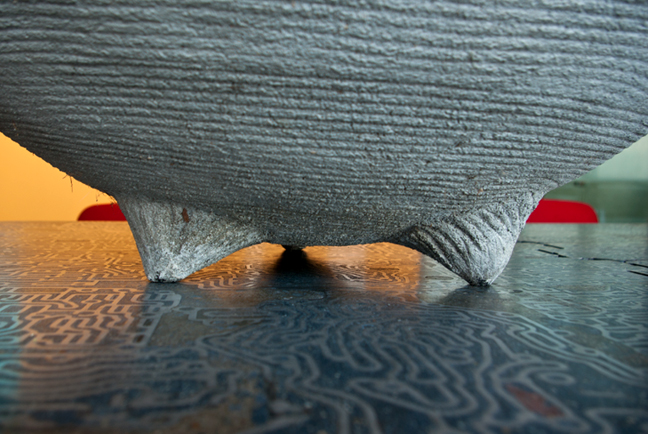
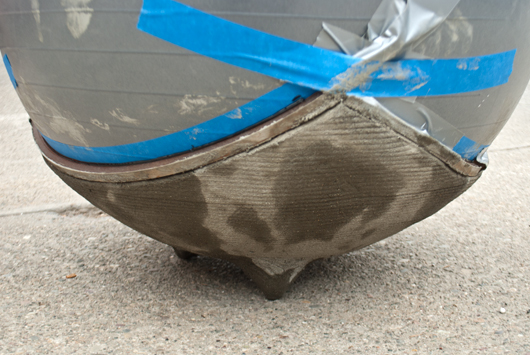
STEP 3: Details
After the shell of the planter has been packed, build up three feet, This will give the planter a solid base to stand on. A drainage hole can be carved in the center of the planter if needed.

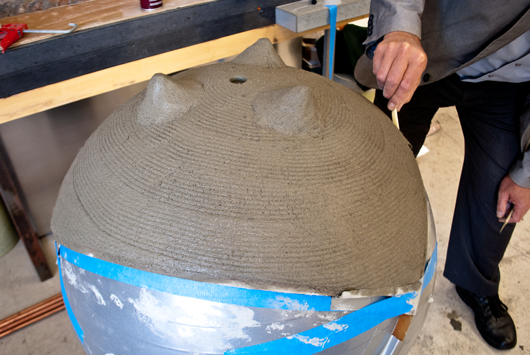
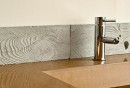
A pattern can be carved into the mix after it has set for about 10 minutes. There is a range of clay tools available to carve and sculpt the material.
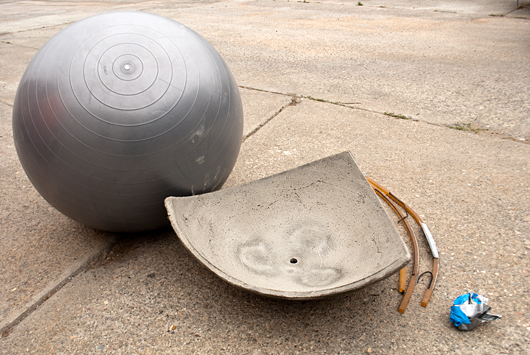
STEP 4: Remove the Planter
After the piece has cured for 24 hours, deflate the exercise ball and remove the planter and form walls.
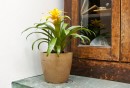
STEP 5: Plant and Enjoy
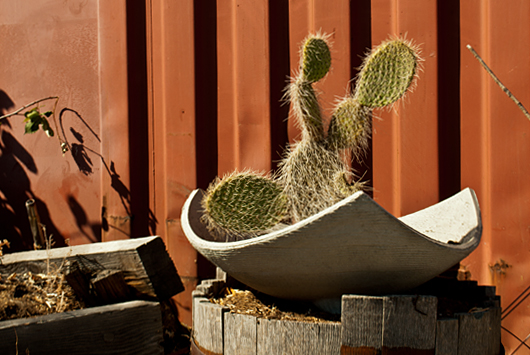
Fill the planter with soil and plant it!
The exercise ball can be cleaned and reused again and again.
For more planter ideas, check out these projects:
Featured Projects