
Too Easy Planter
Materials + Supplies:
• Foil Lined Cardboard Food Container (Coffee grounds, Potato Chips, etc.)
Tools:
• Wire Cutters
Size: 4" x 4" x 8" high
Color: Amber SmartColor Pigment
Technique: Hand-Packed
Too Easy Planter
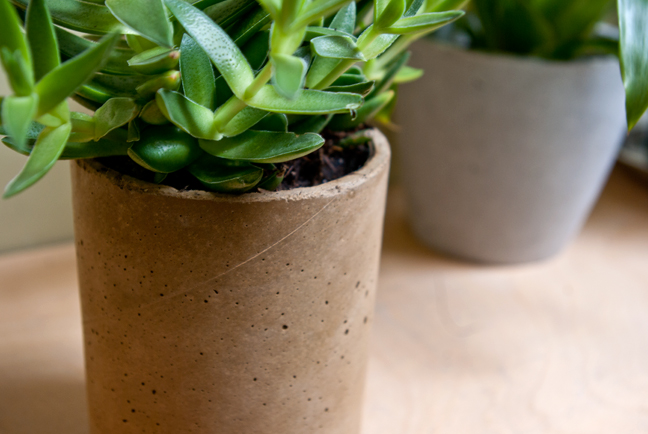
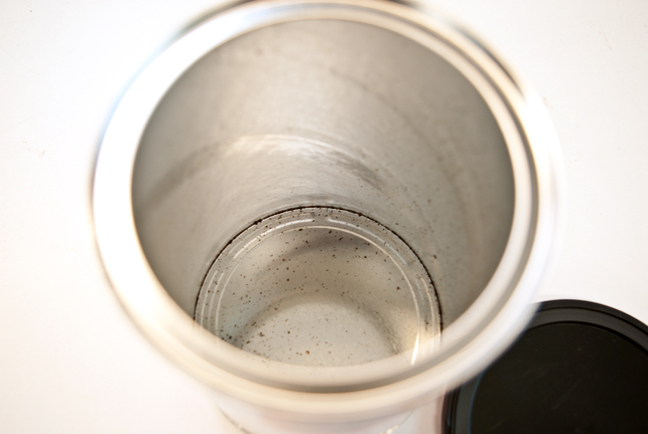
ShapeCrete can be packed into just about any type of container, but what's nice about foil-lined cardboard containers is that they have a rim to pack up into. This means that after the piece is removed from the form, it's pretty well flat and finished on top.
Another good thing about these containers is that they are really simple to tear off, and they leave a nice matte finish on the concrete.
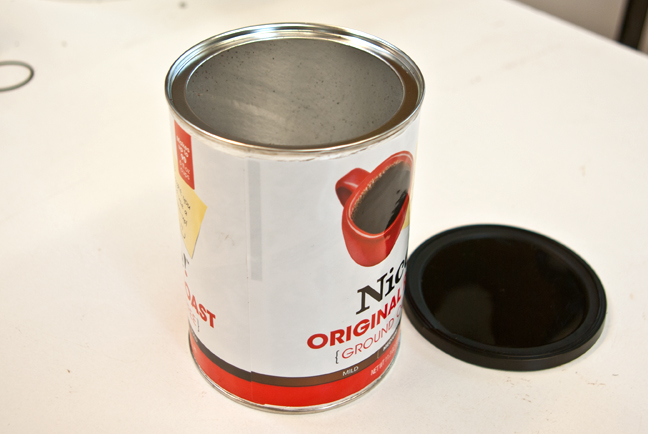
STEP 1: Get the Supplies
Cardboard containers with the foil lining are perfect for packing with concrete because they're water-proof and easy to tear off. Unfortunately they can't be reused like some plastic containers, but there are loads of these being recycled in your neighborhood everyday, and they're free.
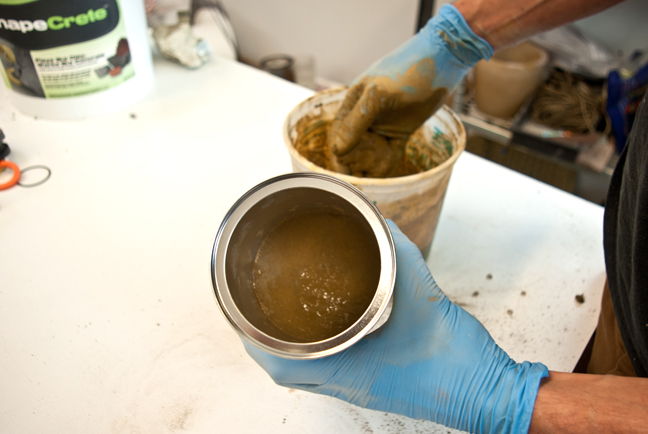
STEP 2: Mix and Pack ShapeCrete
Mix ShapeCrete to a Clay-Like Consistency and pack the bottom of the form first.
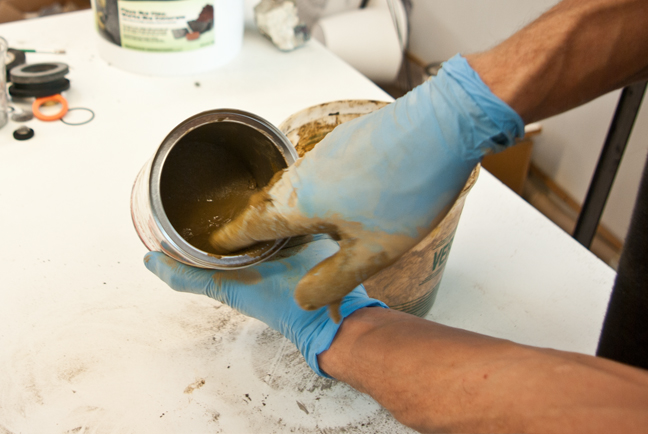
Then work the mix up the sides of the container. Try to maintain a consistent thickness of at least 1/4". If the piece will be outdoors, make a small drainage hole in the bottom. Let the mix set for a few minutes, then take a pencil or your finger and remove some material from the base.
Make sure that when you're packing the mix in, you work it up into the rim. Smooth the inside of the piece after it is completely packed, but be careful not to agitate it too much, or the walls might slump down slightly.
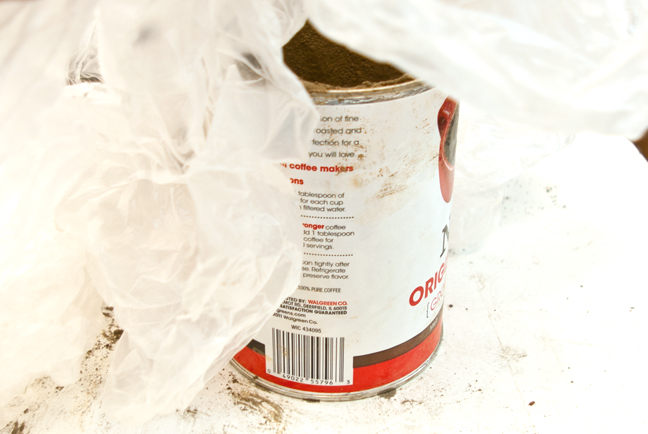
STEP 3: Cover and Cure
Cover the piece with plastic and let it cure somewhere shady for at least 24 hours for best results.
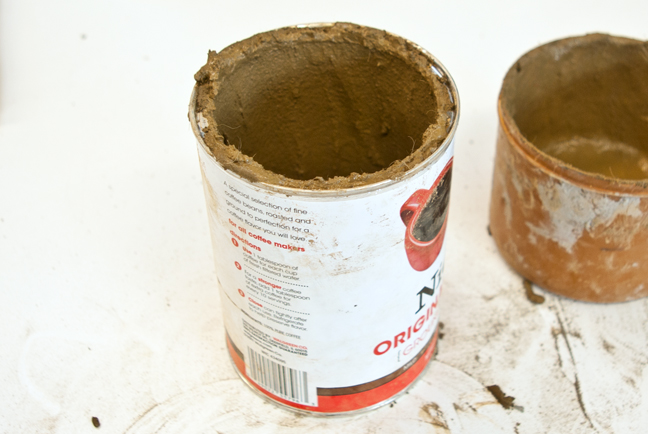
STEP 4: Remove the Form
Work around the perimeter and clip the metal banding in a few places. Then use pliers to pull the metal away from the piece. The metal band should come off easily and then you can tear off the rest of the form.
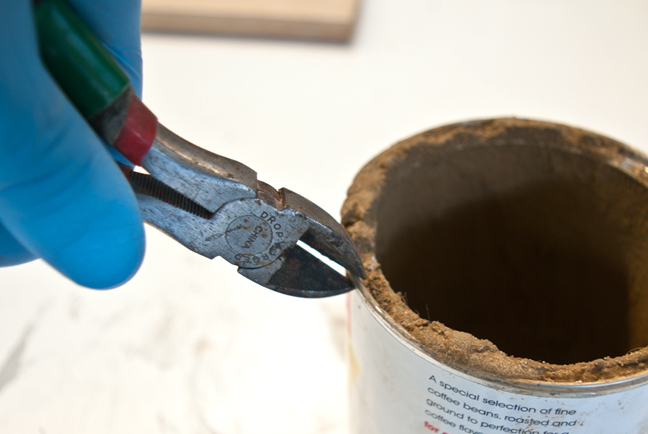
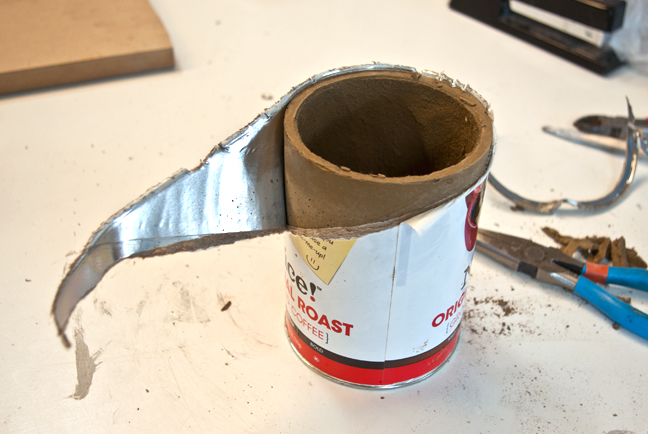
Use pliers to start the tear, and the rest will just peel off.
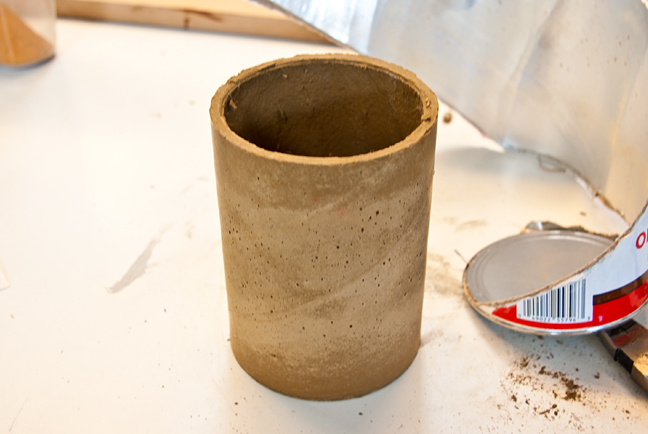
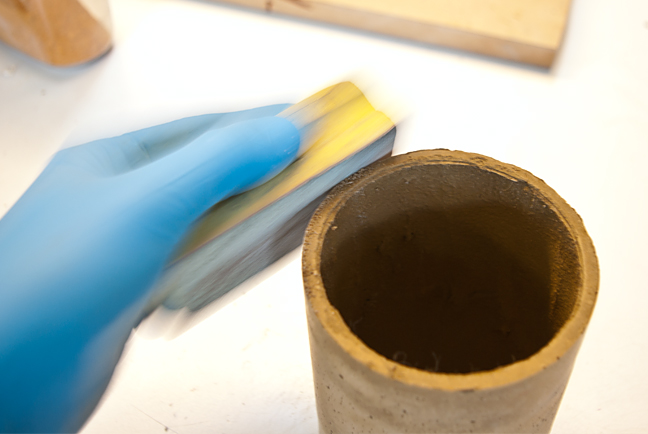
STEP 5: Sand Edges
Sand the edges with a diamond hand pad, sandpaper, or a file. This will round them over and prevent them from chipping.
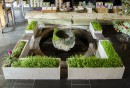
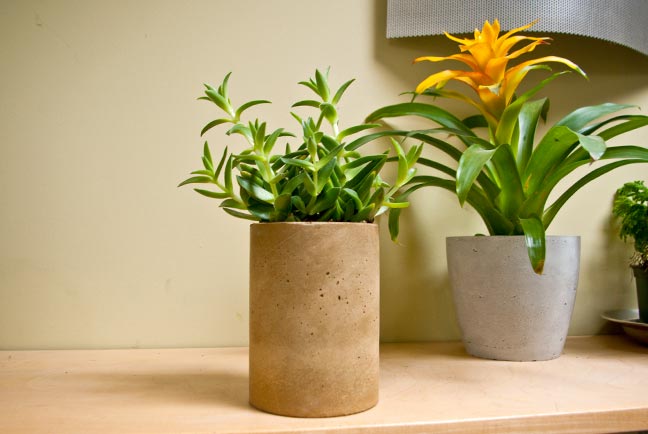
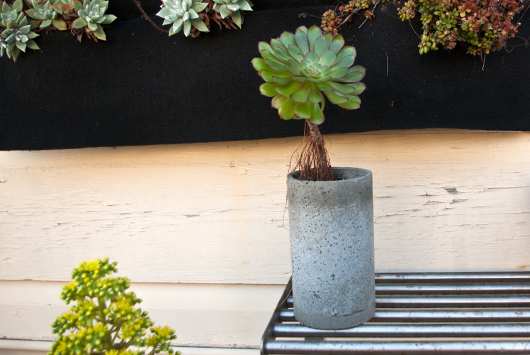
STEP 6: Plant and Enjoy
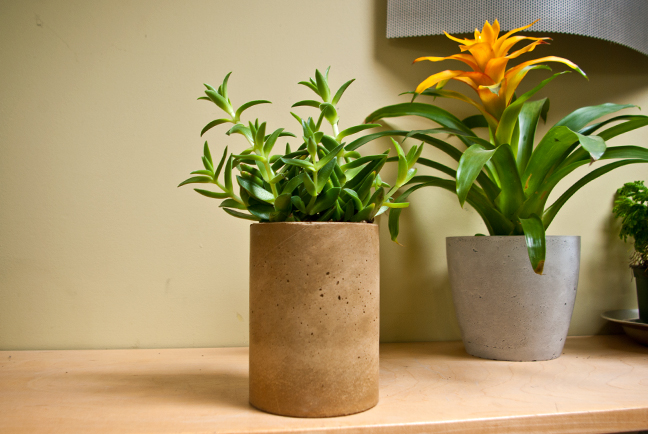
Fill the planter with soil and a plant!
For more planter ideas, check out these projects:
Featured Projects