ShapeCrete Logo
Materials + Supplies:
• MDF or Wood Positive
• Clear Acrylic Lacquer
• Form Walls
• Polyurethane Mold Rubber
• Mold Release
Tools:
• Sandpaper
• Chip Brush
• Cordless Drill
• Level
• Mixing Containers
• Spatula
• Tongue Depressor / Popsicle Stick
• Razor Blade
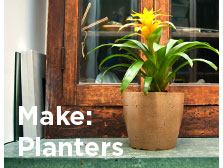
Size: 24" x 9" x 3/4" high
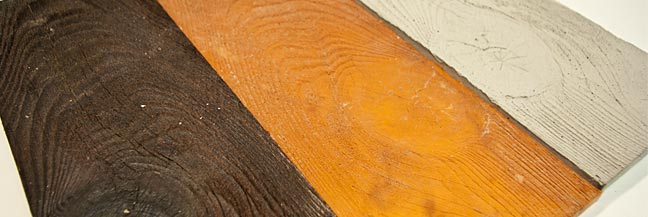
Color: White, Green, Grey, Black
Technique: Cast
ShapeCrete Logo
For the 2015 World of Concrete show in Las Vegas, we wanted to cast the ShapeCrete logo using ShapeCrete Mix. By using integral pigment instead of painting the finished piece, we created a long-lasting and durable sign that could be used as outdoor signage for a business, or as a decorative piece indoors. Because the piece is relatively thin, it's not too heavy, making installation or hanging straightforward.
The steps below will show you how to make your own custom sign with whatever logo or design you want.
STEP 1: CNC Routing / Creating the Positive
The equipment available and your skills will determine how you create the positive. If you're good at wood carving, you might start with a piece of wood and carve it away until you arrive at a design you like. If you're good at sculpting, you might create the positive out of a modeling clay like plasticine. If you want to create an accurate replica of a logo, as we've done here, you might 3D model it in the computer and then cut it out using a laser cutter or CNC Router.
In this case we started with a vector file of the ShapeCrete logo, then imported it into a 3D Modeling Program called SketchUp. From here the logo is dimensioned and traced. The letters and perimeter are extruded, and then we arrive at a solid 3D model that can be exported as a .STL file.
![]()
![]()
This piece was cut from 3/4" MDF on a CNC Router. We used MDF because it is easy on the cutting bits and not too hard to sand.
.jpg)
.jpg)
After some cleaning up and reshaping, the MDF positive is sealed before casting rubber.
STEP 2: Sealing
The MDF is sealed with a brush-on Clear Lacquer Finish. Any air trapped in the MDF can create air bubbles in the surface of the rubber mold. Making sure the positive is well sealed will help prevent this from happening.
.jpg)
After two coats of sealer, the piece is left to dry overnight.
STEP 3: Form Walls
The form walls can be anything. In this case they are strips of foam that have been taped on the face and screwed to down into a piece of melamine. Place the form walls in a way that minimizes the amount of waste rubber around the edges. The height of the form walls is about 1/4" - 1/2" taller than the positive.
The positive is held in from the back with two screws. More importantly, it is stuck down with silicone caulk. Apply the caulk around the perimeter of the piece, then stick it into place. Clean up any silicone that squeezes out. This will help prevent air bubbles from seeping out from under the positive when the rubber is curing.
.jpg)
.jpg)
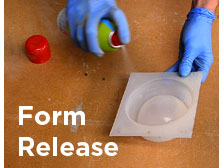
Blow out the form to remove any debris, then spray the positive with a mold release such as Polytek Pol-Ease 2300.
STEP 4: Pour Rubber
Before mixing the rubber, use a bubble gauge to make sure the form sits as level as possible.
Mix the rubber according to the manufacturer's instructions. This is Polytek 75-60 Polyurethane Rubber. It is mixed 1:1 by weight or by volume. Scrape the sides and bottom of the mixing container and mix thoroughly.
Pour the rubber until it is even with the top of the form walls, then leave it overnight to cure.
STEP 5: Remove Form
Strip the form walls off and gently pry up on the rubber with a plastic putty knife. Gradually pull it up and off of the positive.
.jpg)
.jpg)
.jpg)
Take care of the rubber form by keeping it out of the elements, and away from direct sunlight as much as possible. Only clean it with soapy water. A mold like this should last for many dozens of castings if you take care of it.
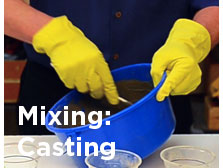
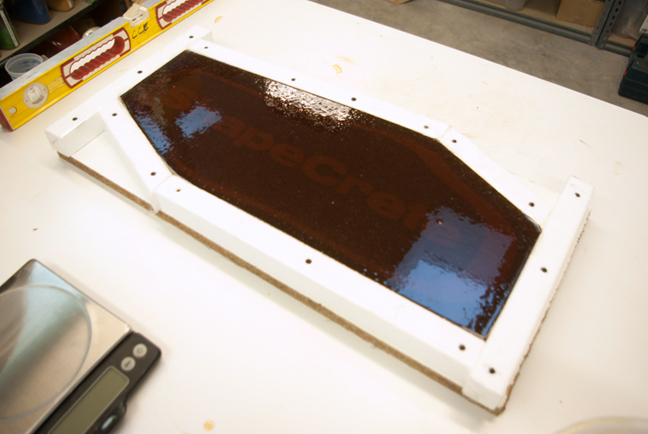
STEP 6: Casting ShapeCrete
The ShapeCrete logo is made up of four colors (White, Green, Dark Grey, Black). Each color is mixed individually in a small batch and carefully placed in the letters with a tool like a wood popsicle stick or tongue depressor. Any excess is scraped away with a razor blade.
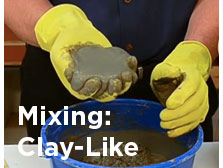
The perimeter is mixed to a slightly more Clay-Like Consistency. It is pulled up the sides of the mold so the edges will be grey.

The last step is to mix ShapeCrete with black pigment to a Castable Consistency and fill the form completely. Allowing each color to firm up before pouring the black mix will help minimize bleed out. For the same reason, the form is not vibrated at all.
Cover the piece with plastic and allow to cure for about 48 hours. It can be demolded sooner, but a piece like this takes so much time that it's good to leave it in the form for an extra day or two.
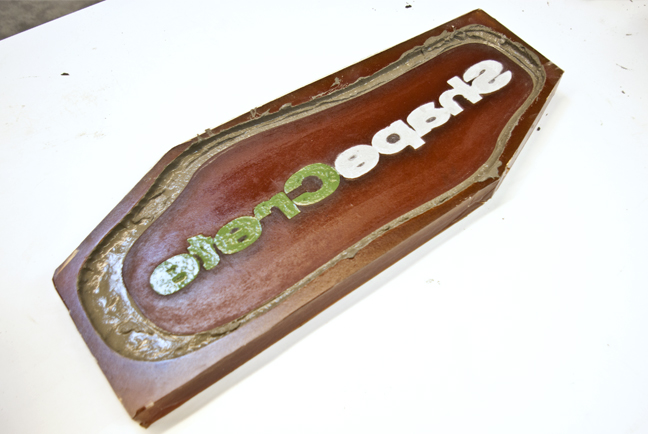
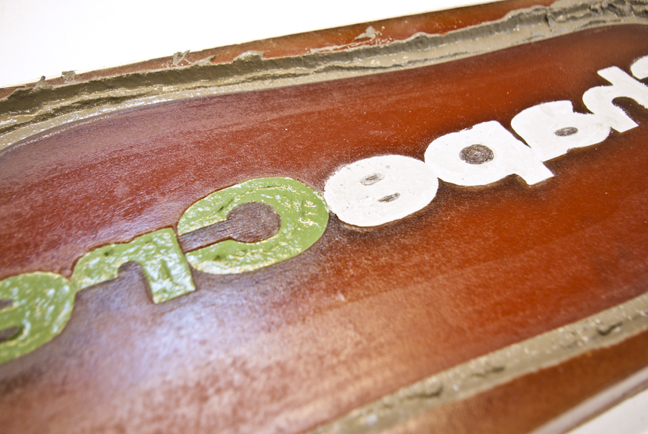
STEP 7: Remove the Mold
Flip over the piece and lift up on the rubber mold, breaking the seal around the perimeter and gently lifting it off.
![]()
![]()
![]()
Clean up the rough edges with diamond hand sanding pads. The sign can be sealed if it's going to be outdoors. Installation is possible with construction adhesive or wire hangers.
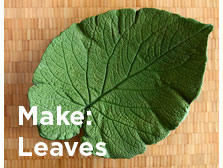
For more uses of rubber molds, check out the Wood Tile Rubber Mold: