Wood Grain Tile From a Rubber Mold
Materials + Supplies:
• Old Barn Wood
• Clear Lacquer
• Polyurethane Mold Rubber
• Mold Release
• Form Walls
Tools:
• Stiff Wire Brush
Size: 16" x 6" x 3/4" high
Color: Grey
Technique: Cast
Wood Grain Tile From a Rubber Mold
Creating rubber molds is a great way to capture a variety of textures which can then be replicated in concrete. Creating your own rubber molds is fairly easy, most of the mold rubber is easy to mix (1:1), and the rubber is reusable for many many many castings.
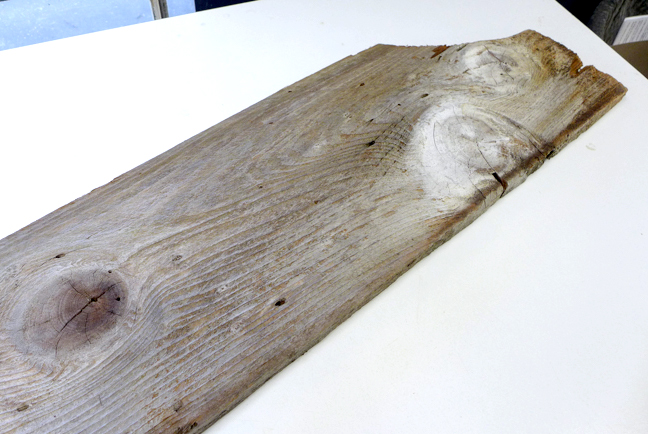
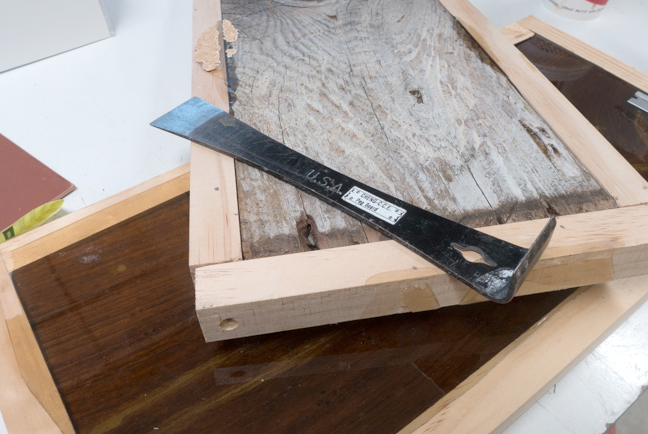
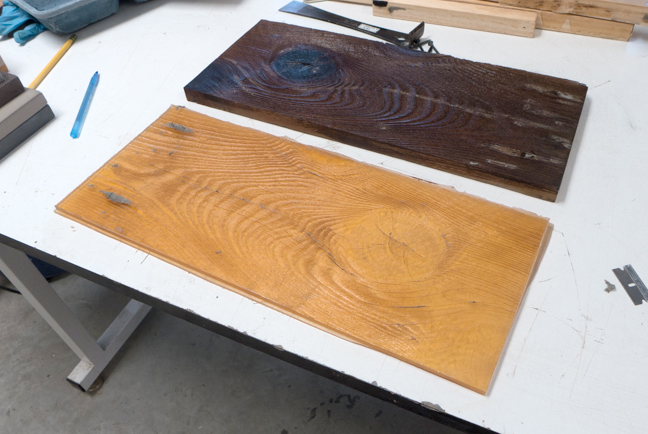
STEP 1: Barn Wood and Raising the Grain
Begin with a piece of old barn wood. It doesn't matter if it's been painted, or if it's a little bit knotty and cracked. The most important thing is that it's not damp or rotting.
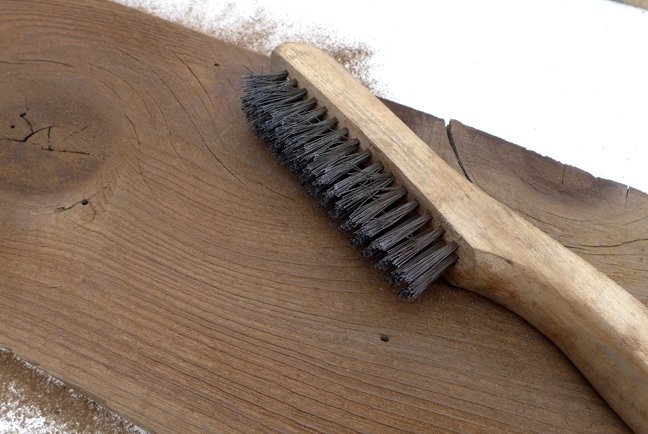
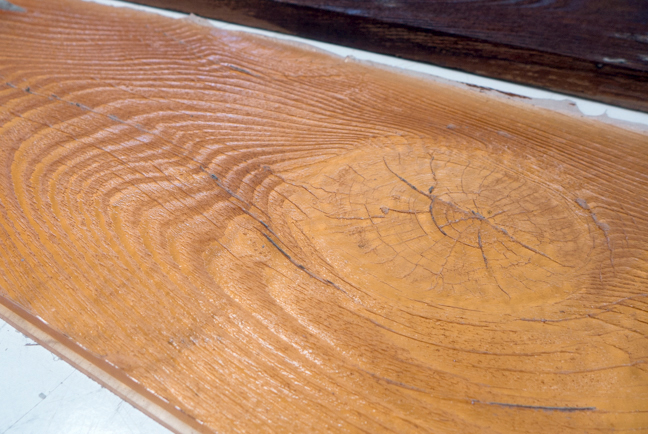
Use a stiff wire brush to raise the grain of the wood. Brush in the direction of the grain, not across it. This piece of redwood is relatively soft, so this doesn't take too long. Pine or Douglas Fir are also good to use for this project. If you have acess to a sandblaster, you can very quickly sandblast the wood to raise the grain.
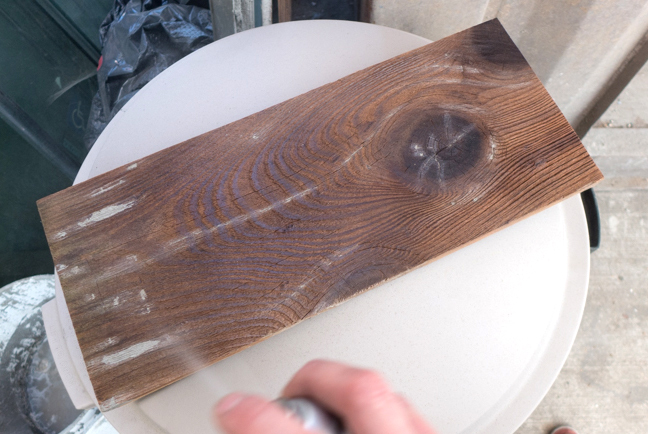
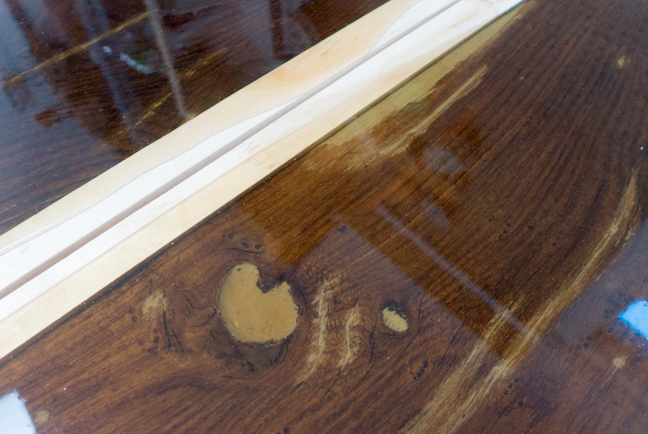
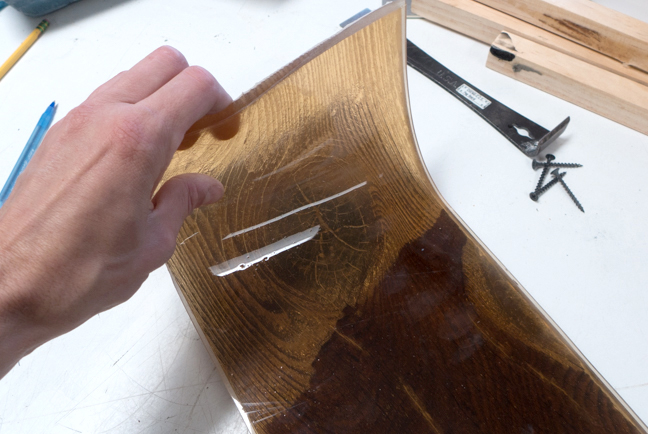
STEP 2: Seal the Wood
Sealing the wood is important, otherwise air bubbles will escape from the pores in the wood after the rubber is cast, which will leave a lot of air bubbles on the surface of the mold. A clear semi-gloss lacquer works well for sealing. It can be brushed on, or sprayed on.
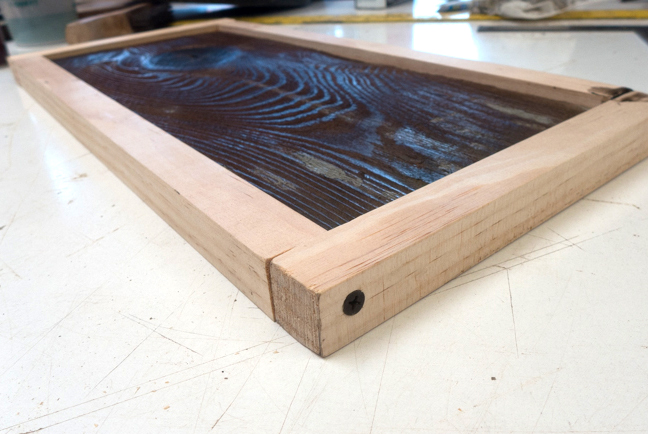
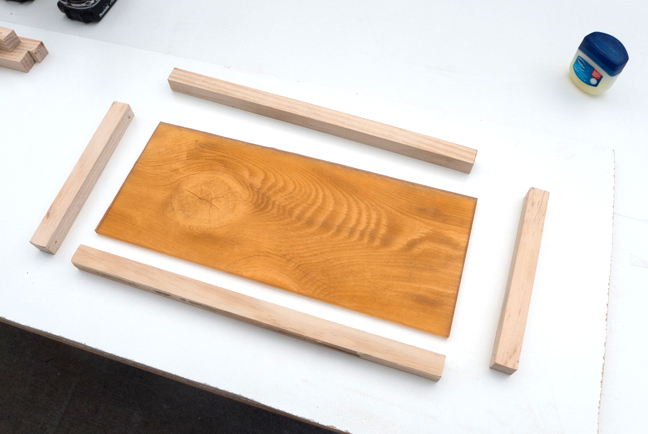
STEP 3: Build the Form
Screw some form walls around the board. They should be taller than the board itself. In this case, the rubber piece will be cast about 1/4" thick. There's no need to cast the rubber any thicker, at some point you're just wasting material. The form walls can be made from wood, foam, melamine, etc. Make sure to tape the surface of the wood if it's unsealed.
.jpg)
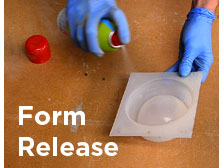
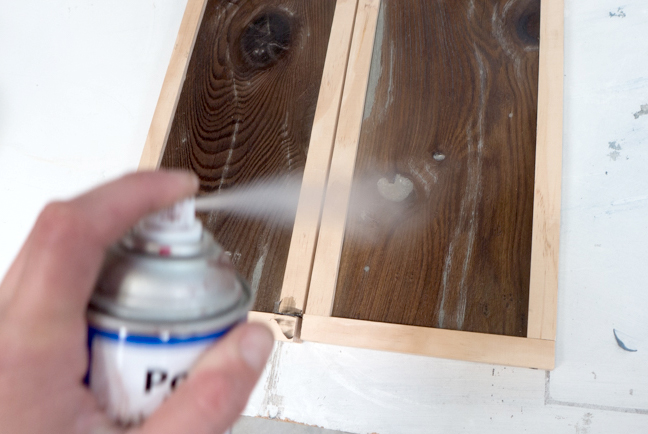
STEP 4: Prepare for Casting Rubber
Blow out any dust or debris from the form and spray the board with a mold release suitable for casting rubber. This will make it easy to remove the rubber piece after it has cured.
Check that the form is level on the tabletop! If it's not level, the rubber will be thicker on one side.
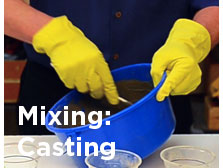
STEP 5: Mix and Pour Rubber
Calculate how much rubber you need. It's always better to mix up too much. This particular rubber is mixed 1:1 by weight or volume. Mix the rubber thoroughly with a mixing stick or spatula, being sure to scrape the inside and bottom of the mixing bucket. Be thorough when mixing, but work quickly.
.jpg)
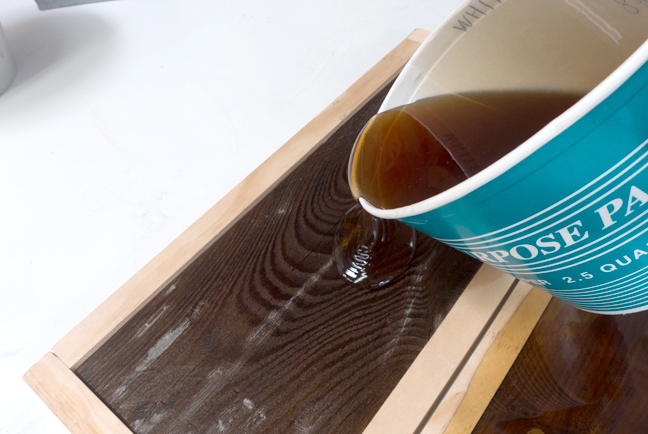
Pour the rubber into the form. Let it cure for 12 hours or whatever is recommended.
STEP 6: Remove Rubber
Unscrew the form walls. It may be necessary to slice the rubber if it has flowed out of the form. Gently pry the walls off and then pull up on the rubber piece.
The rubber picks up every detail of the wood. A quick rinse with soapy water and it's ready to use.
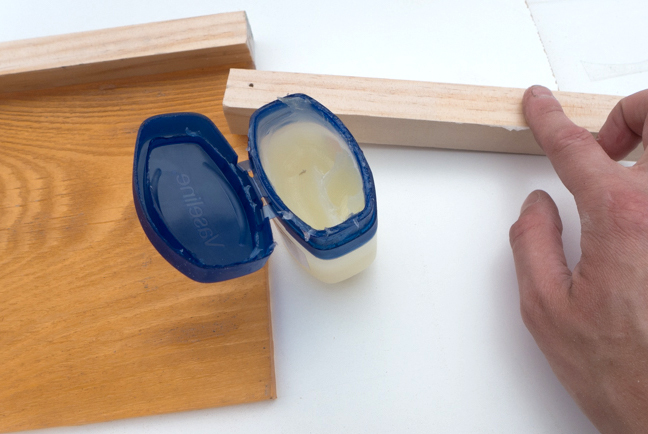
STEP 7: Re-Assemble the Form
The same form walls can be used to cast the new piece. Cover the walls with clear packing tape or use something like vaseline to quickly seal them.
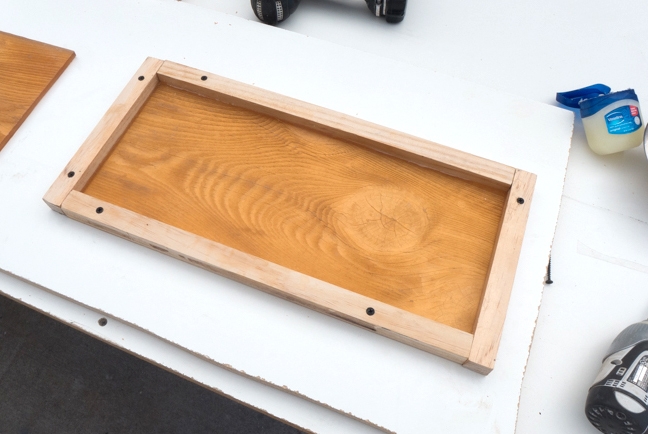
With the form ready to go, it's time to cast.
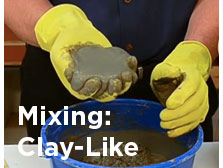
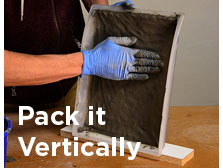
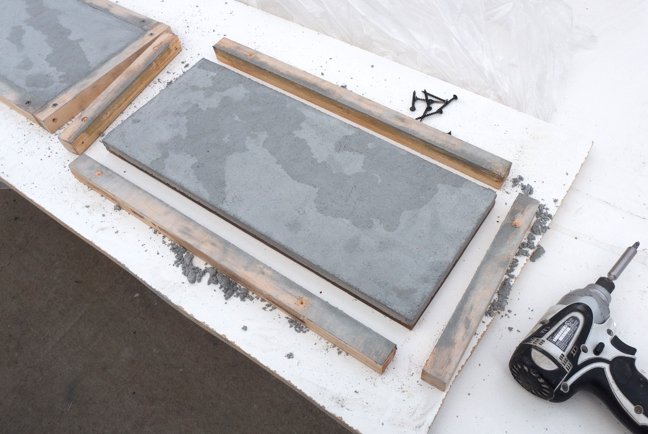
STEP 8: Mix and Cast ShapeCrete
Mix ShapeCrete to a Castable Consistency and fill the form. Screed the back flat with a painters stick or straight edge.
.jpg)
Cover with plastic and allow the piece to cure for at least 24 hours.
STEP 9: Demolding
Unscrew and remove the form walls, flip the piece over, and carefully peel the rubber mold away.
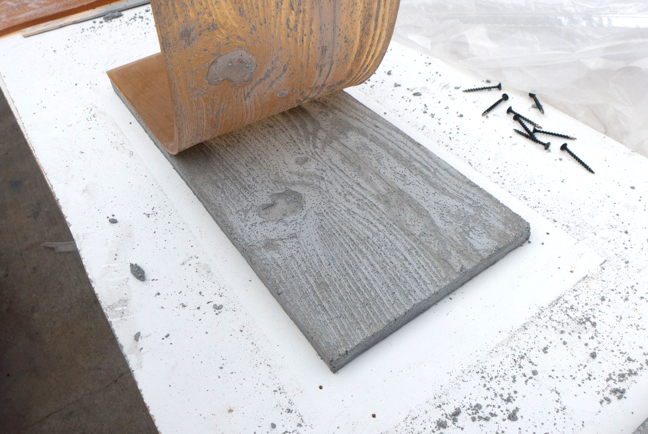
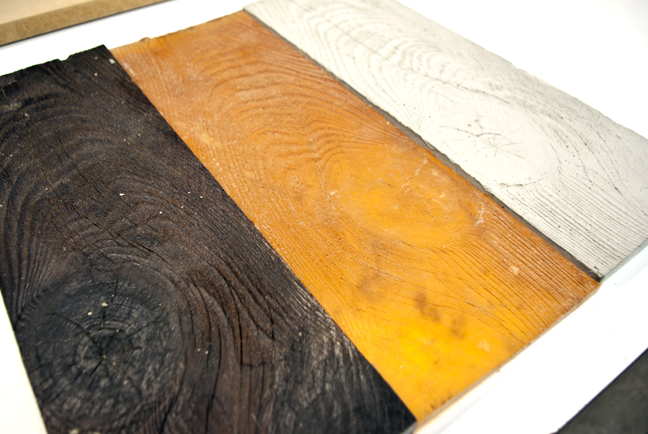
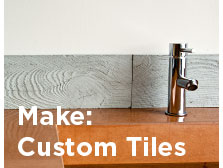
The finished pieces can be installed as tiles, on the floor or wall, or they can be used as a backsplash for the countertop.
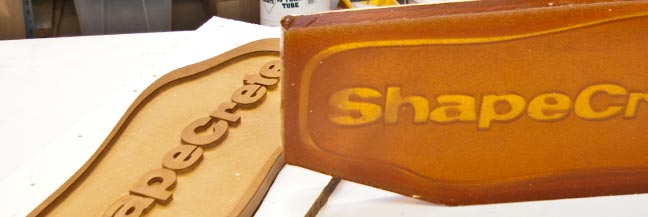
For more tips on using mold rubber, check out the ShapeCrete Sign How-To: